The Easiest Version of a Rag Rug Updated

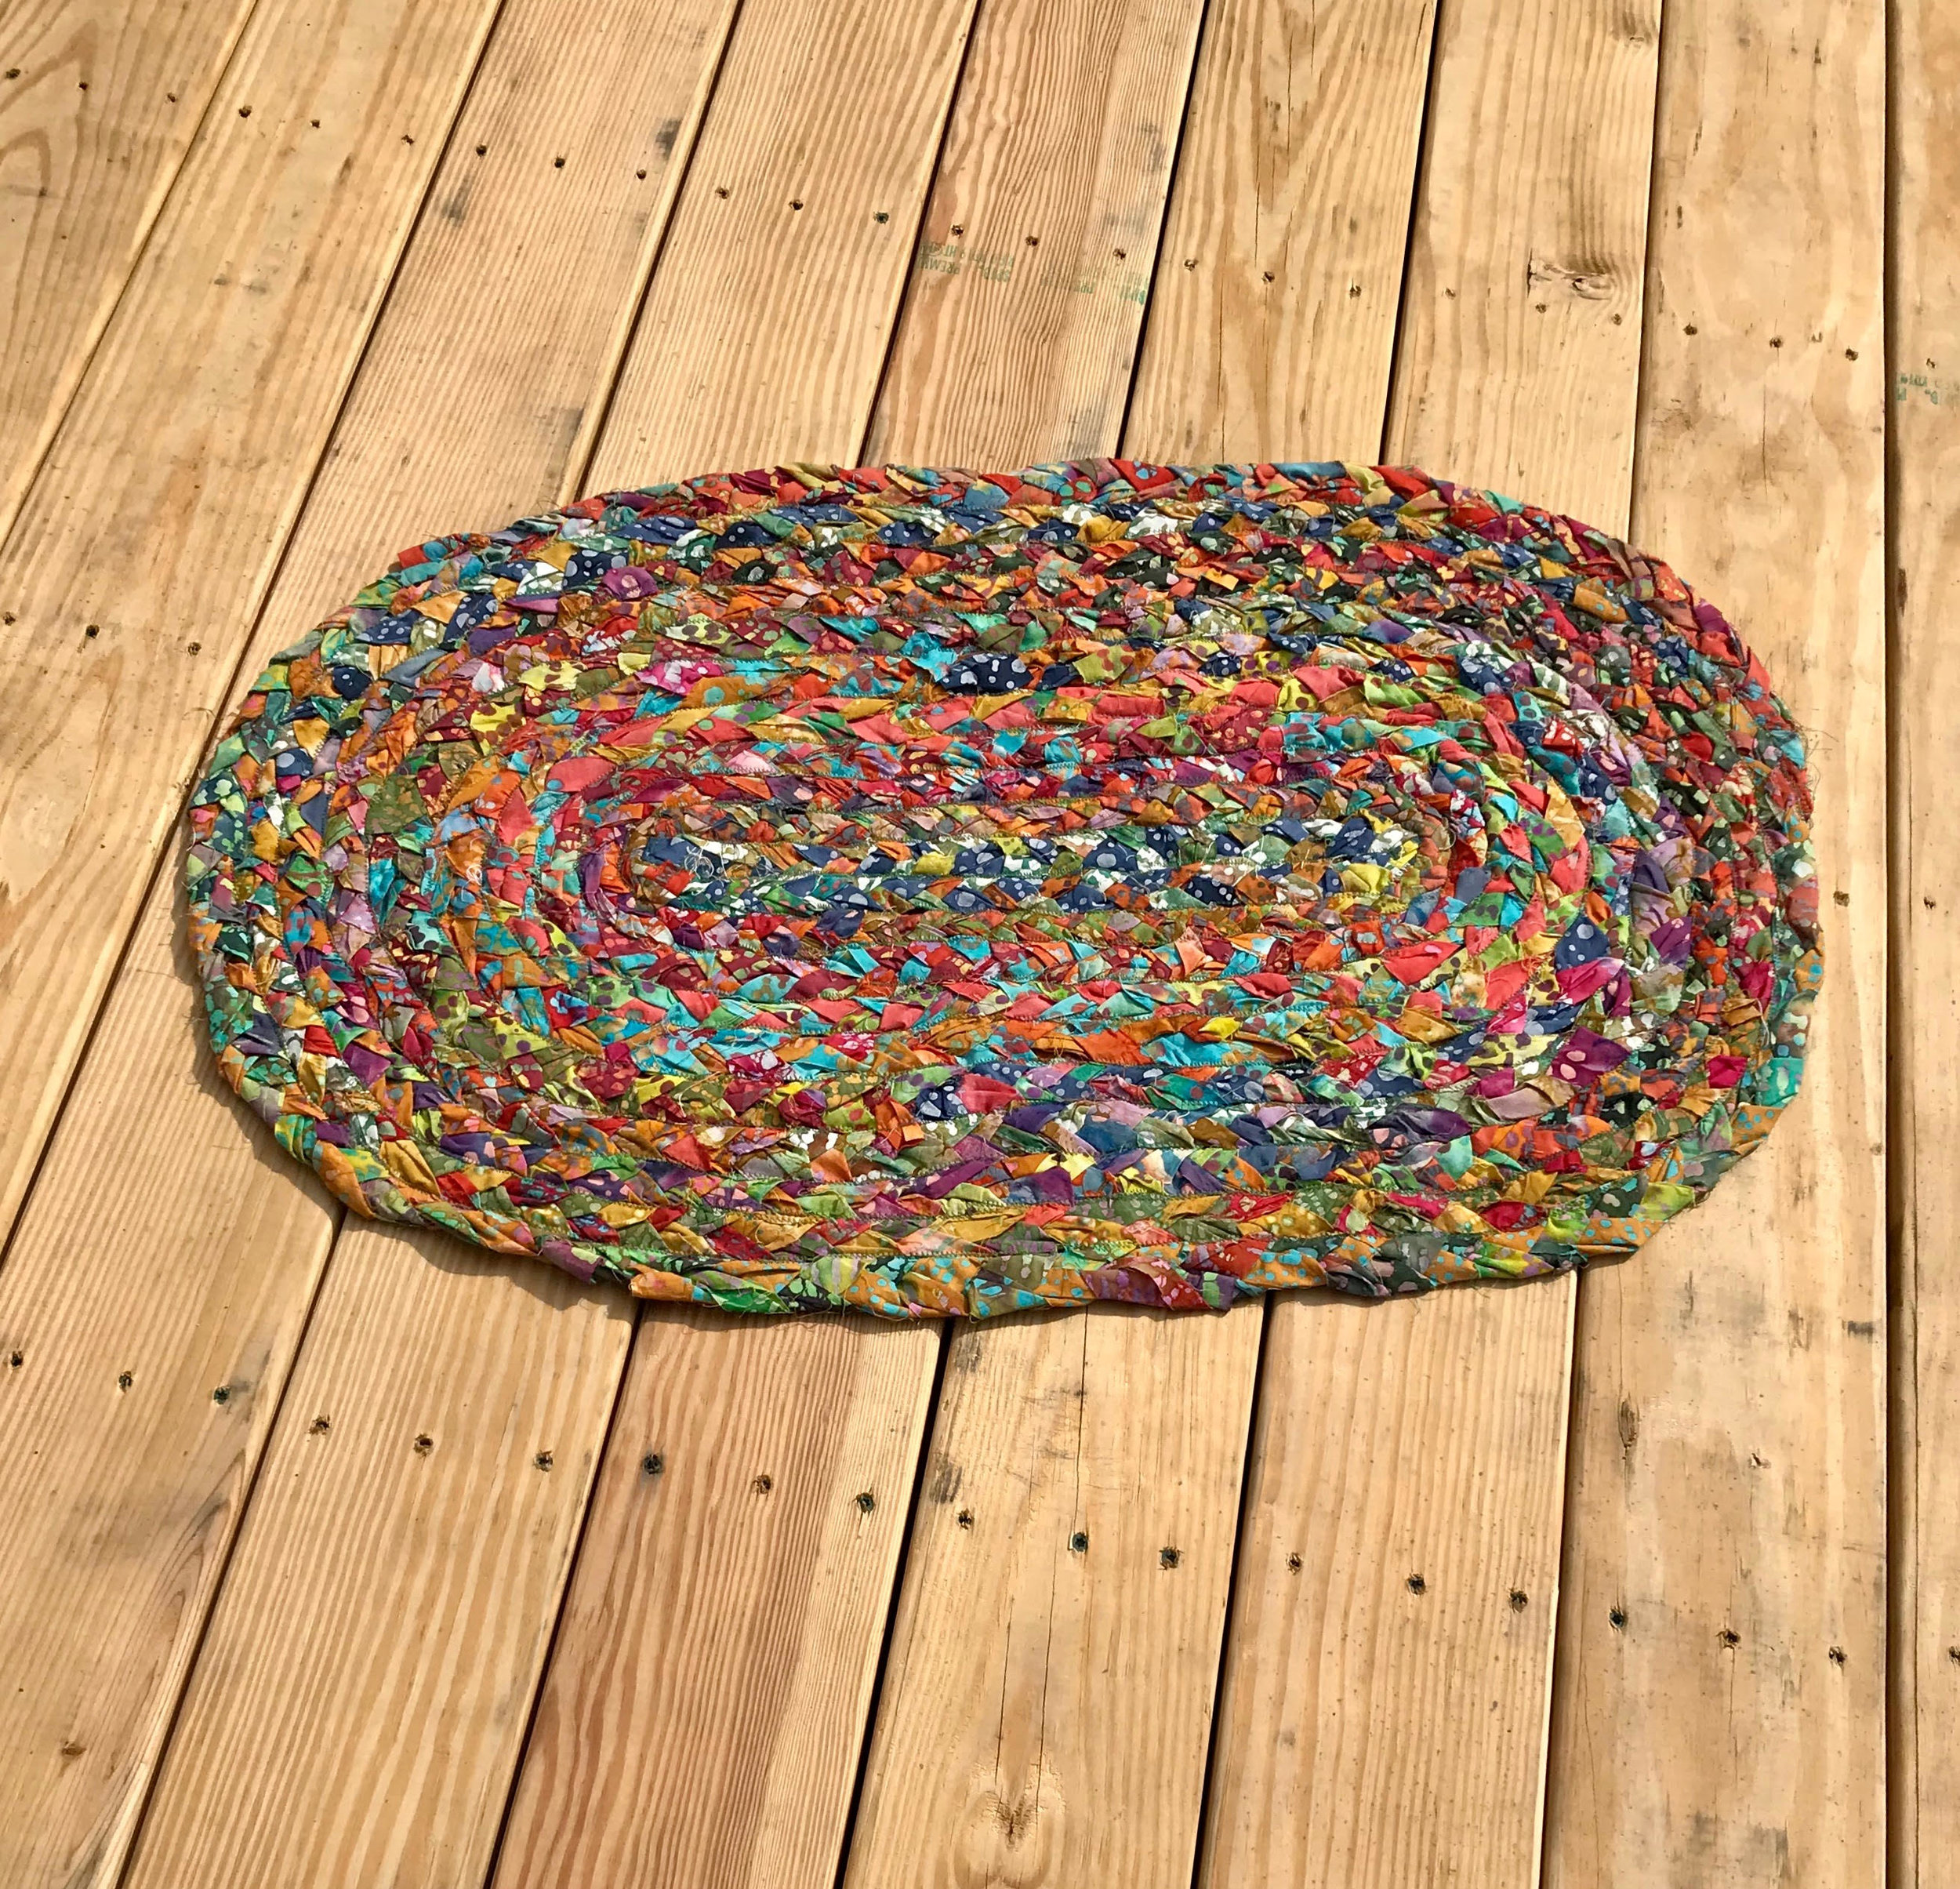
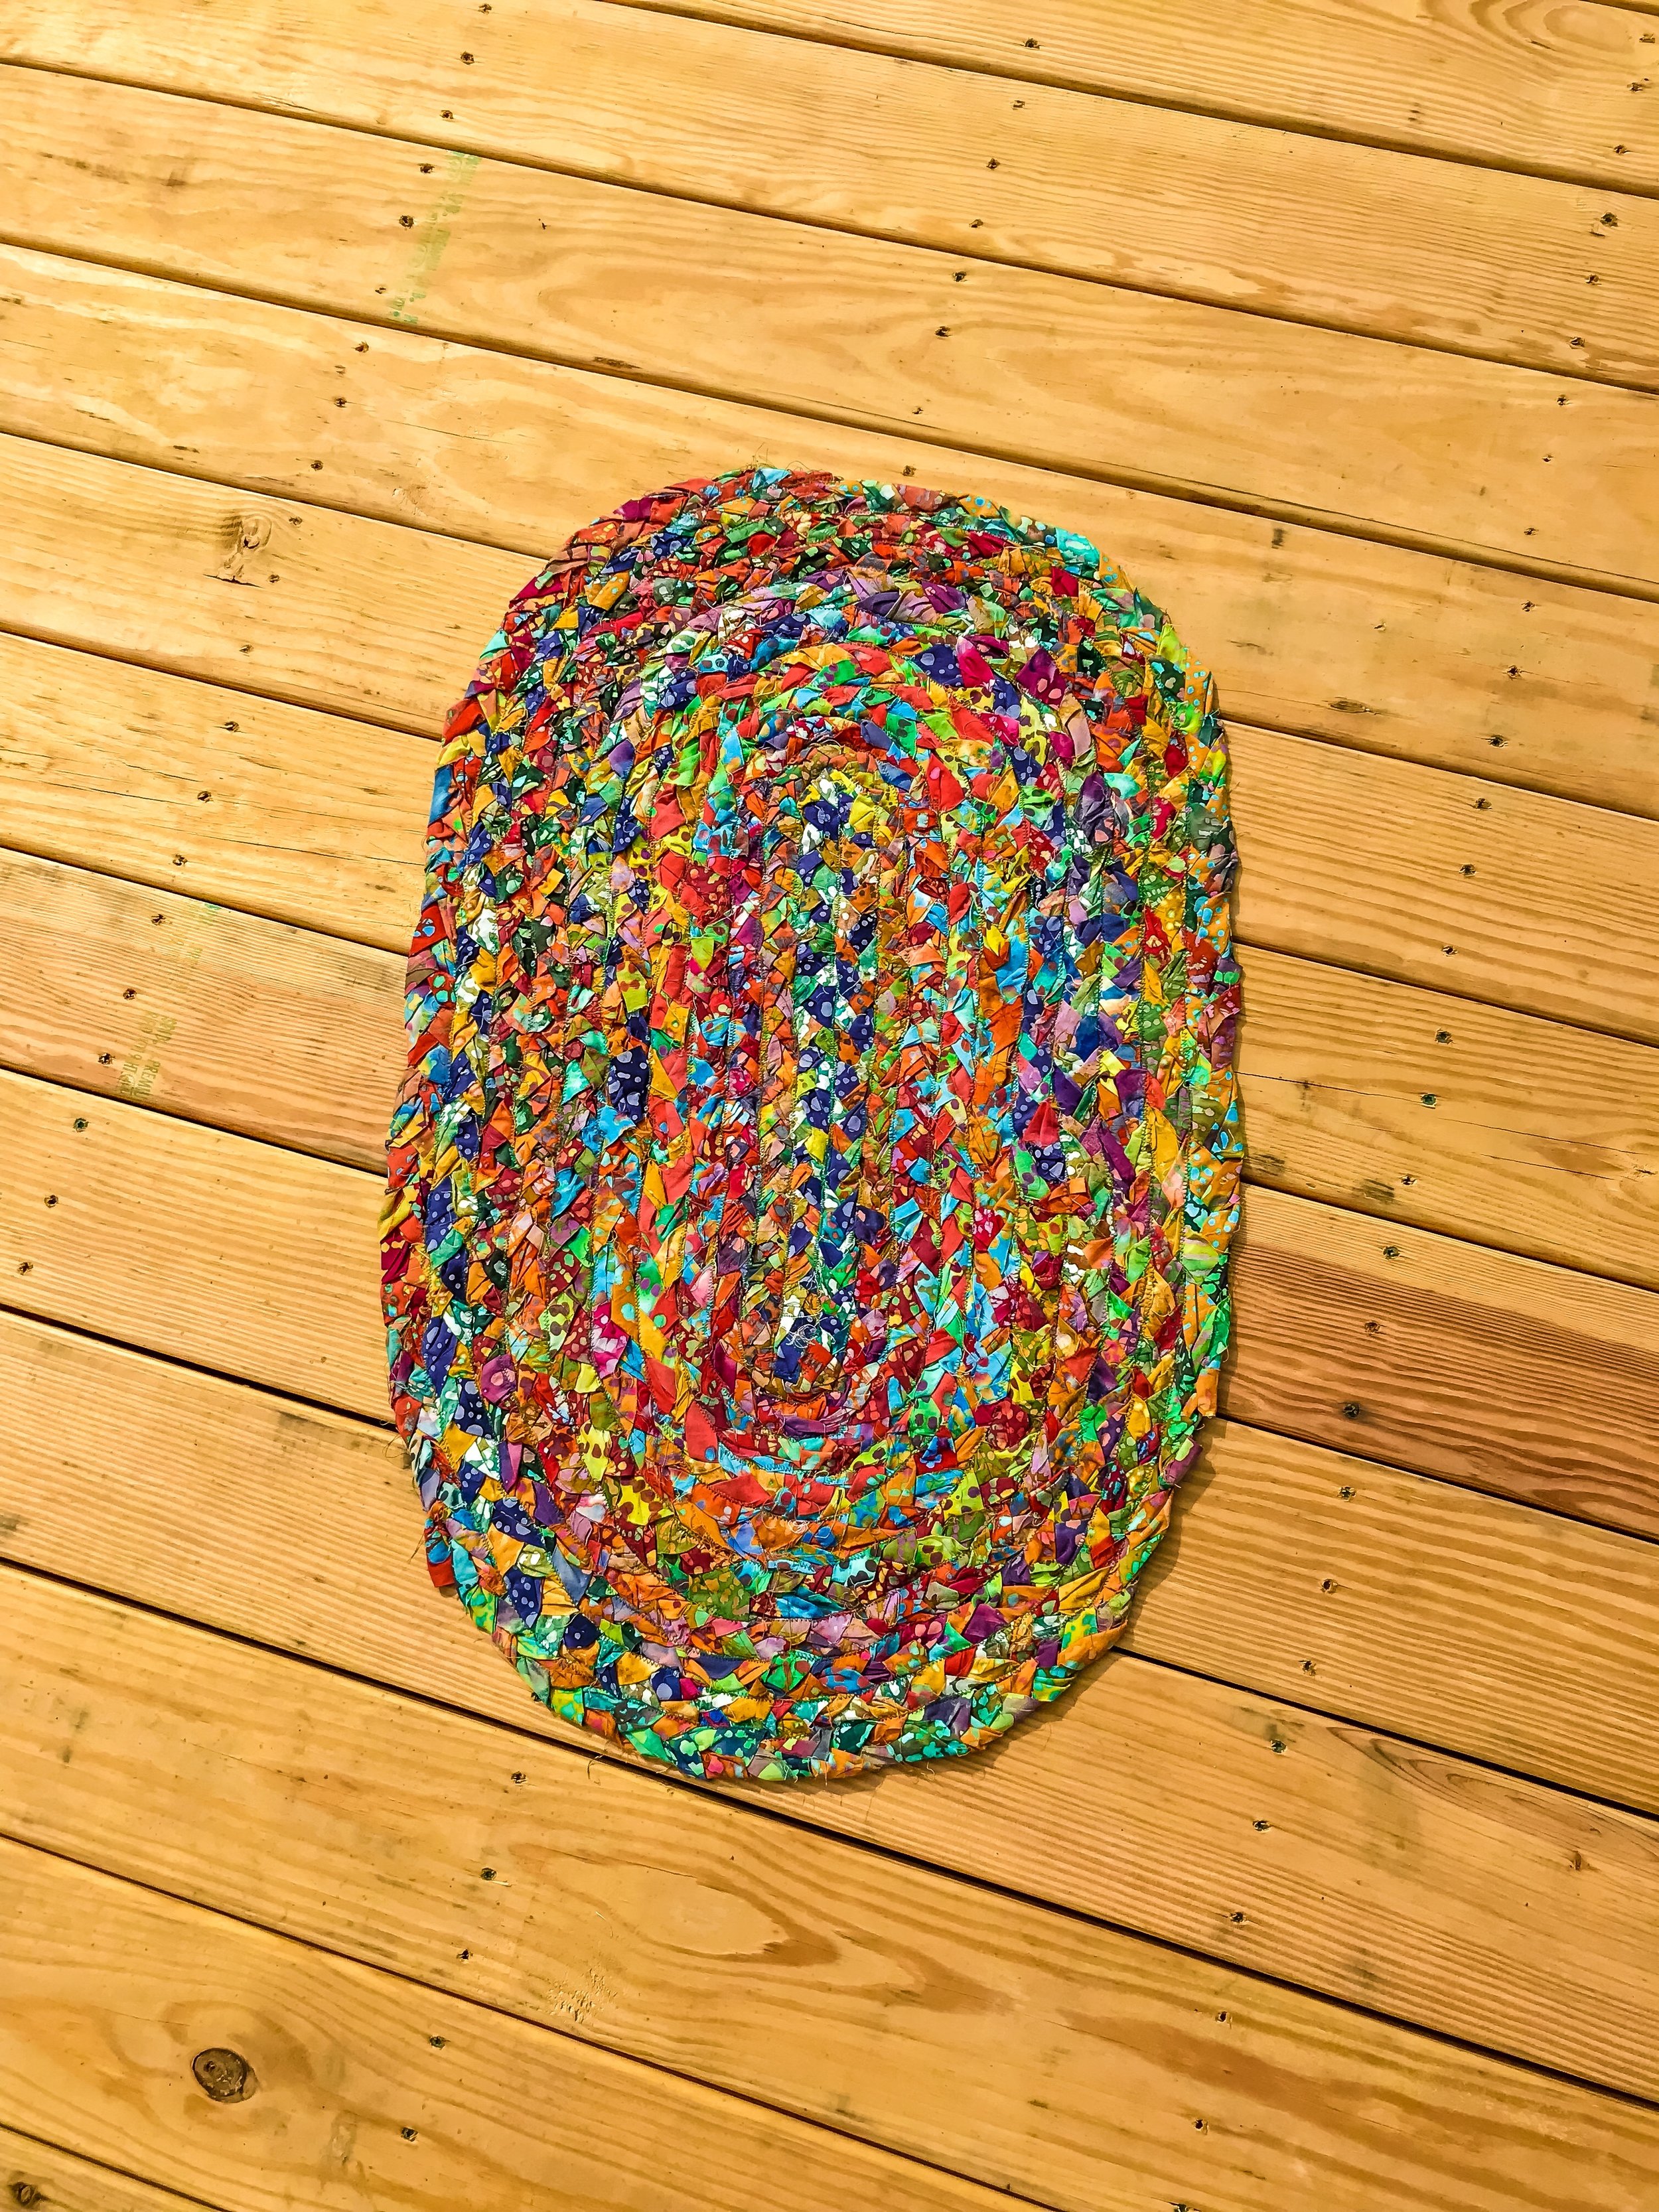
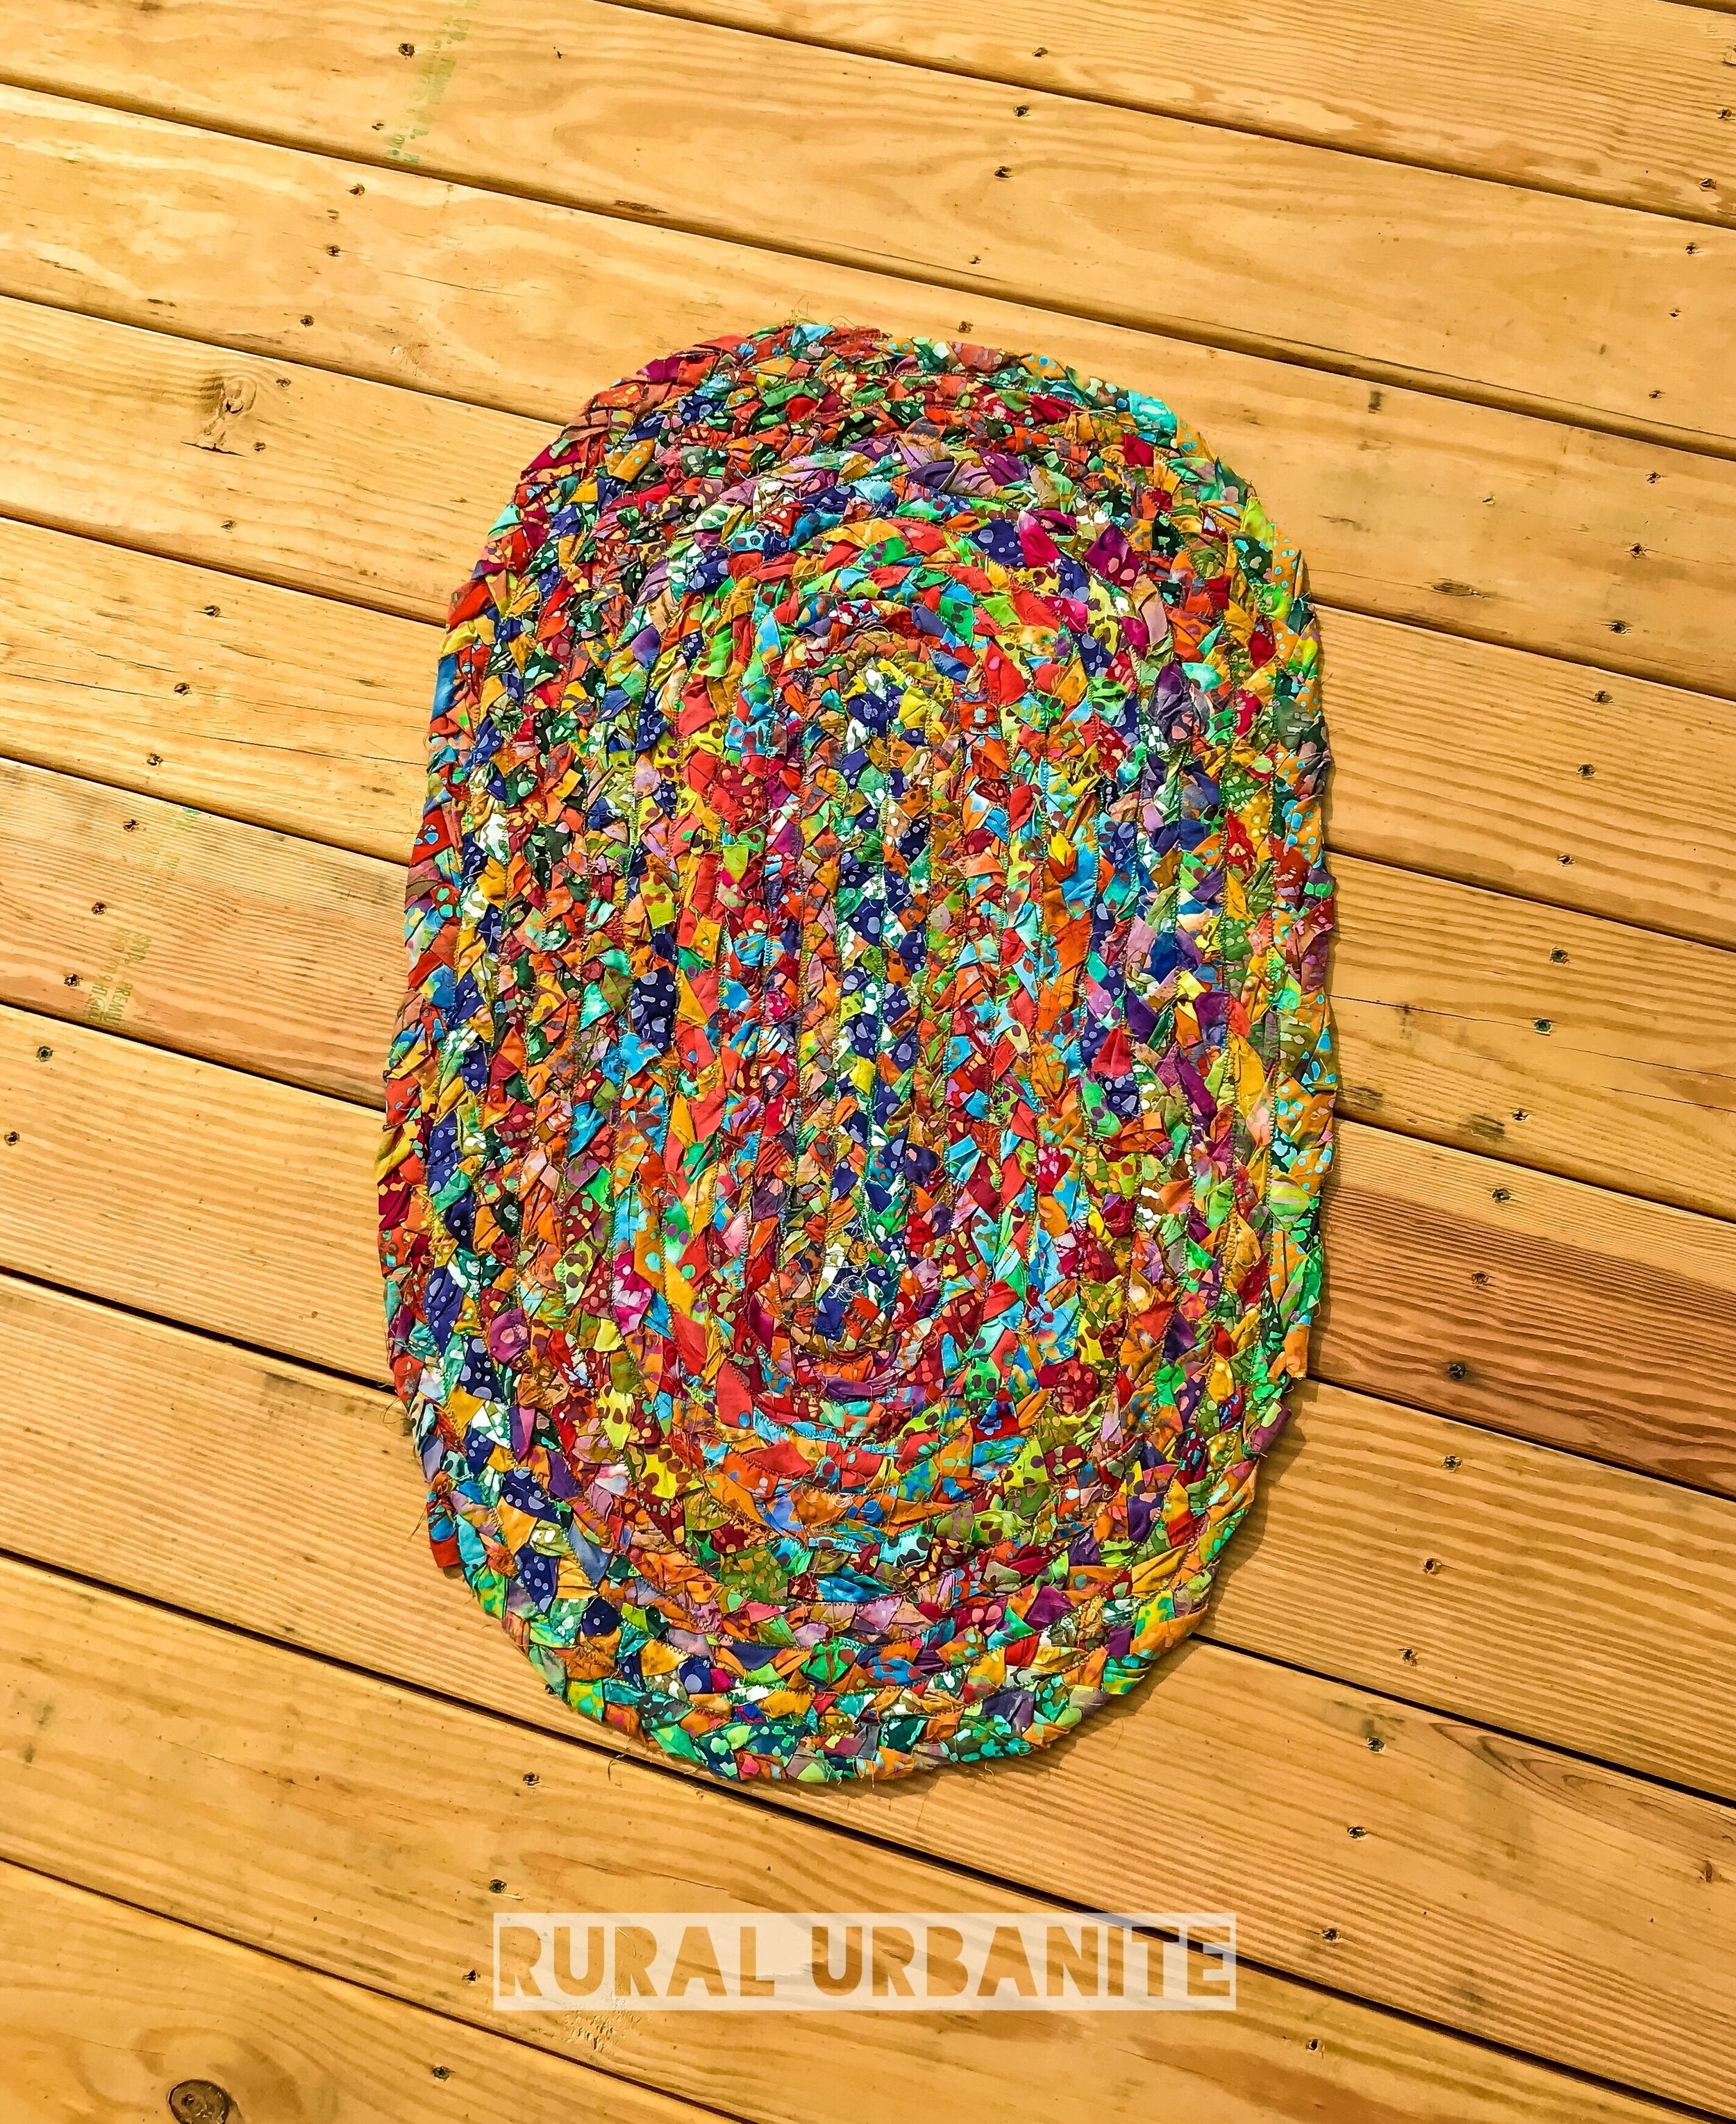
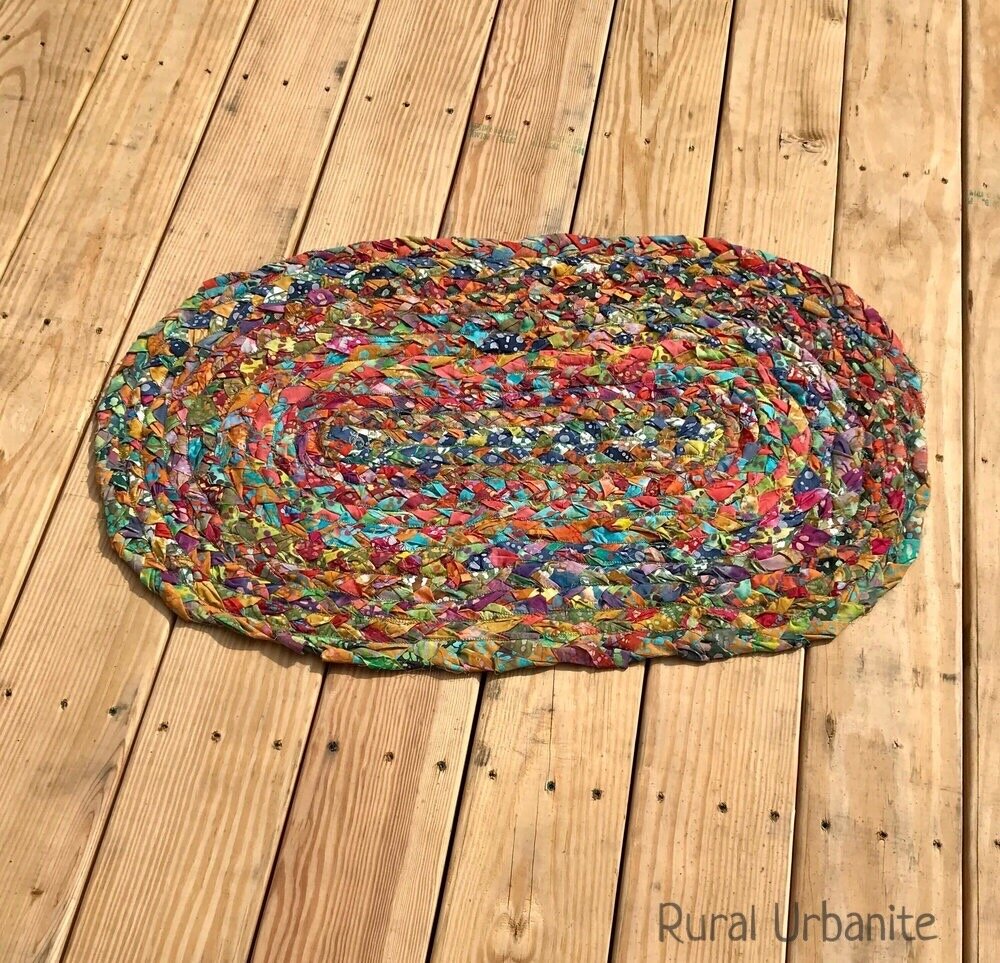
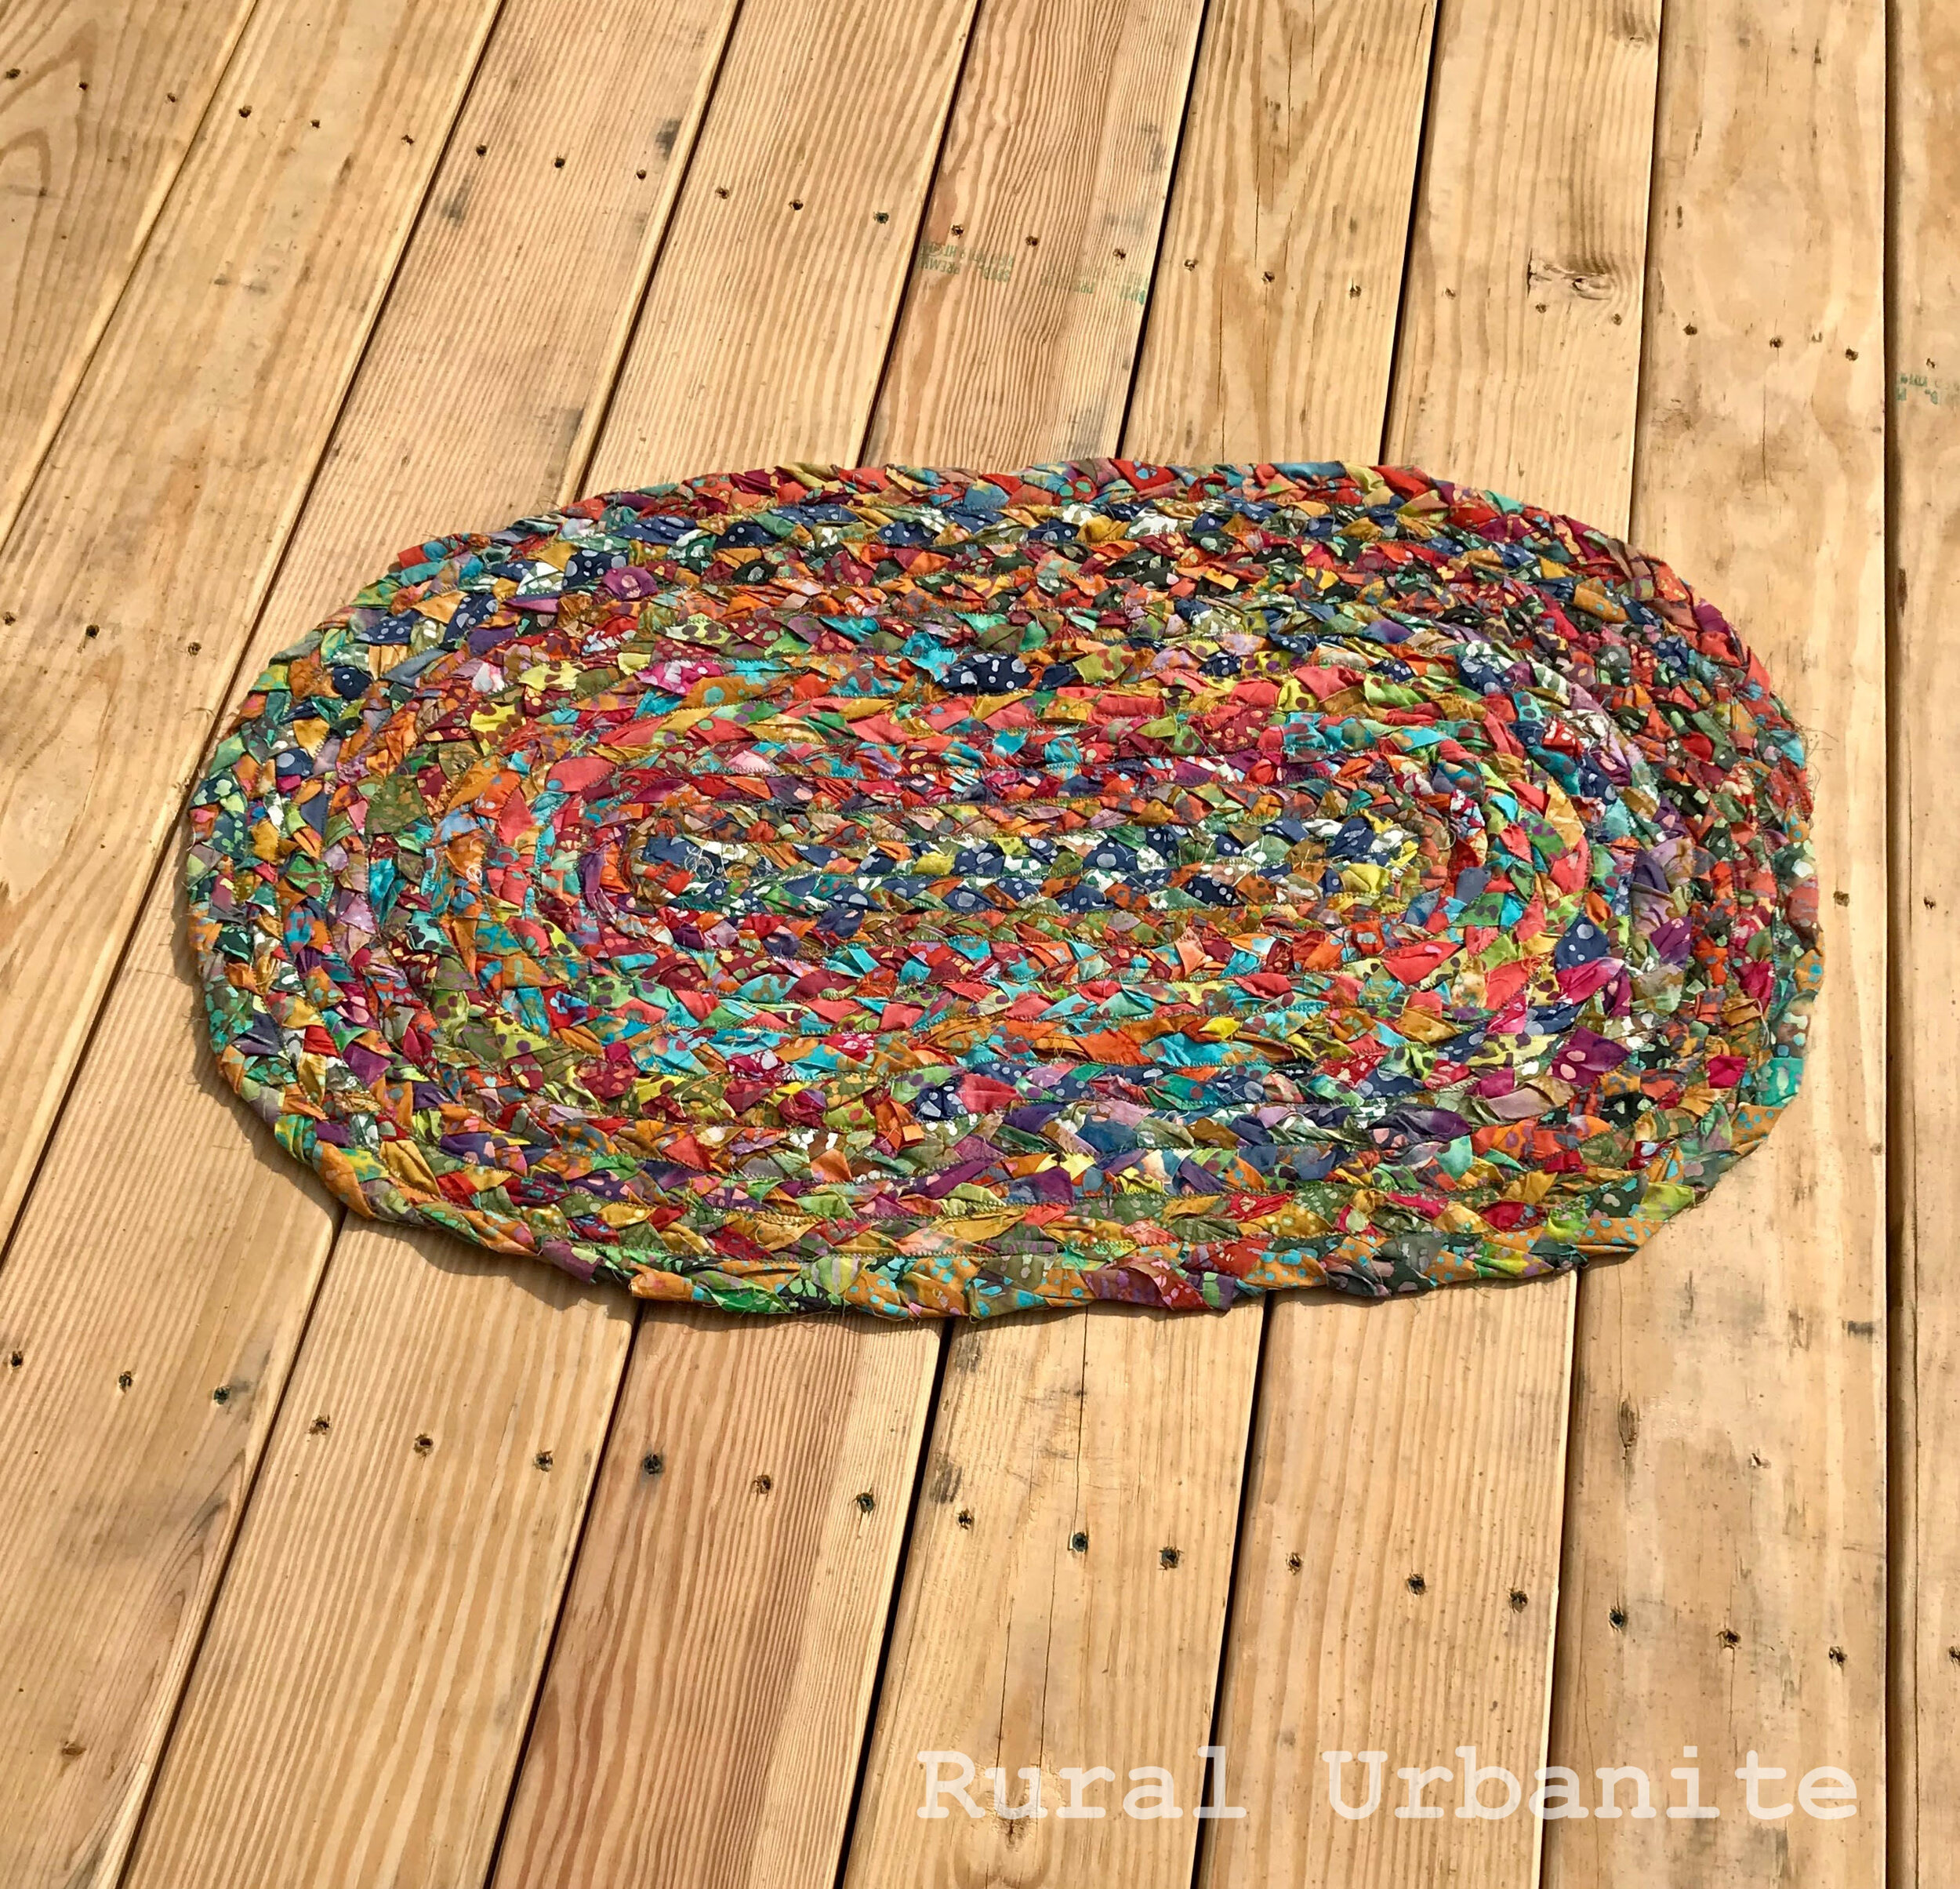
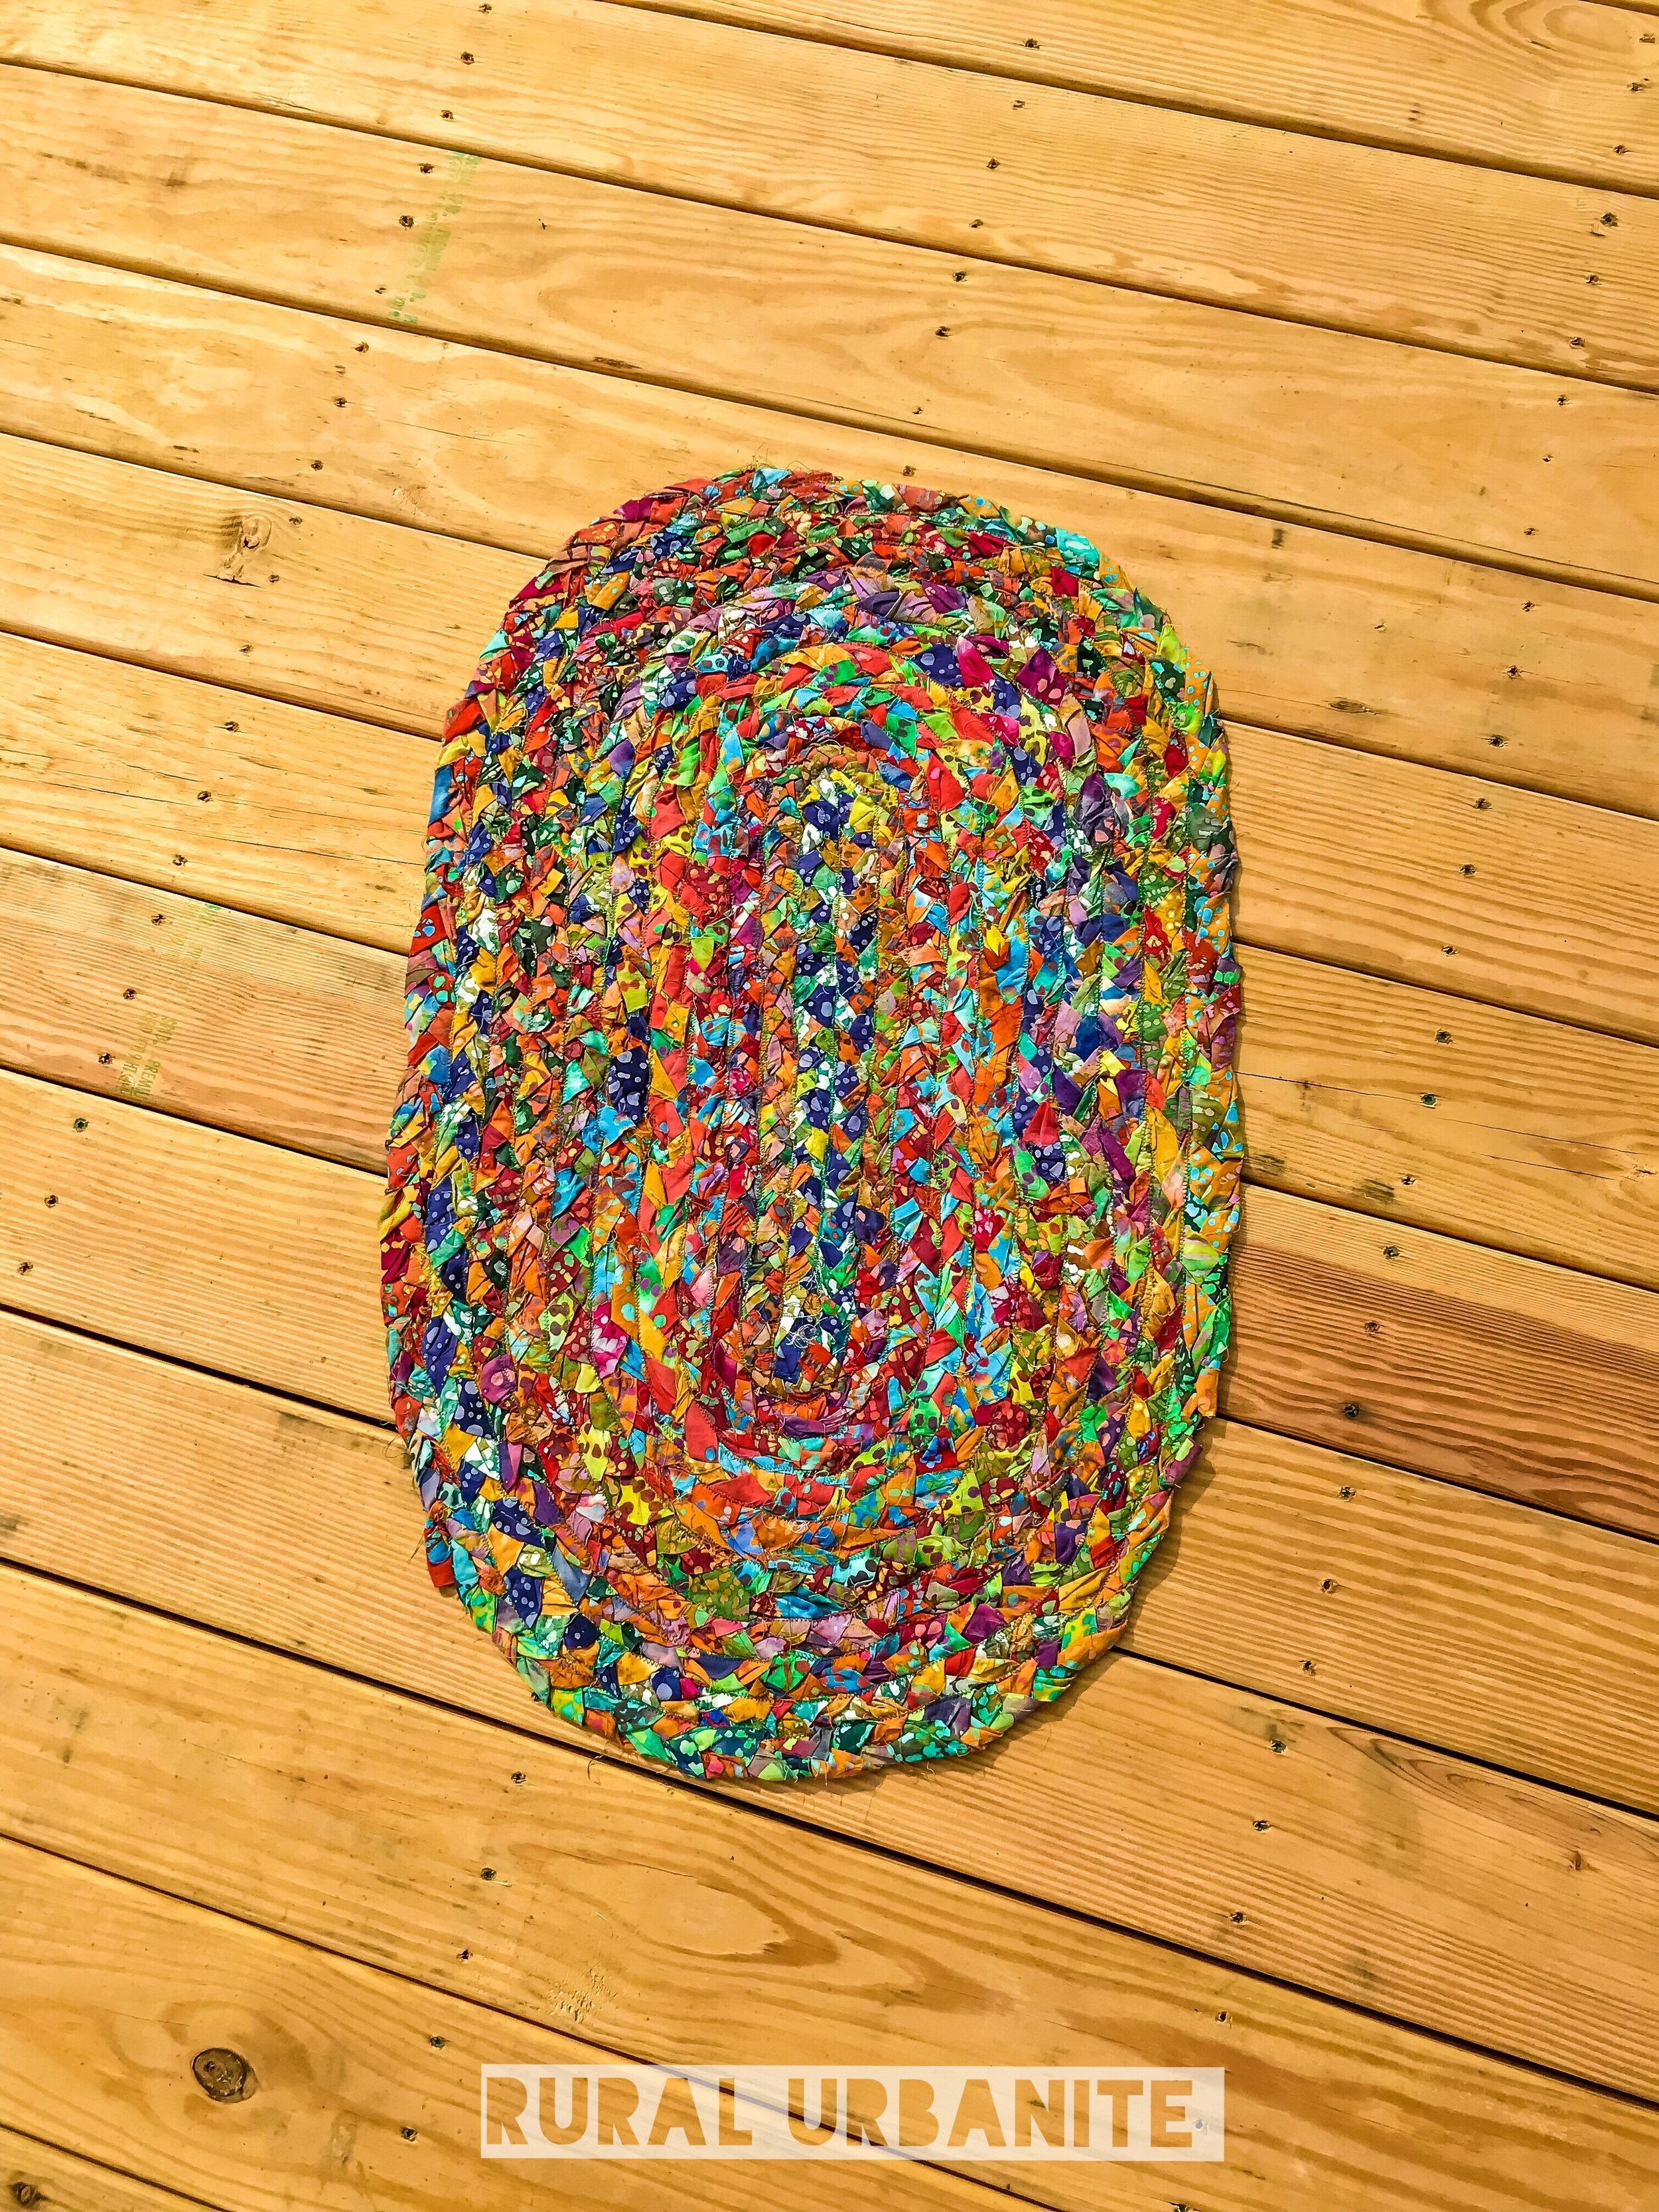
My First Attempt at a Rag Rug! Check It Out!
❤❤❤
I cannot knit, i cannot crochet, hopefully one day it will “click”, as that seems to be the one thing left needed.
Its a bummer not having those skills. BUT I MADE A RAG RUG! YIPPEE!
A Rag Rug is awesome because you can use basically any fabric you want, there are almost a million ways to put one together, and there are several different styles and designs—something for everyone! It is a quintessential homesteader, self-sufficient living, DIY project.
So, I’m just going to start right off:
For This Particular Rug
Materials:

Cotton Fabric in Strips. Length of your choosing. It is recommended to keep the width of your strips between 1 and 3 inches. (AKA GREAT PROJECT FOR JELLY ROLLS!)
I Chose Cotton Batik 2 1/2 inch Fabric Strips, SOLD BY THE POUND! by one of my Favorite Merchants Of Fabric; My Fabric Addiction. (what a perfect name, right!) These are strips of fabric of a high quality cotton, measuring 2.5 inches wide and 44 inches long.
Tape. Any kind of tape. to tape down braid ends when working on braids, and sometimes to tape long stretches of a braid in place, etc.
Paperclips. To hold things in place when you leave the project. (tape is also useful here)
Needle and Thread. Any kind is fine.
Straight Pins. I found these to be life savers when it came to keeping the rug even and in order BEFORE I got to sewing the rows together.
Sewing Machine. if you choose to use this method.

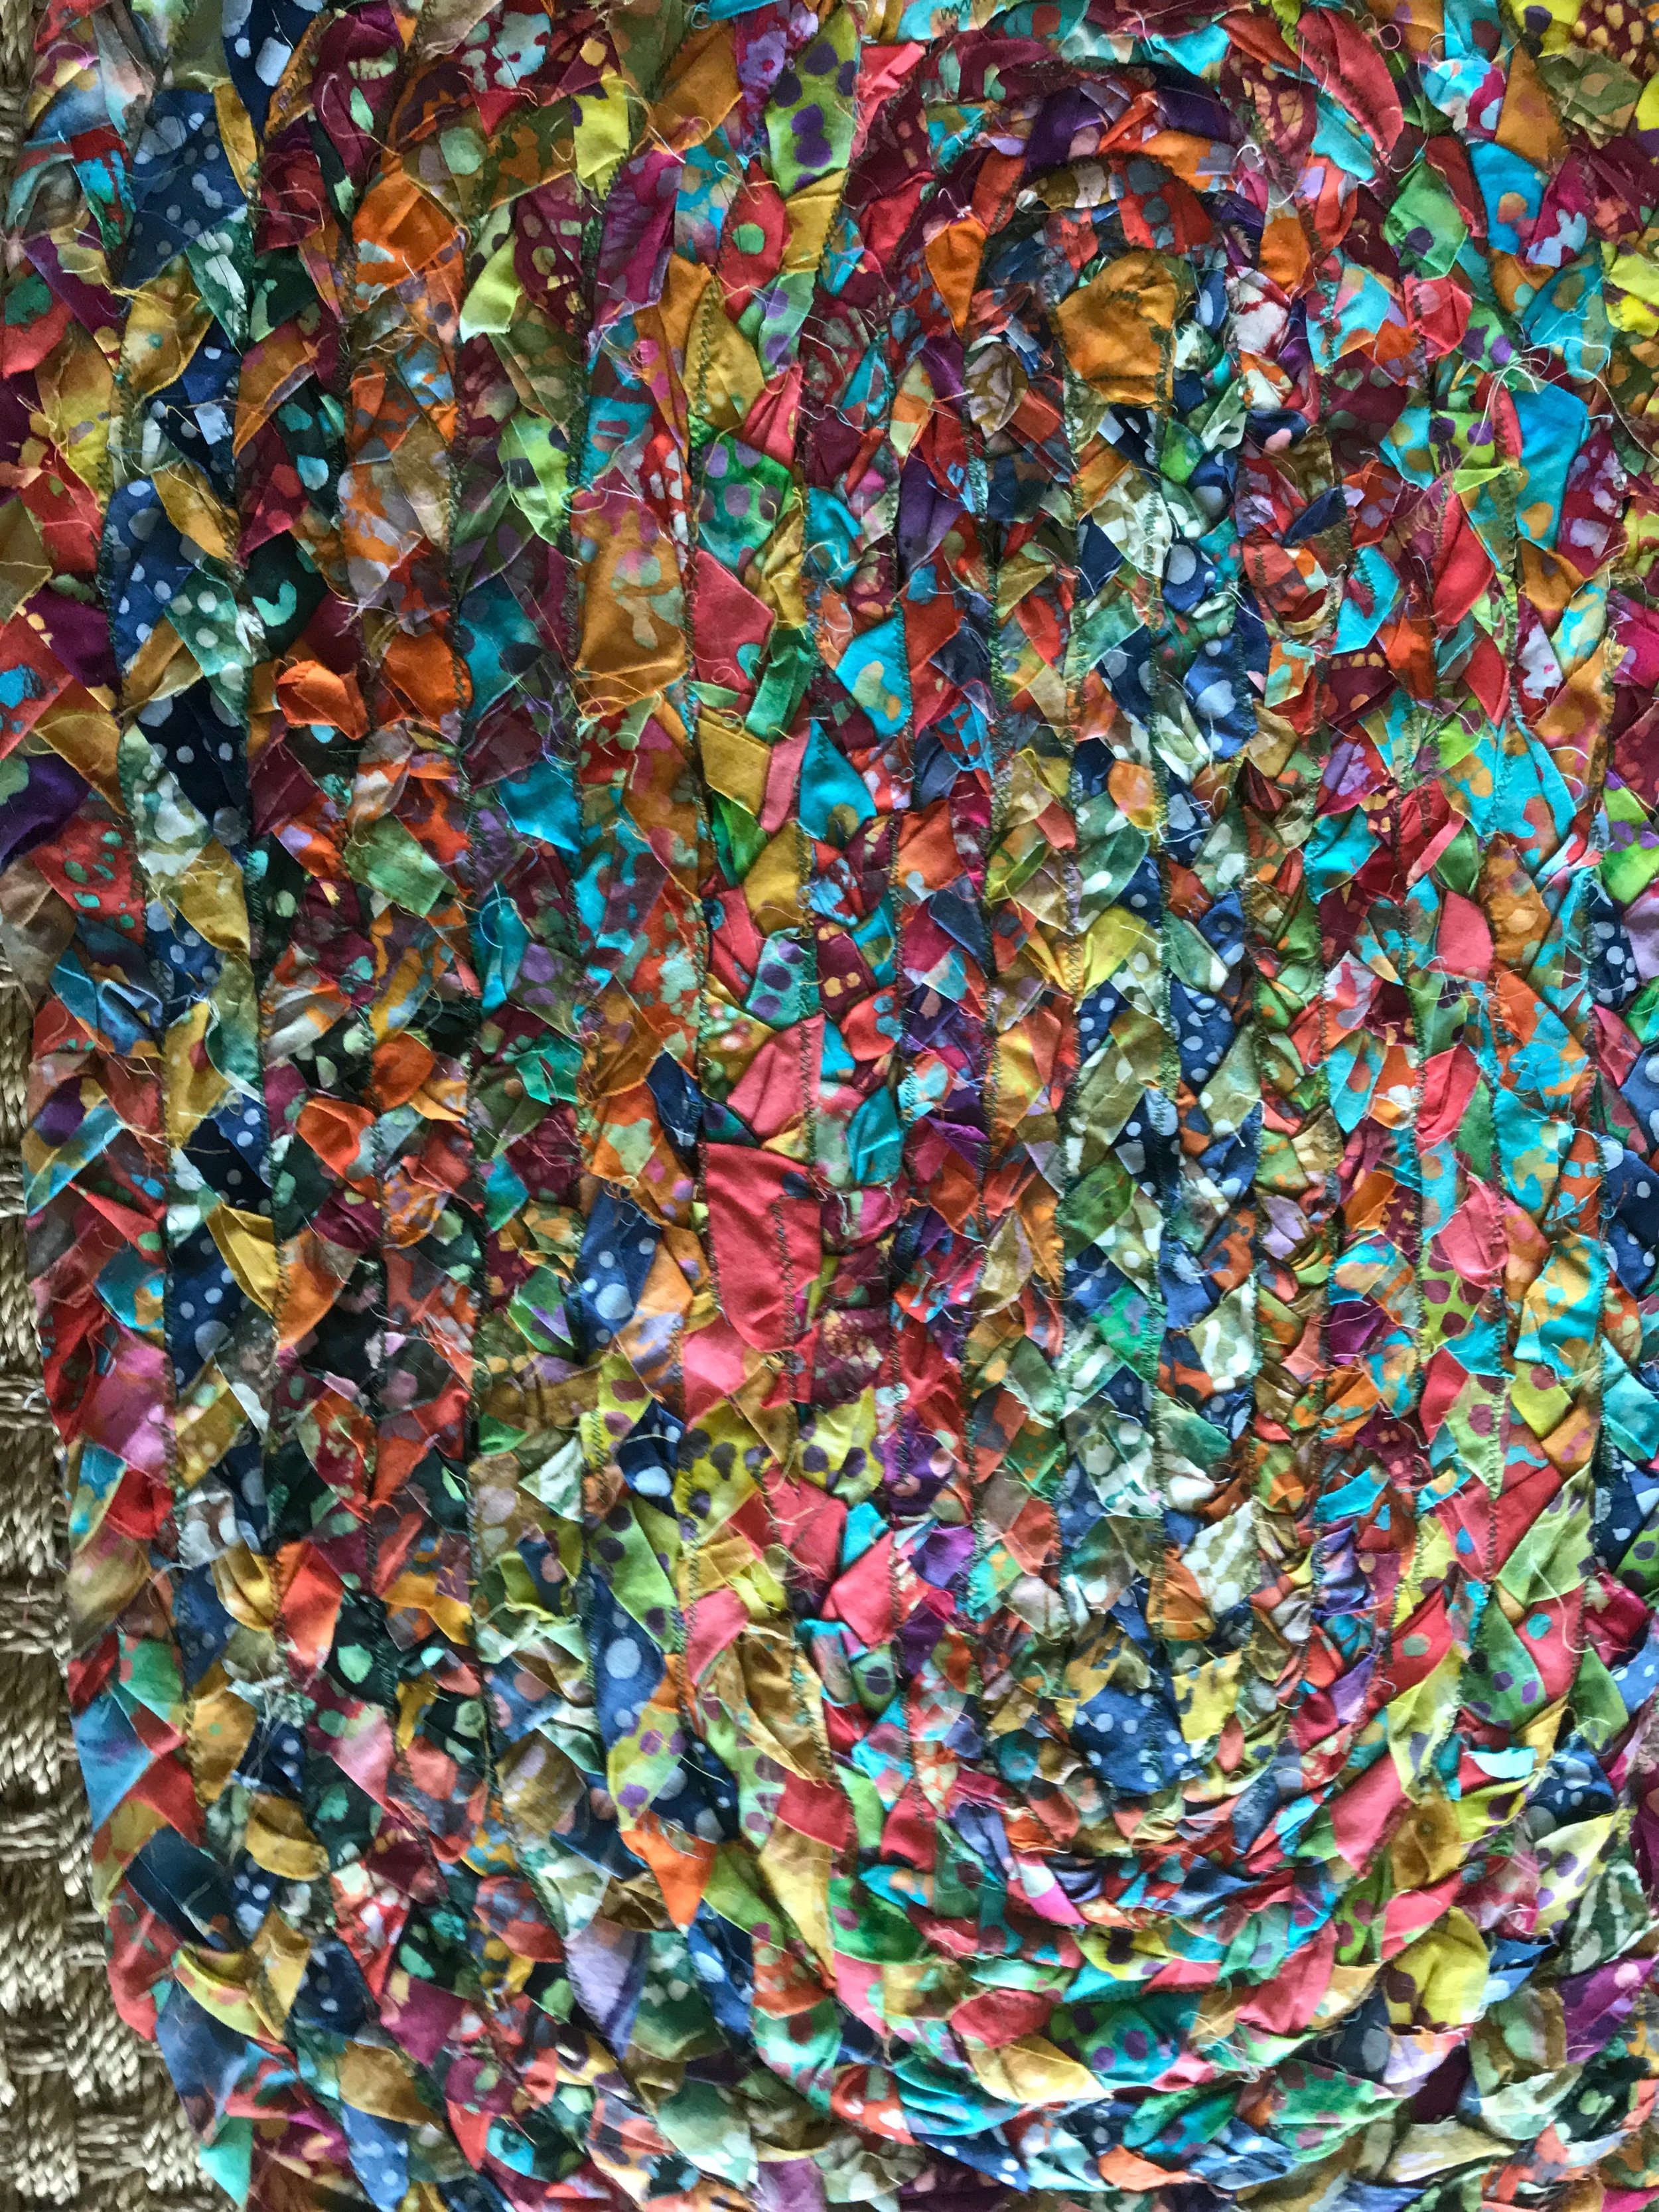
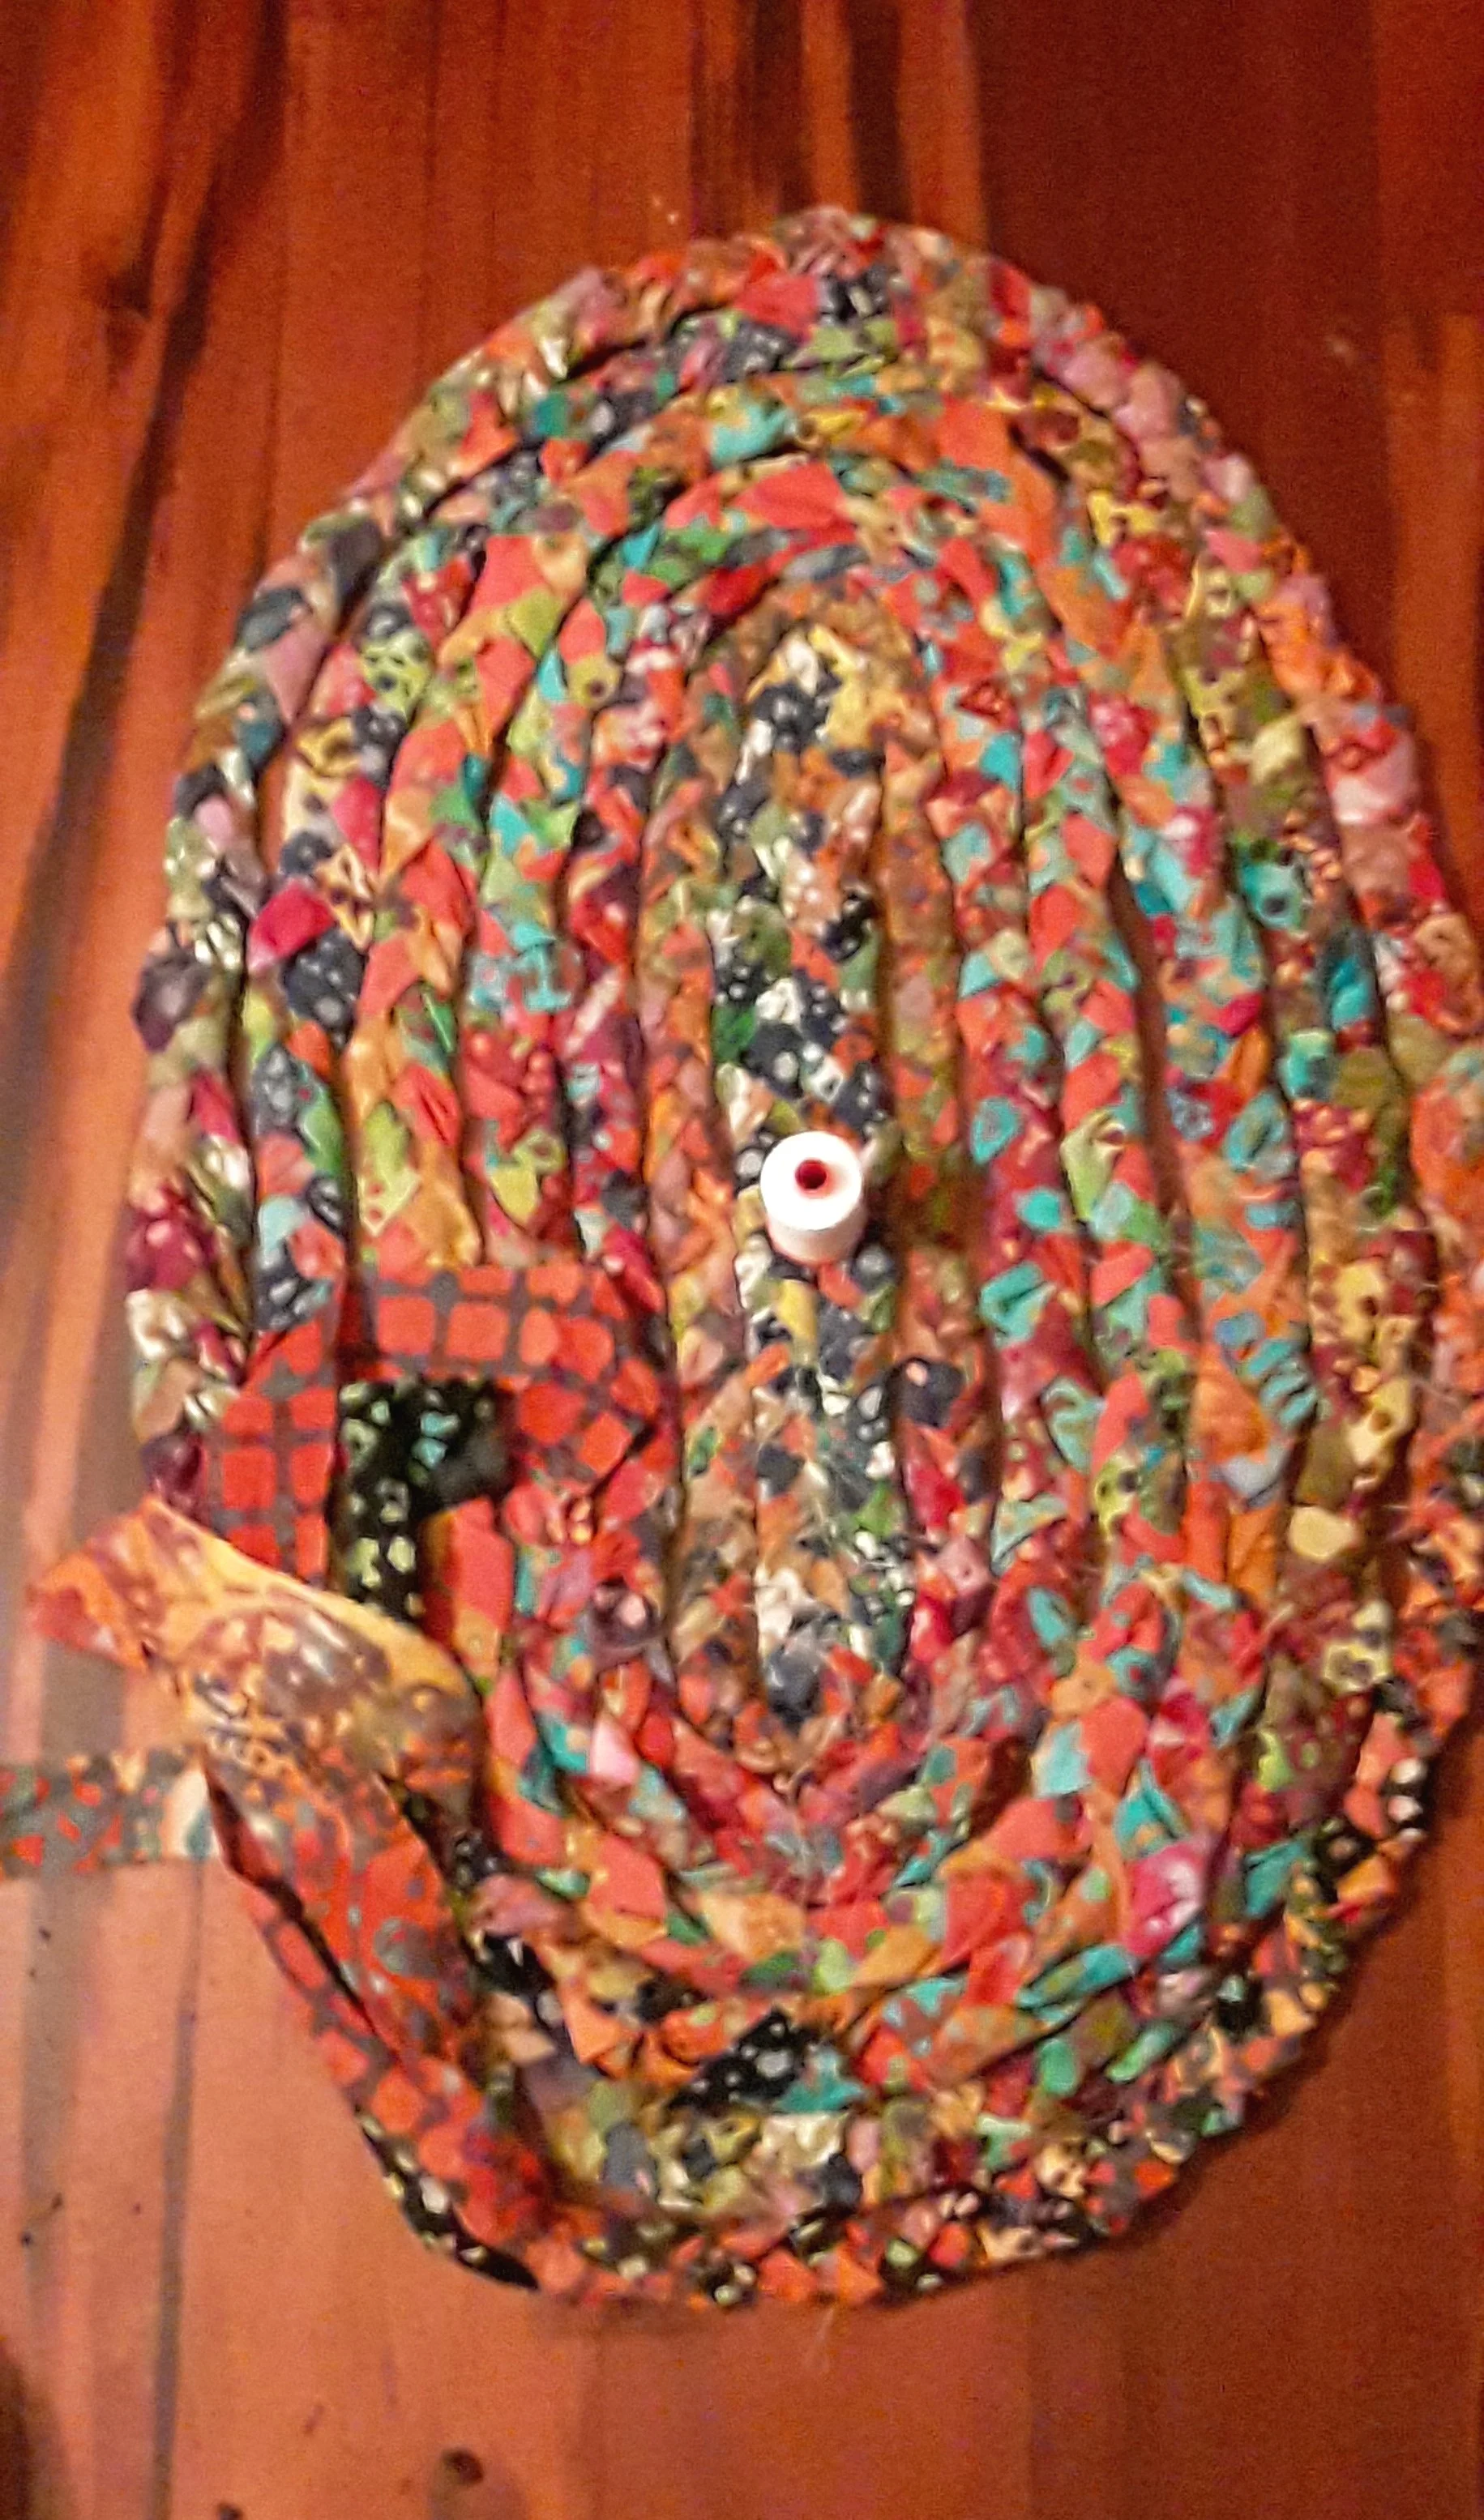
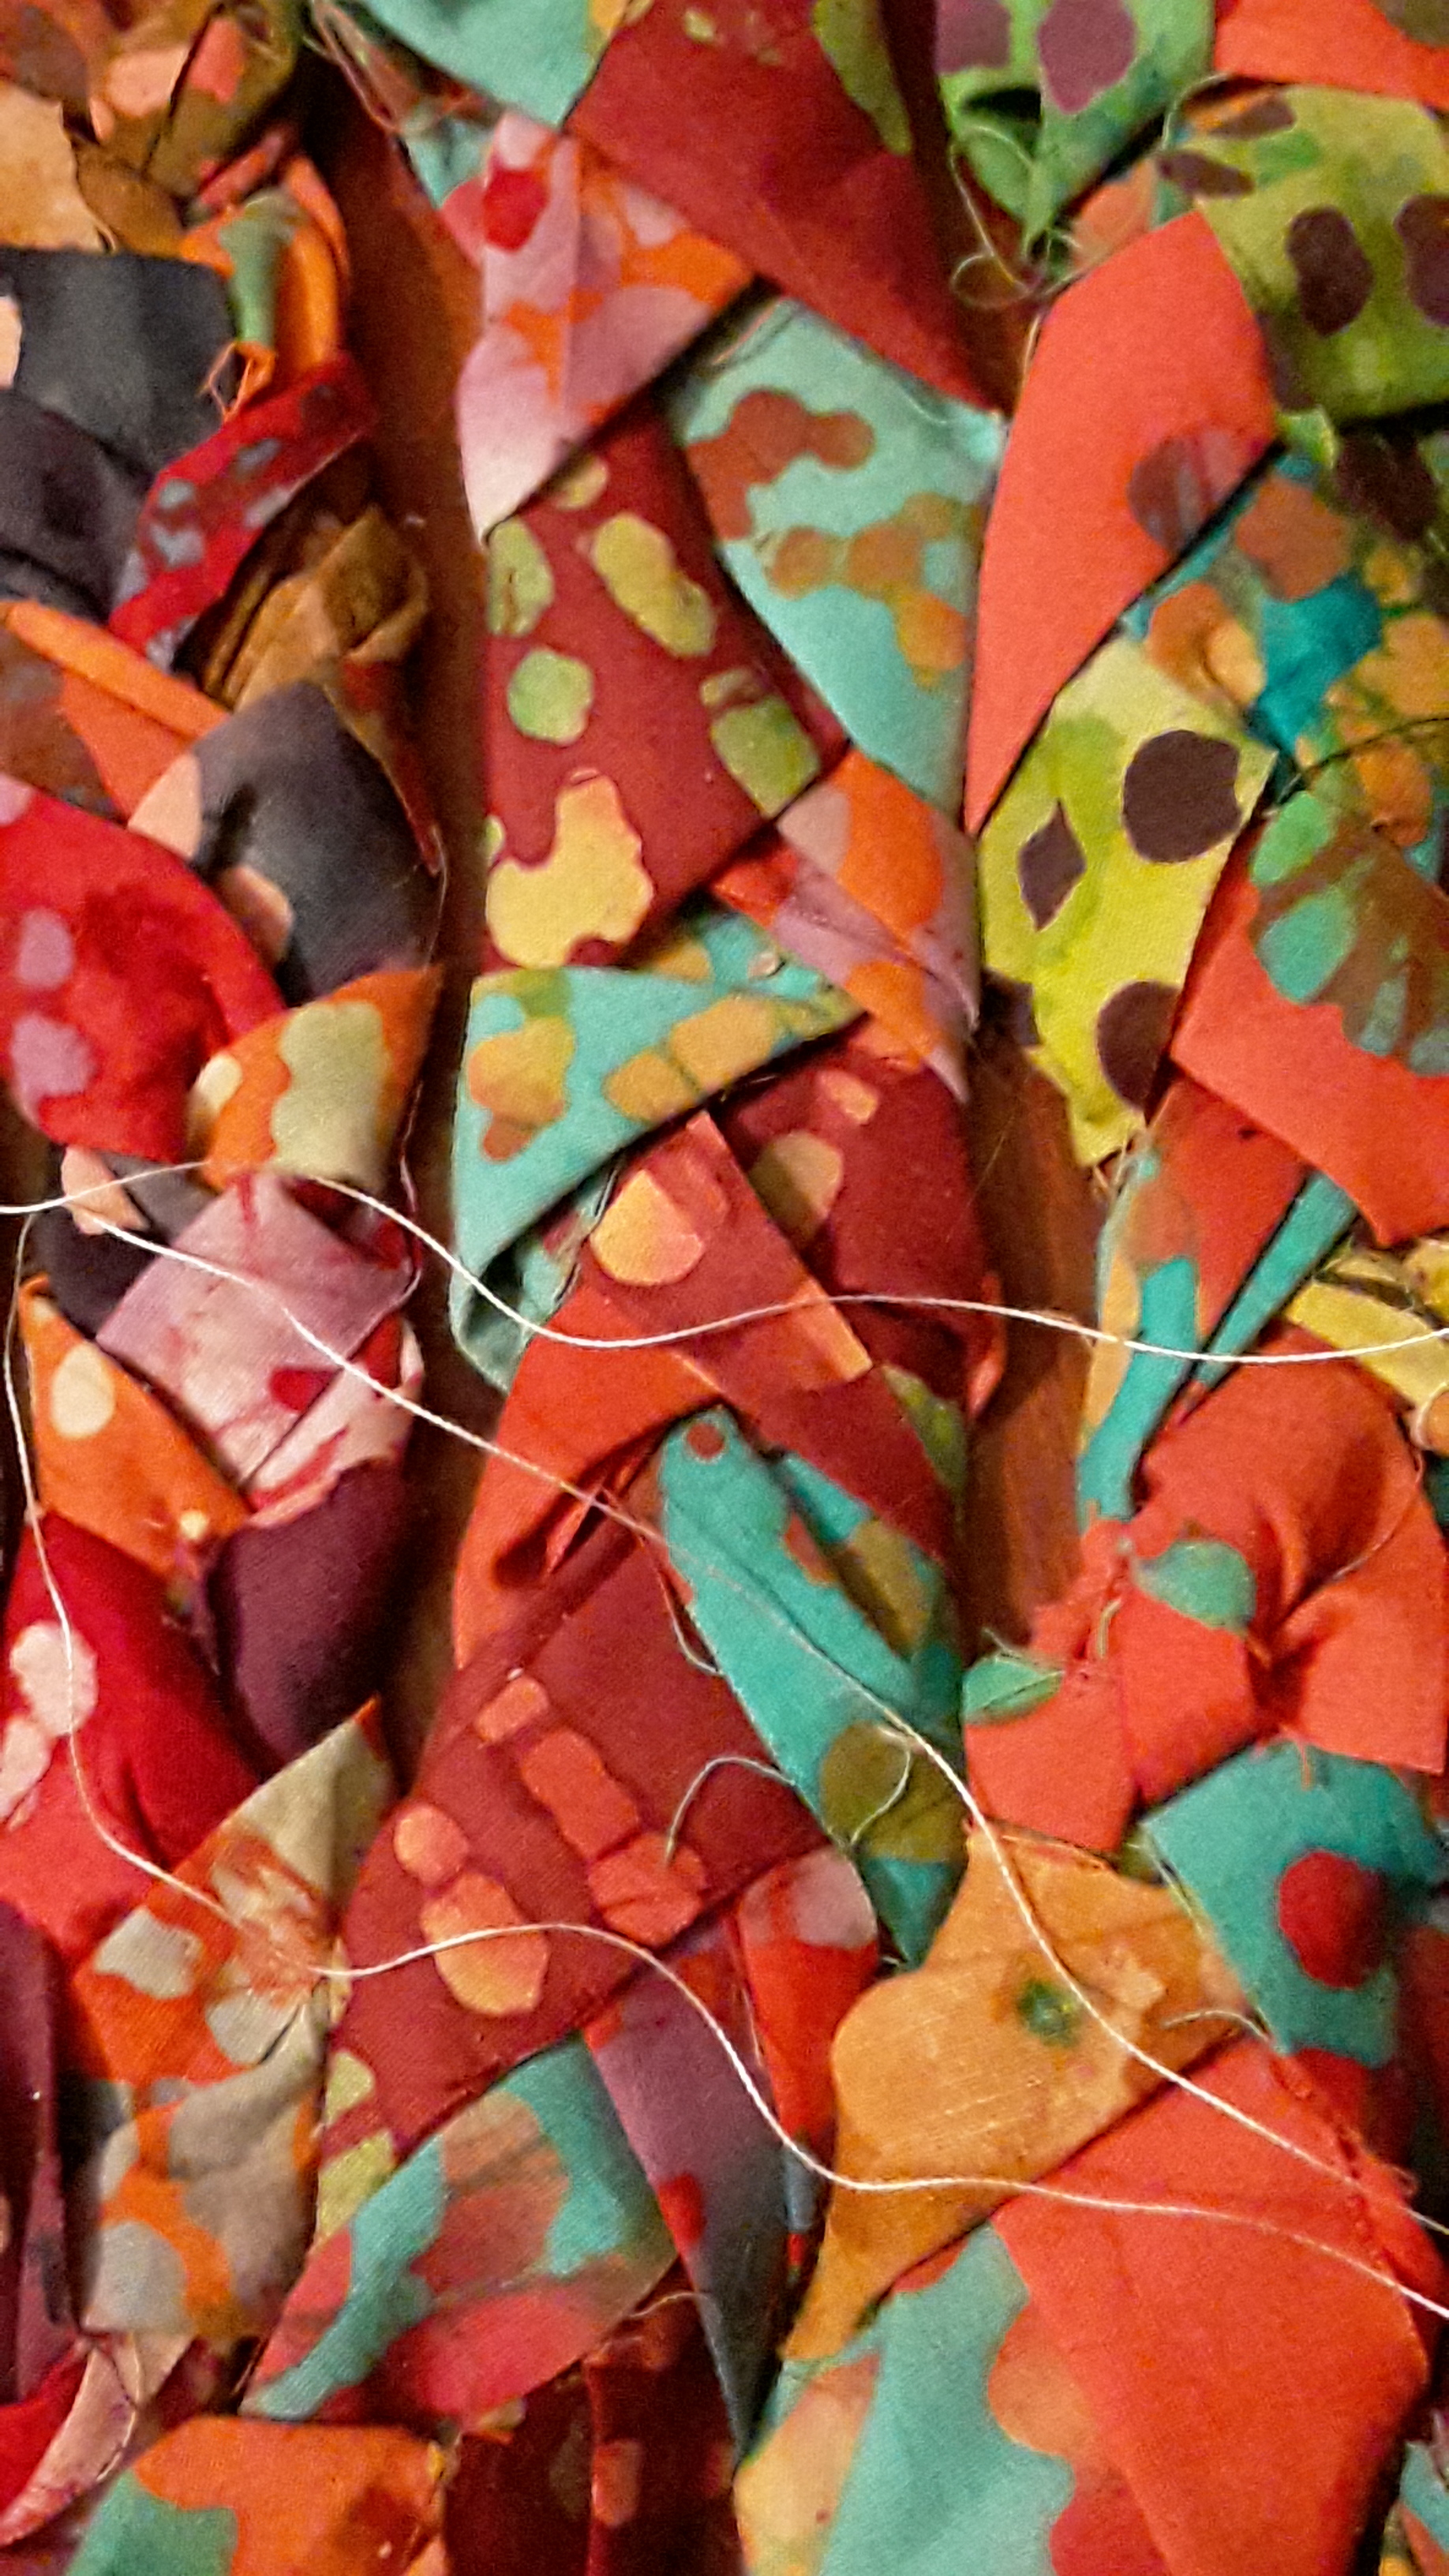
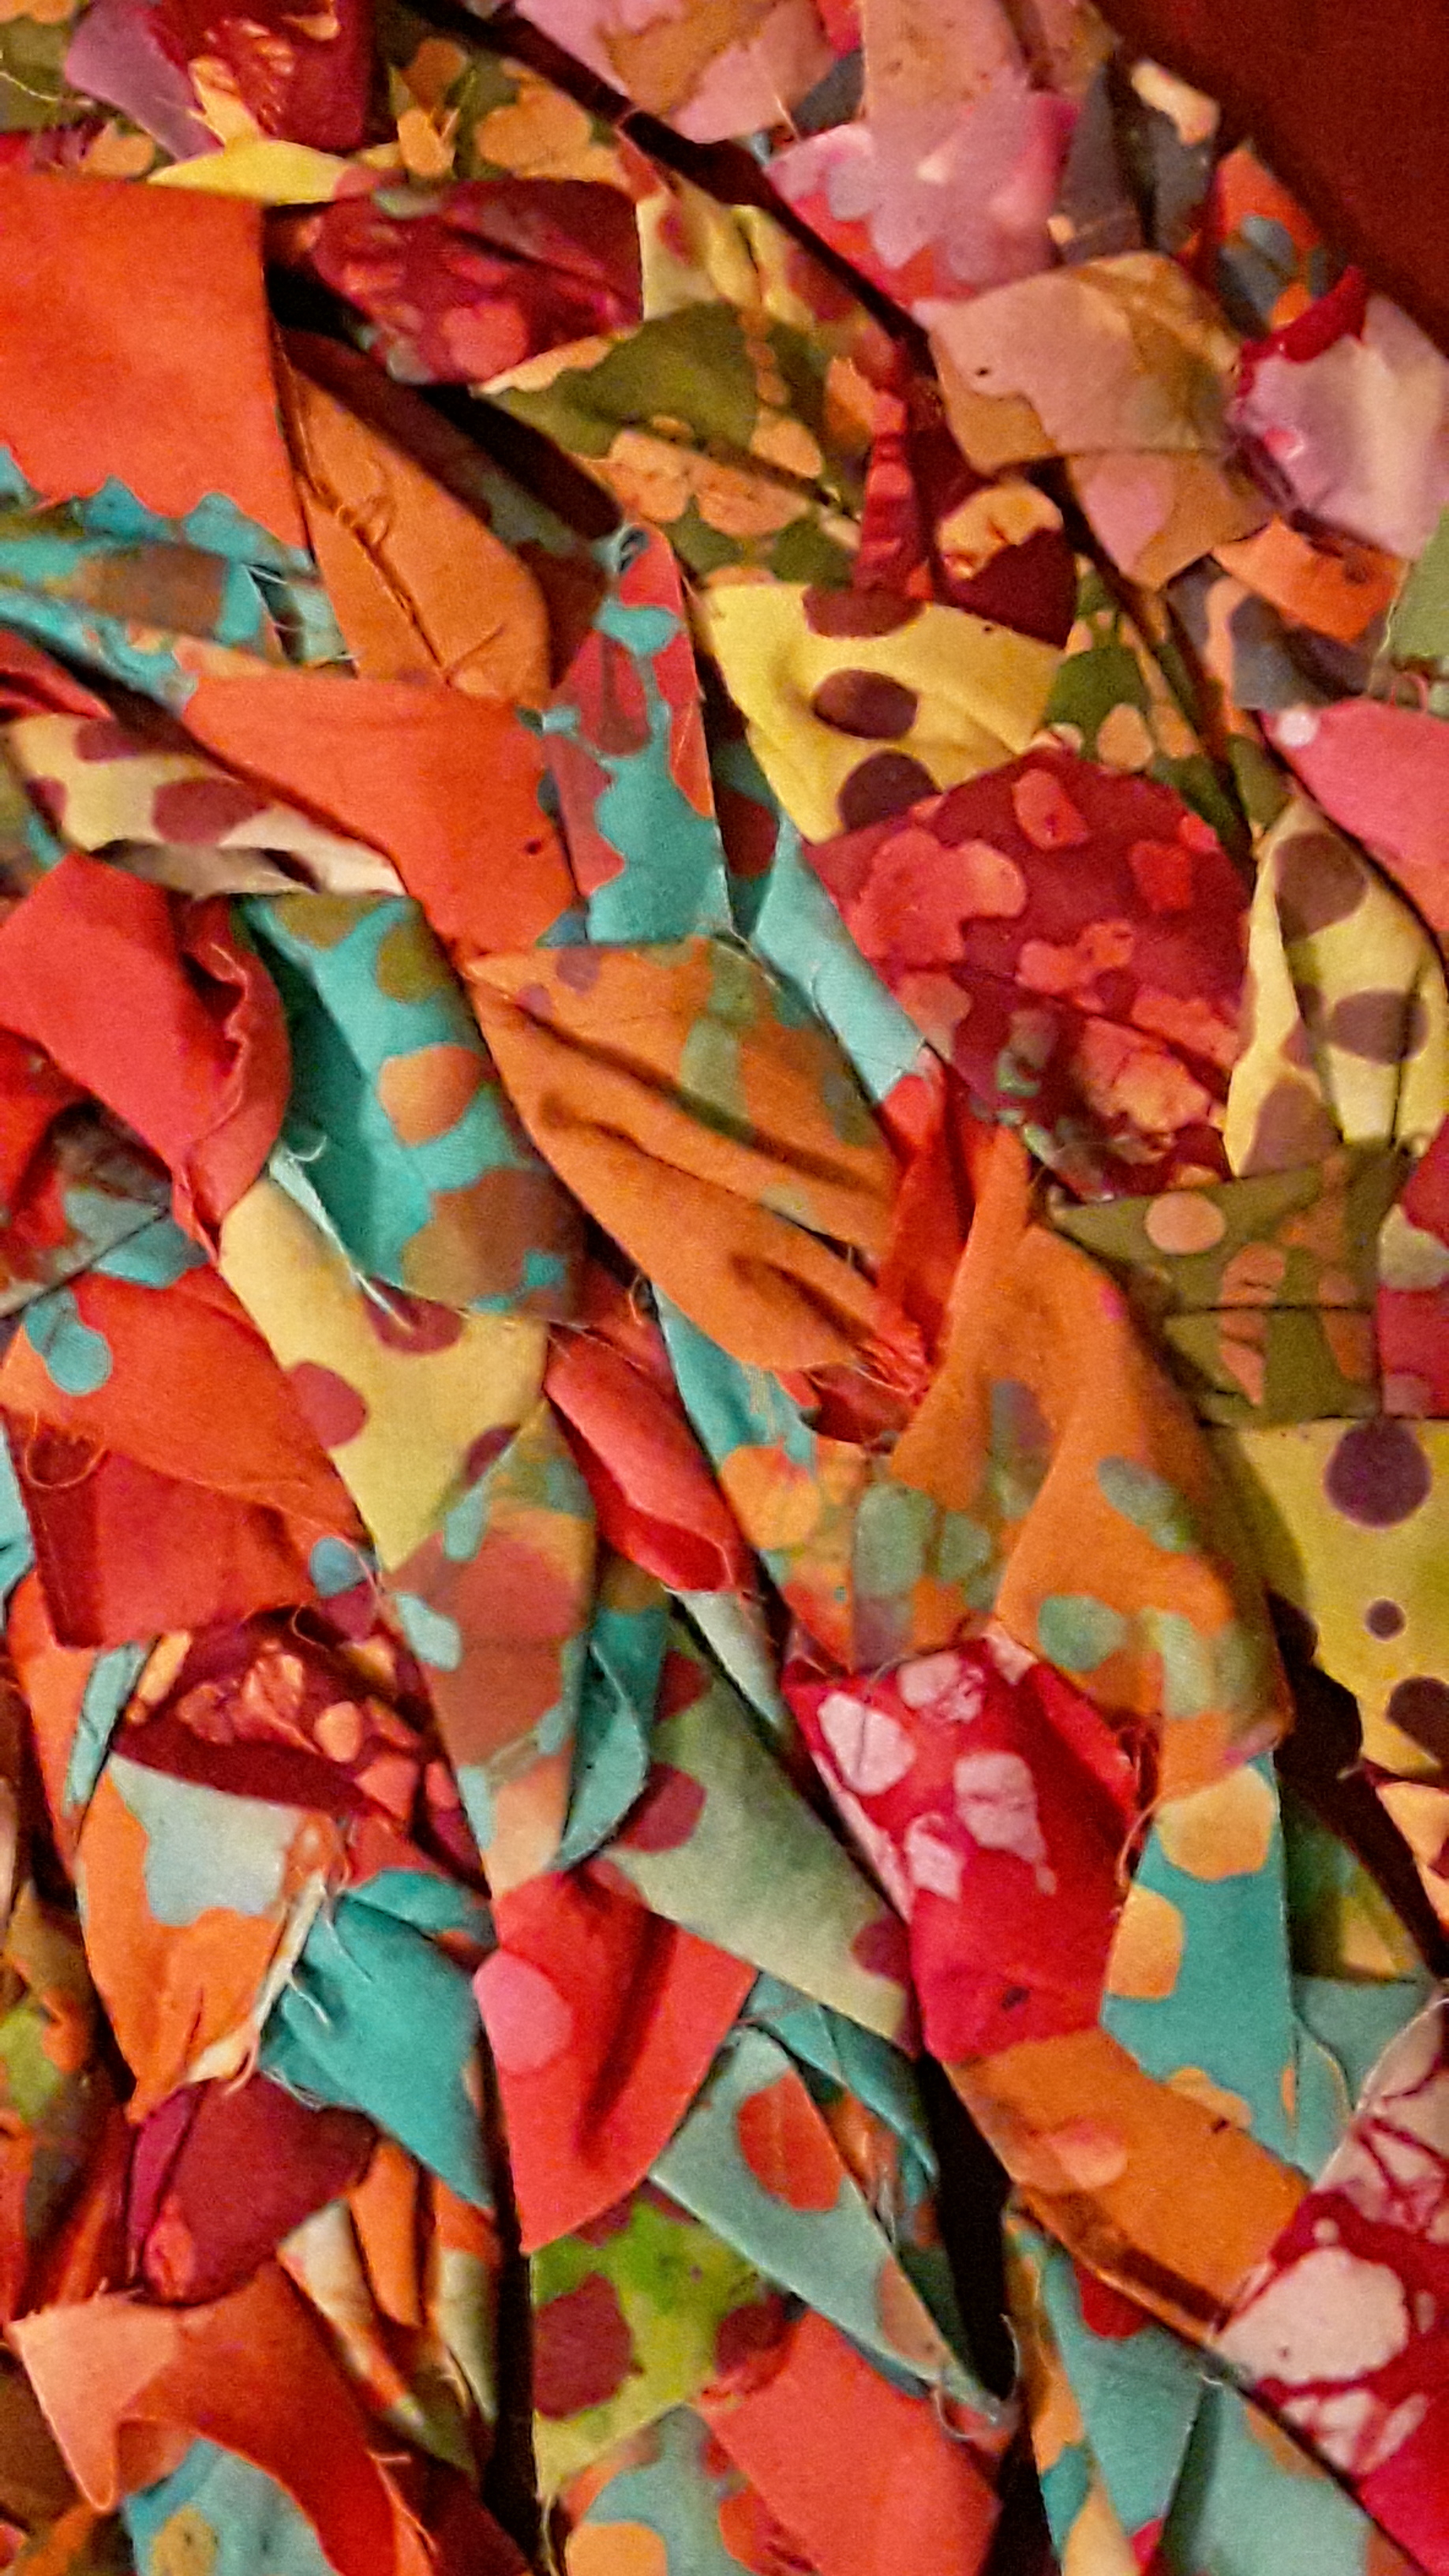
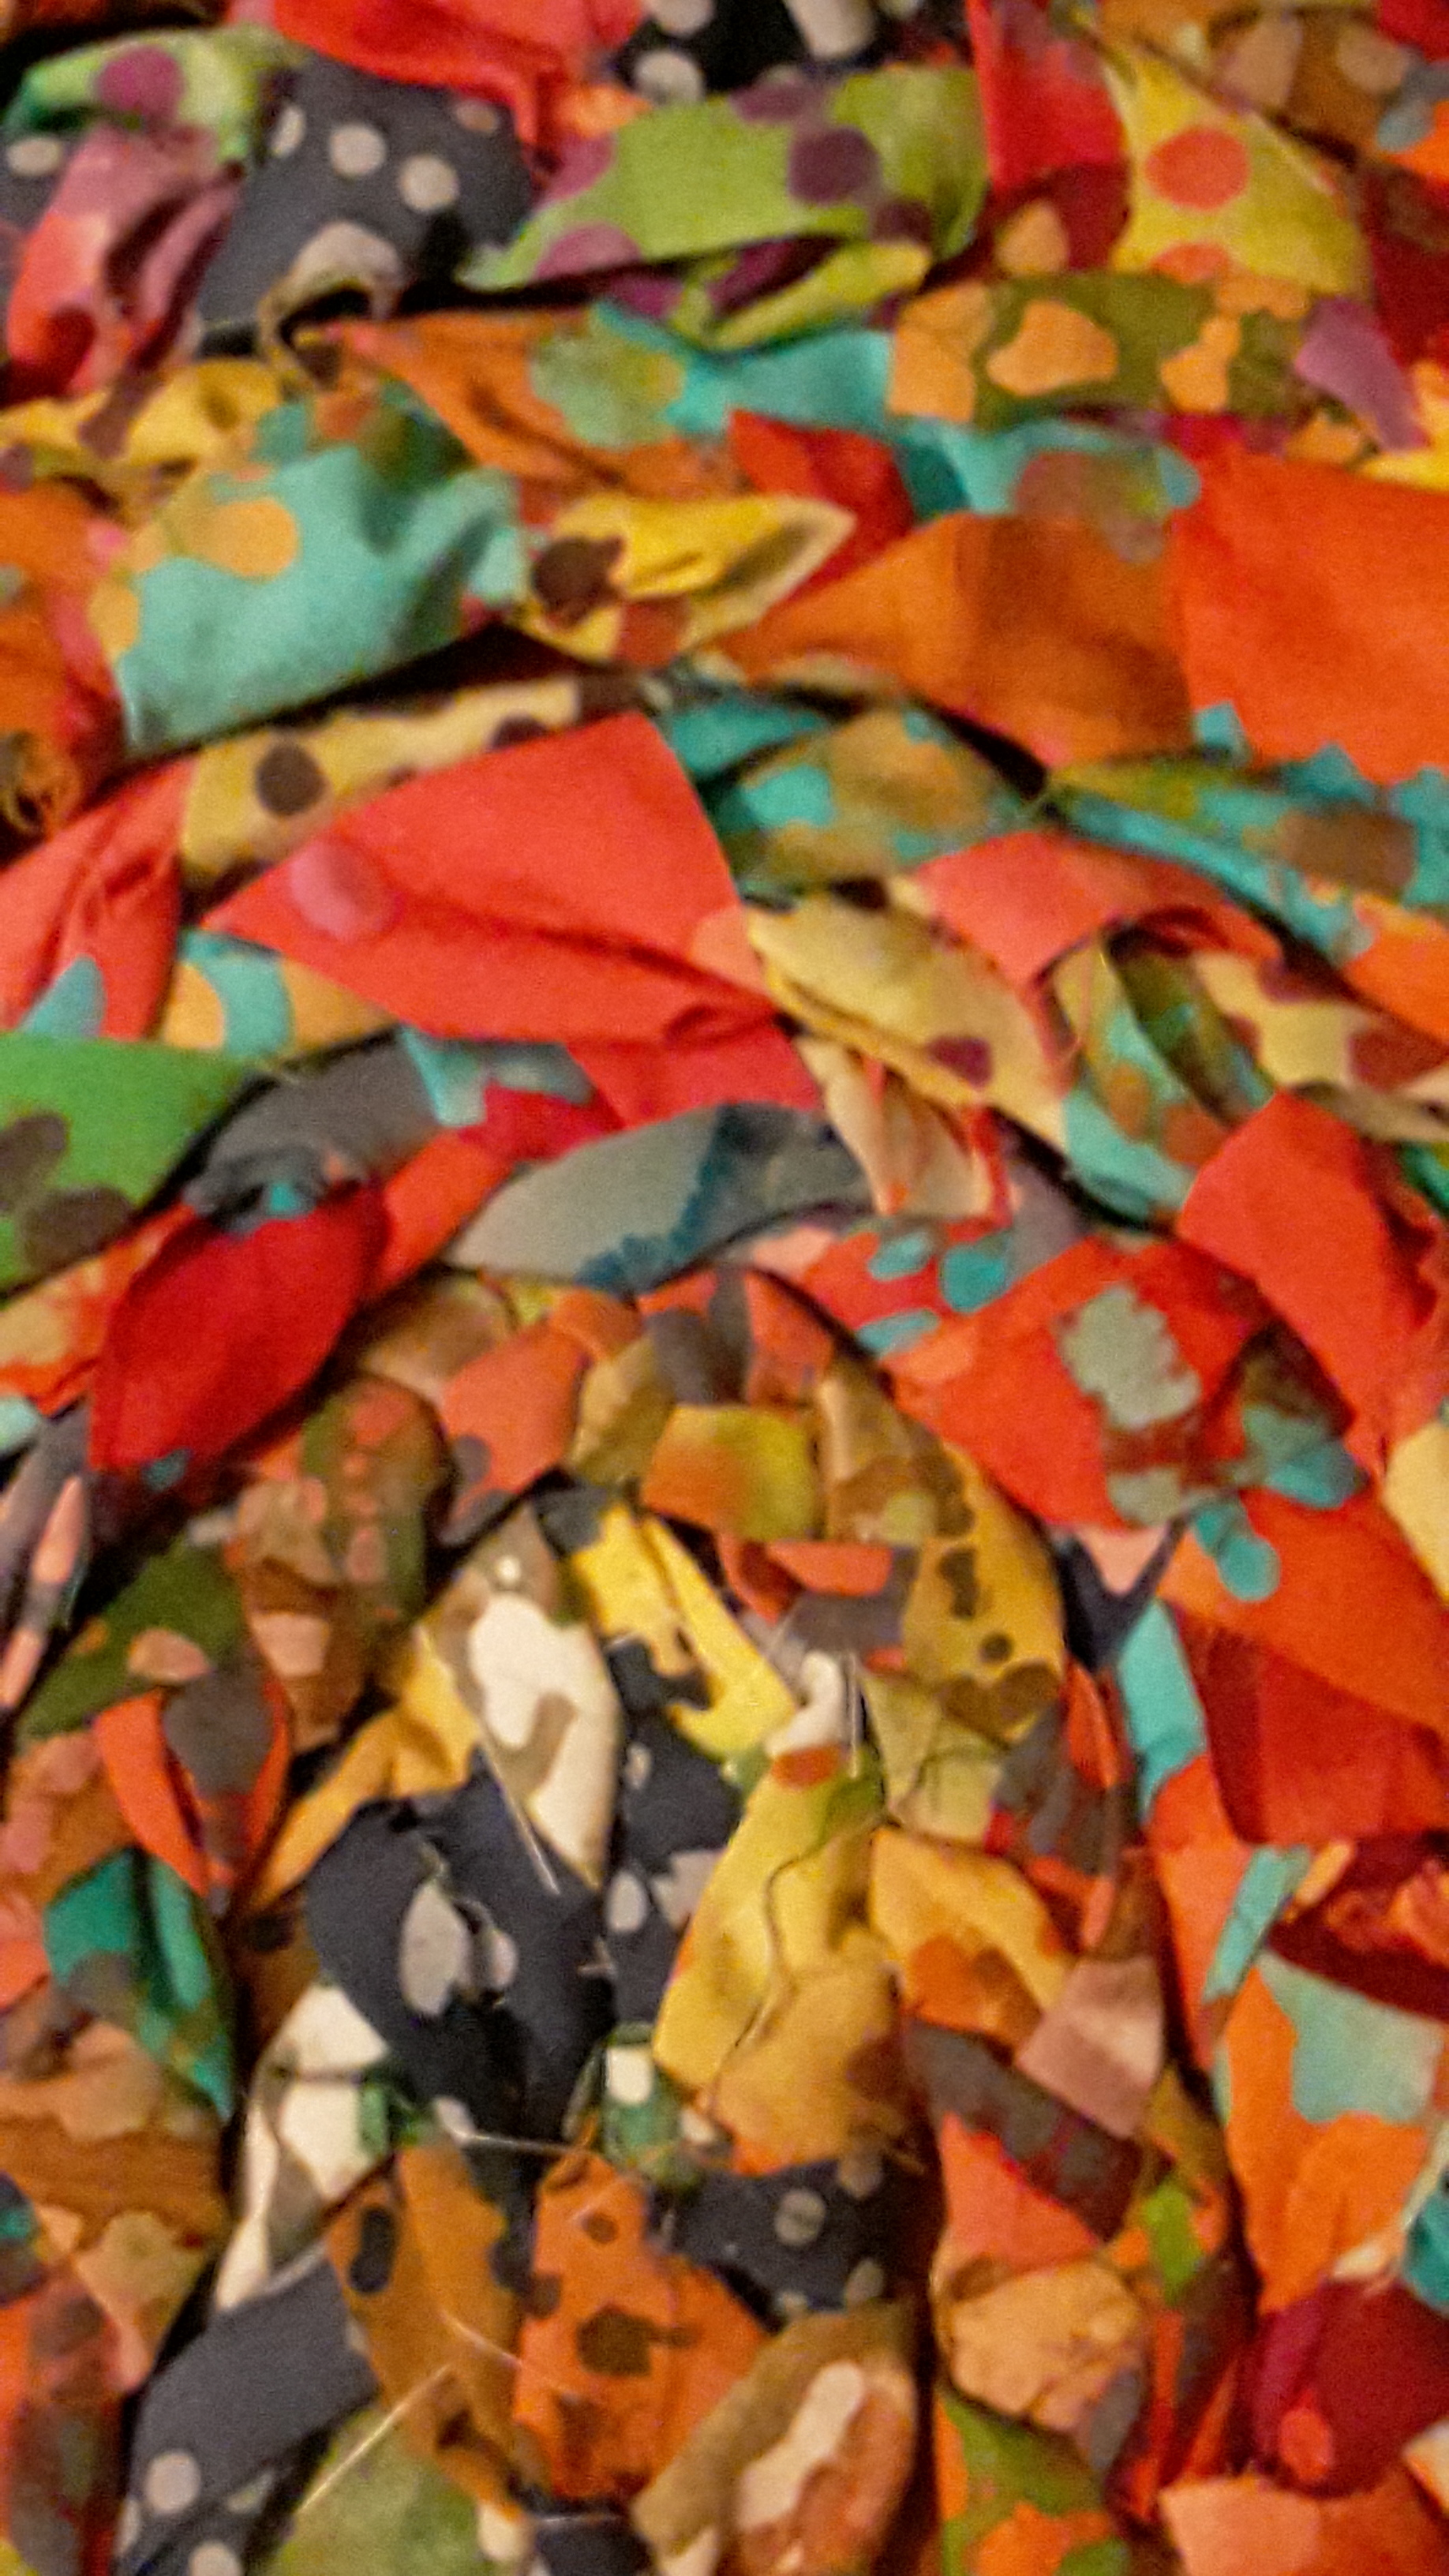
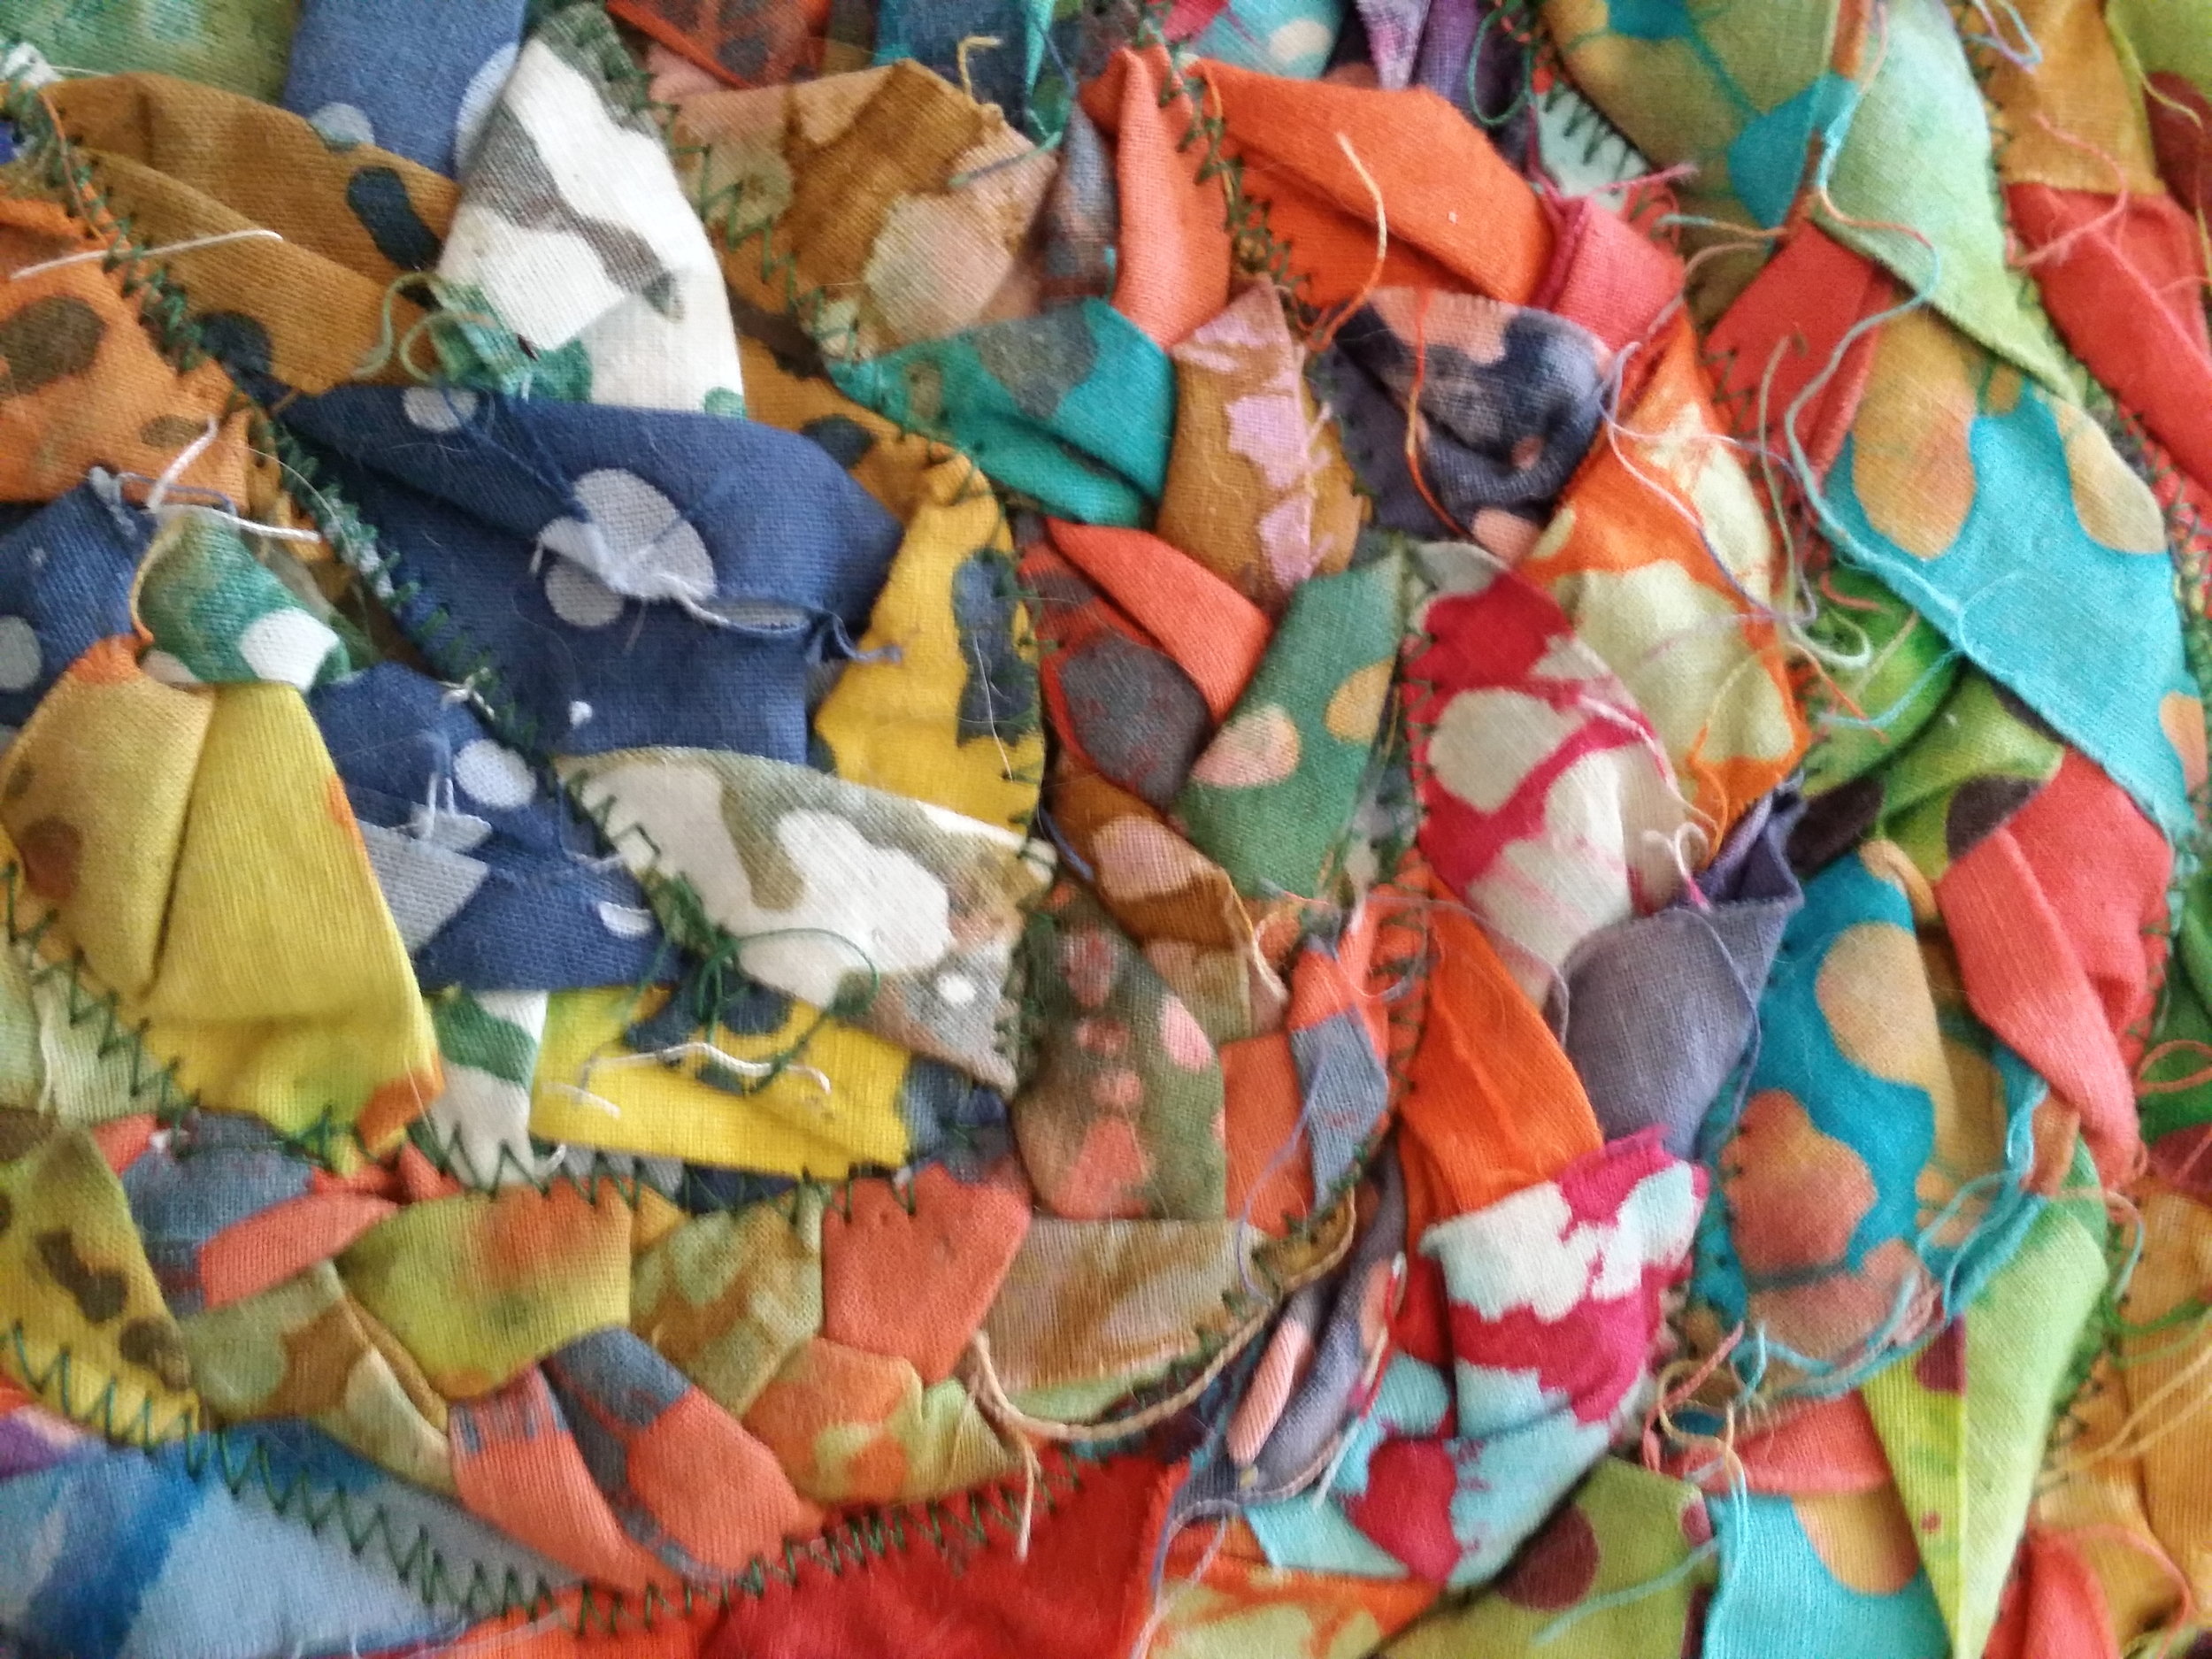
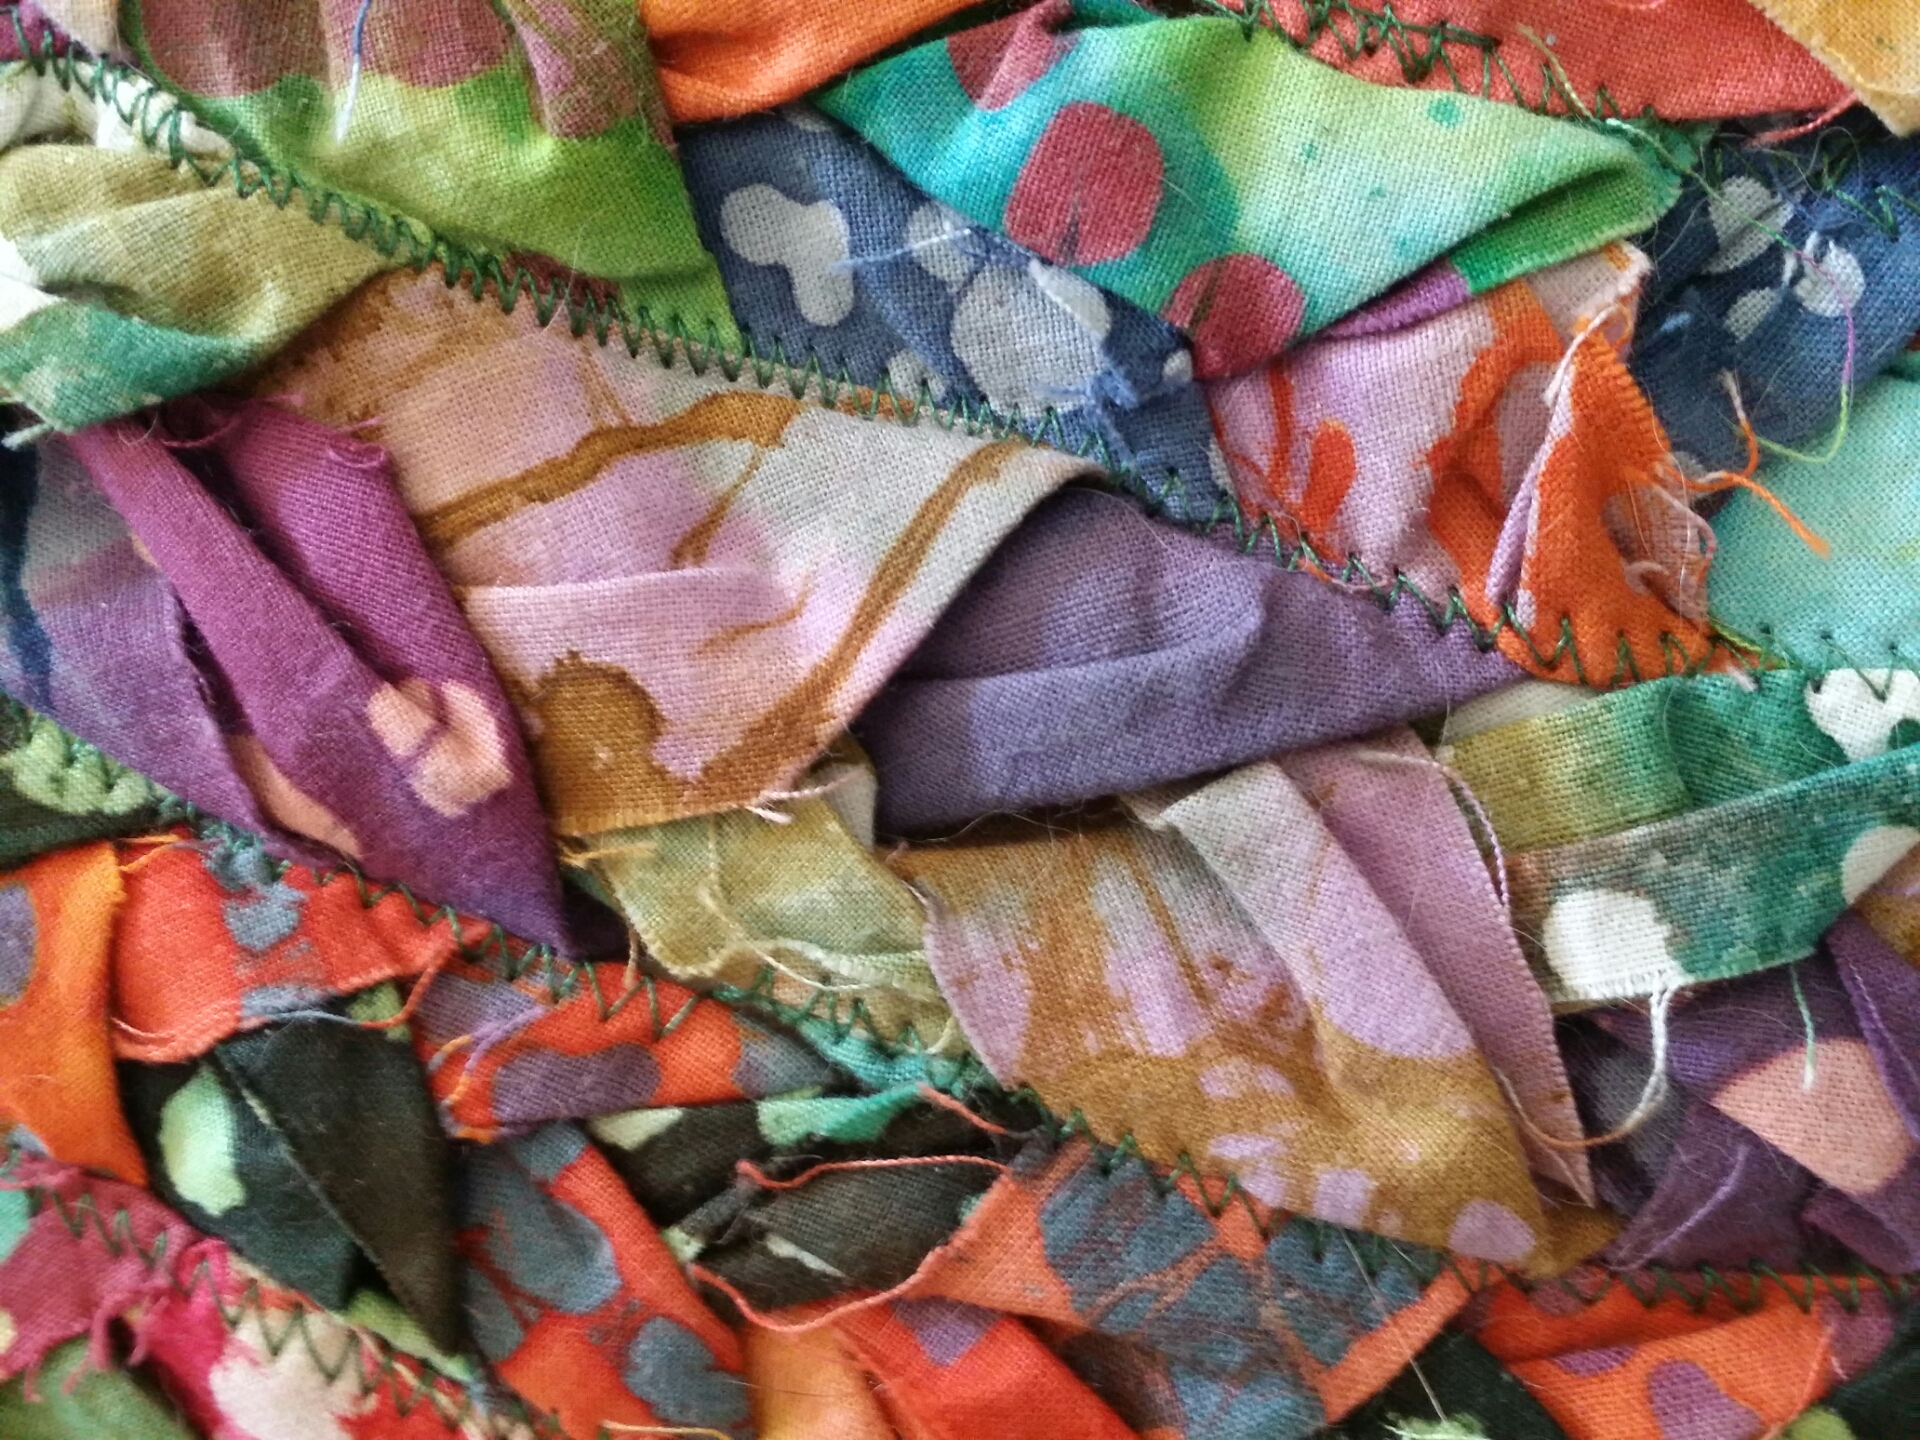
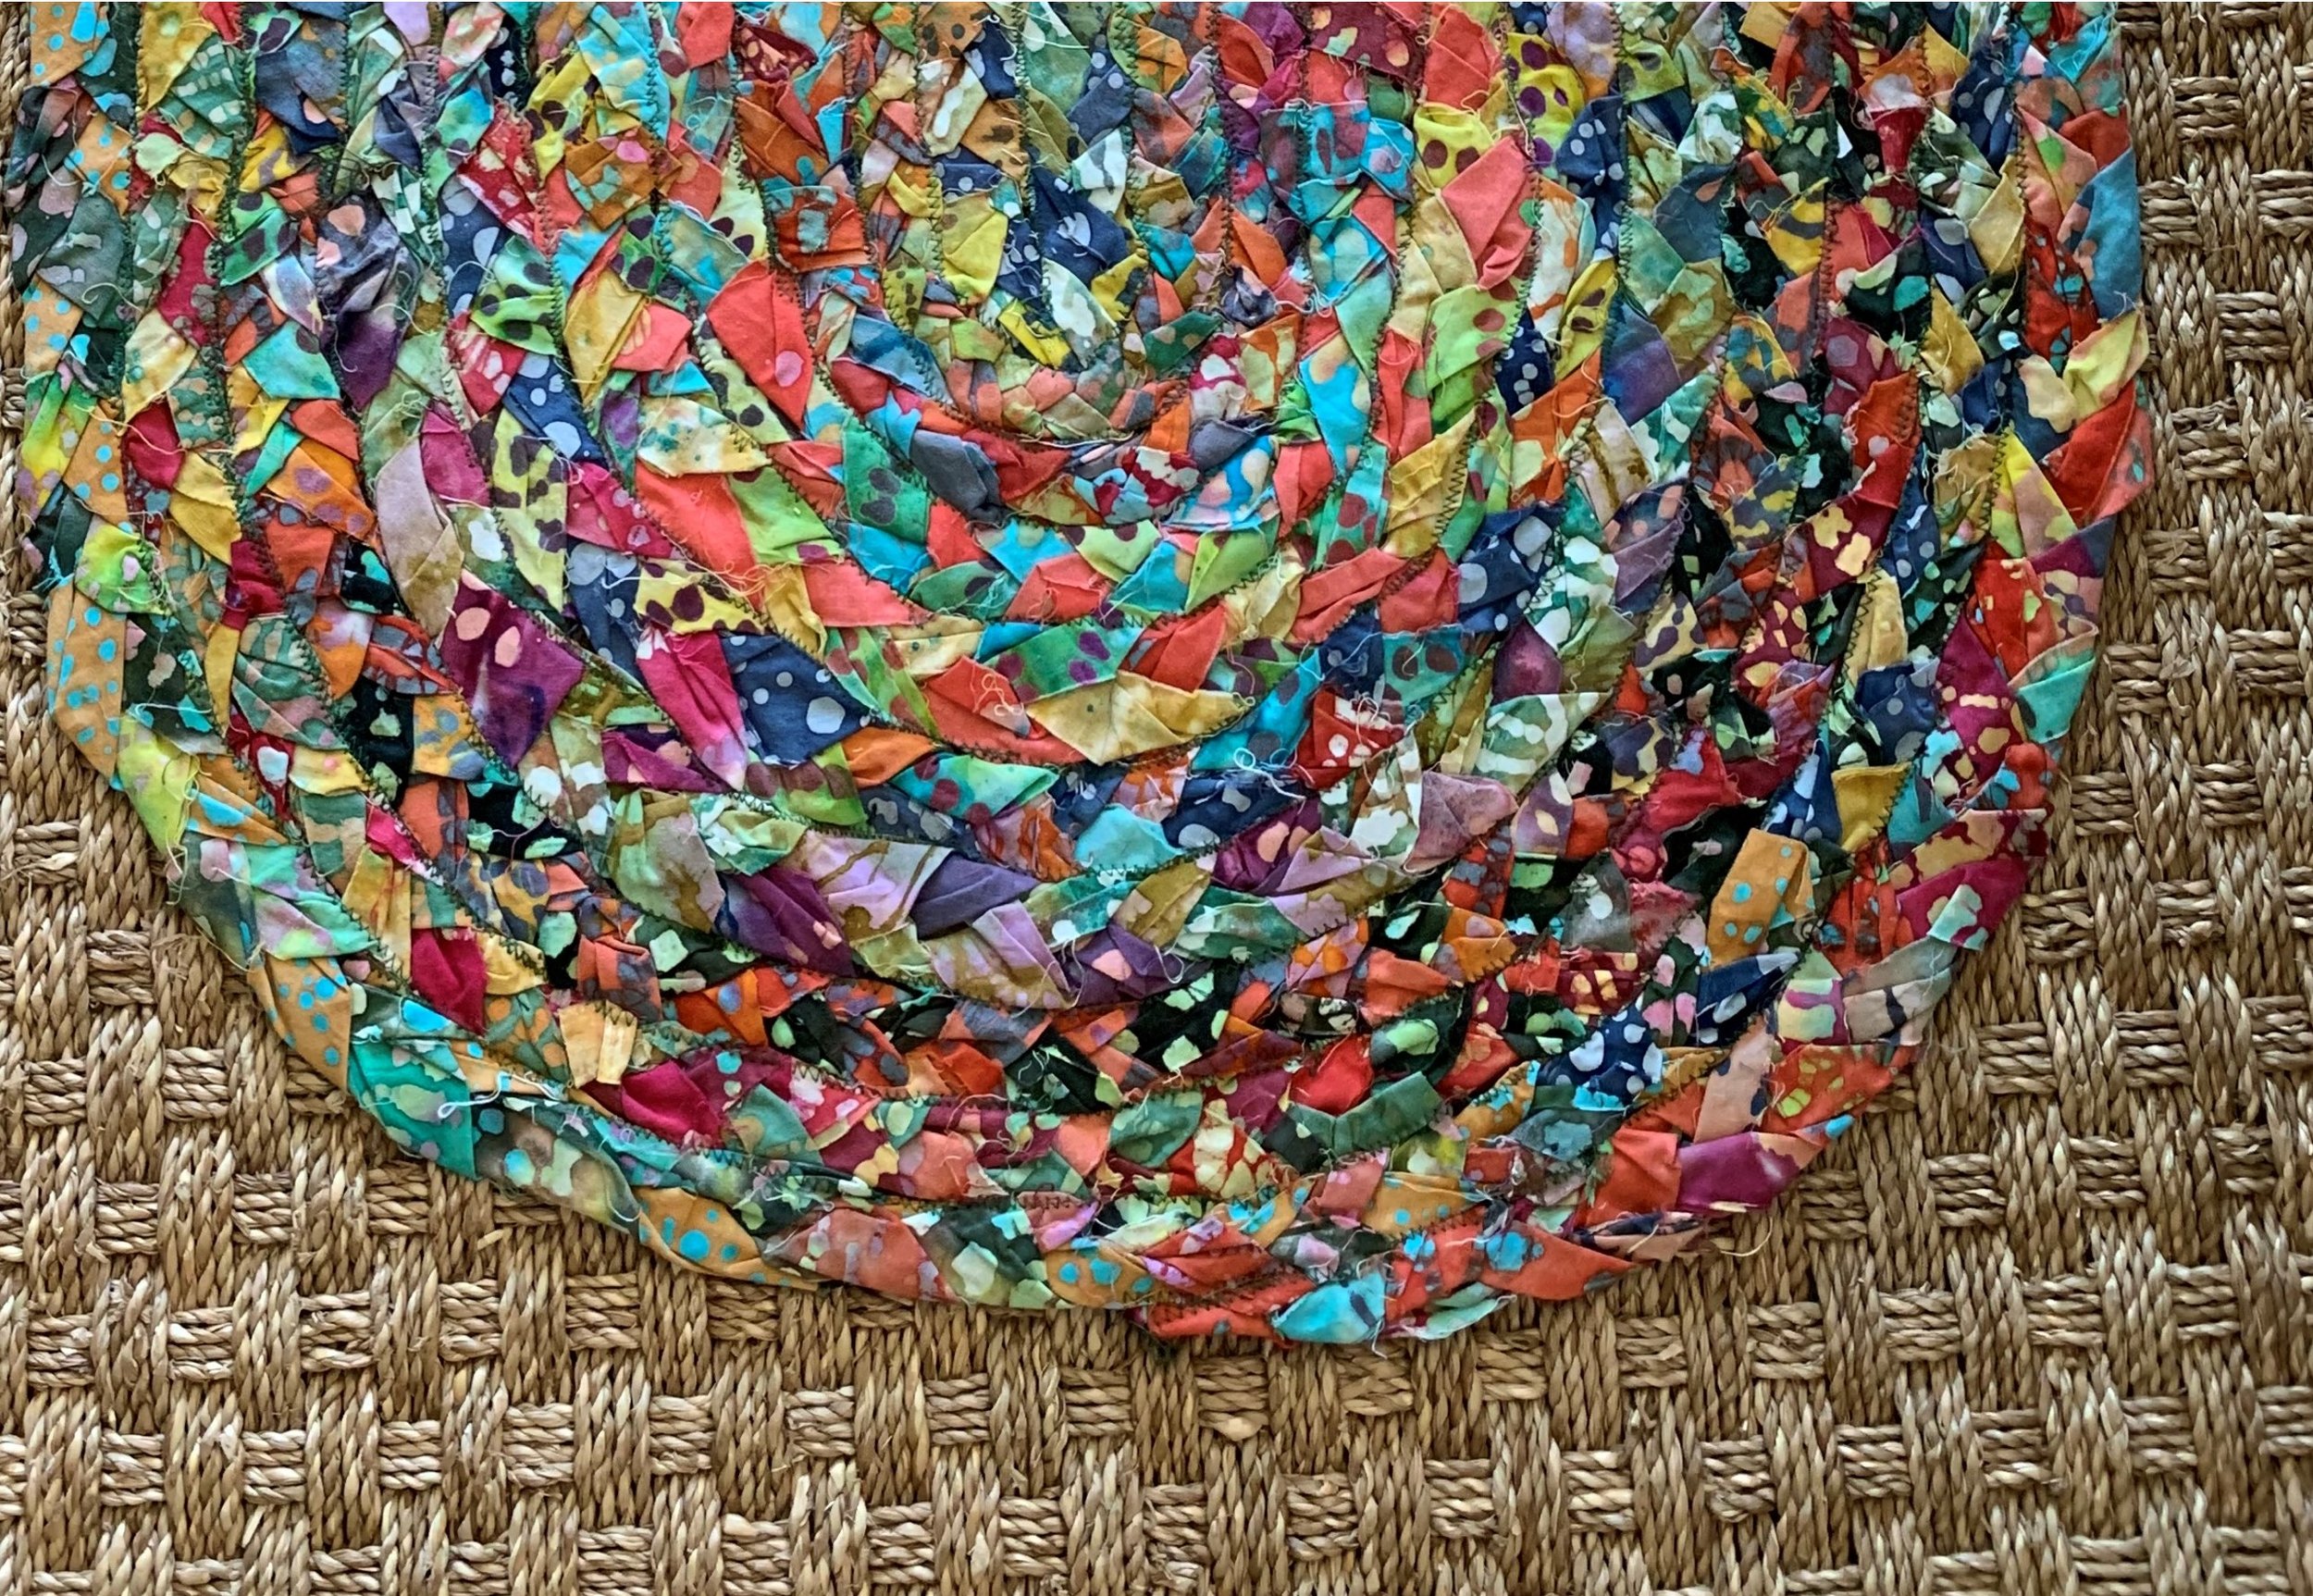
Batik Cotton Strips. This photo was taken with an old cellphone. But i think it shows and proves just how vivid and amazing the fabrics actually are—fabrics from My Fabric Addiction on eBay.
Lets Make This Rug:
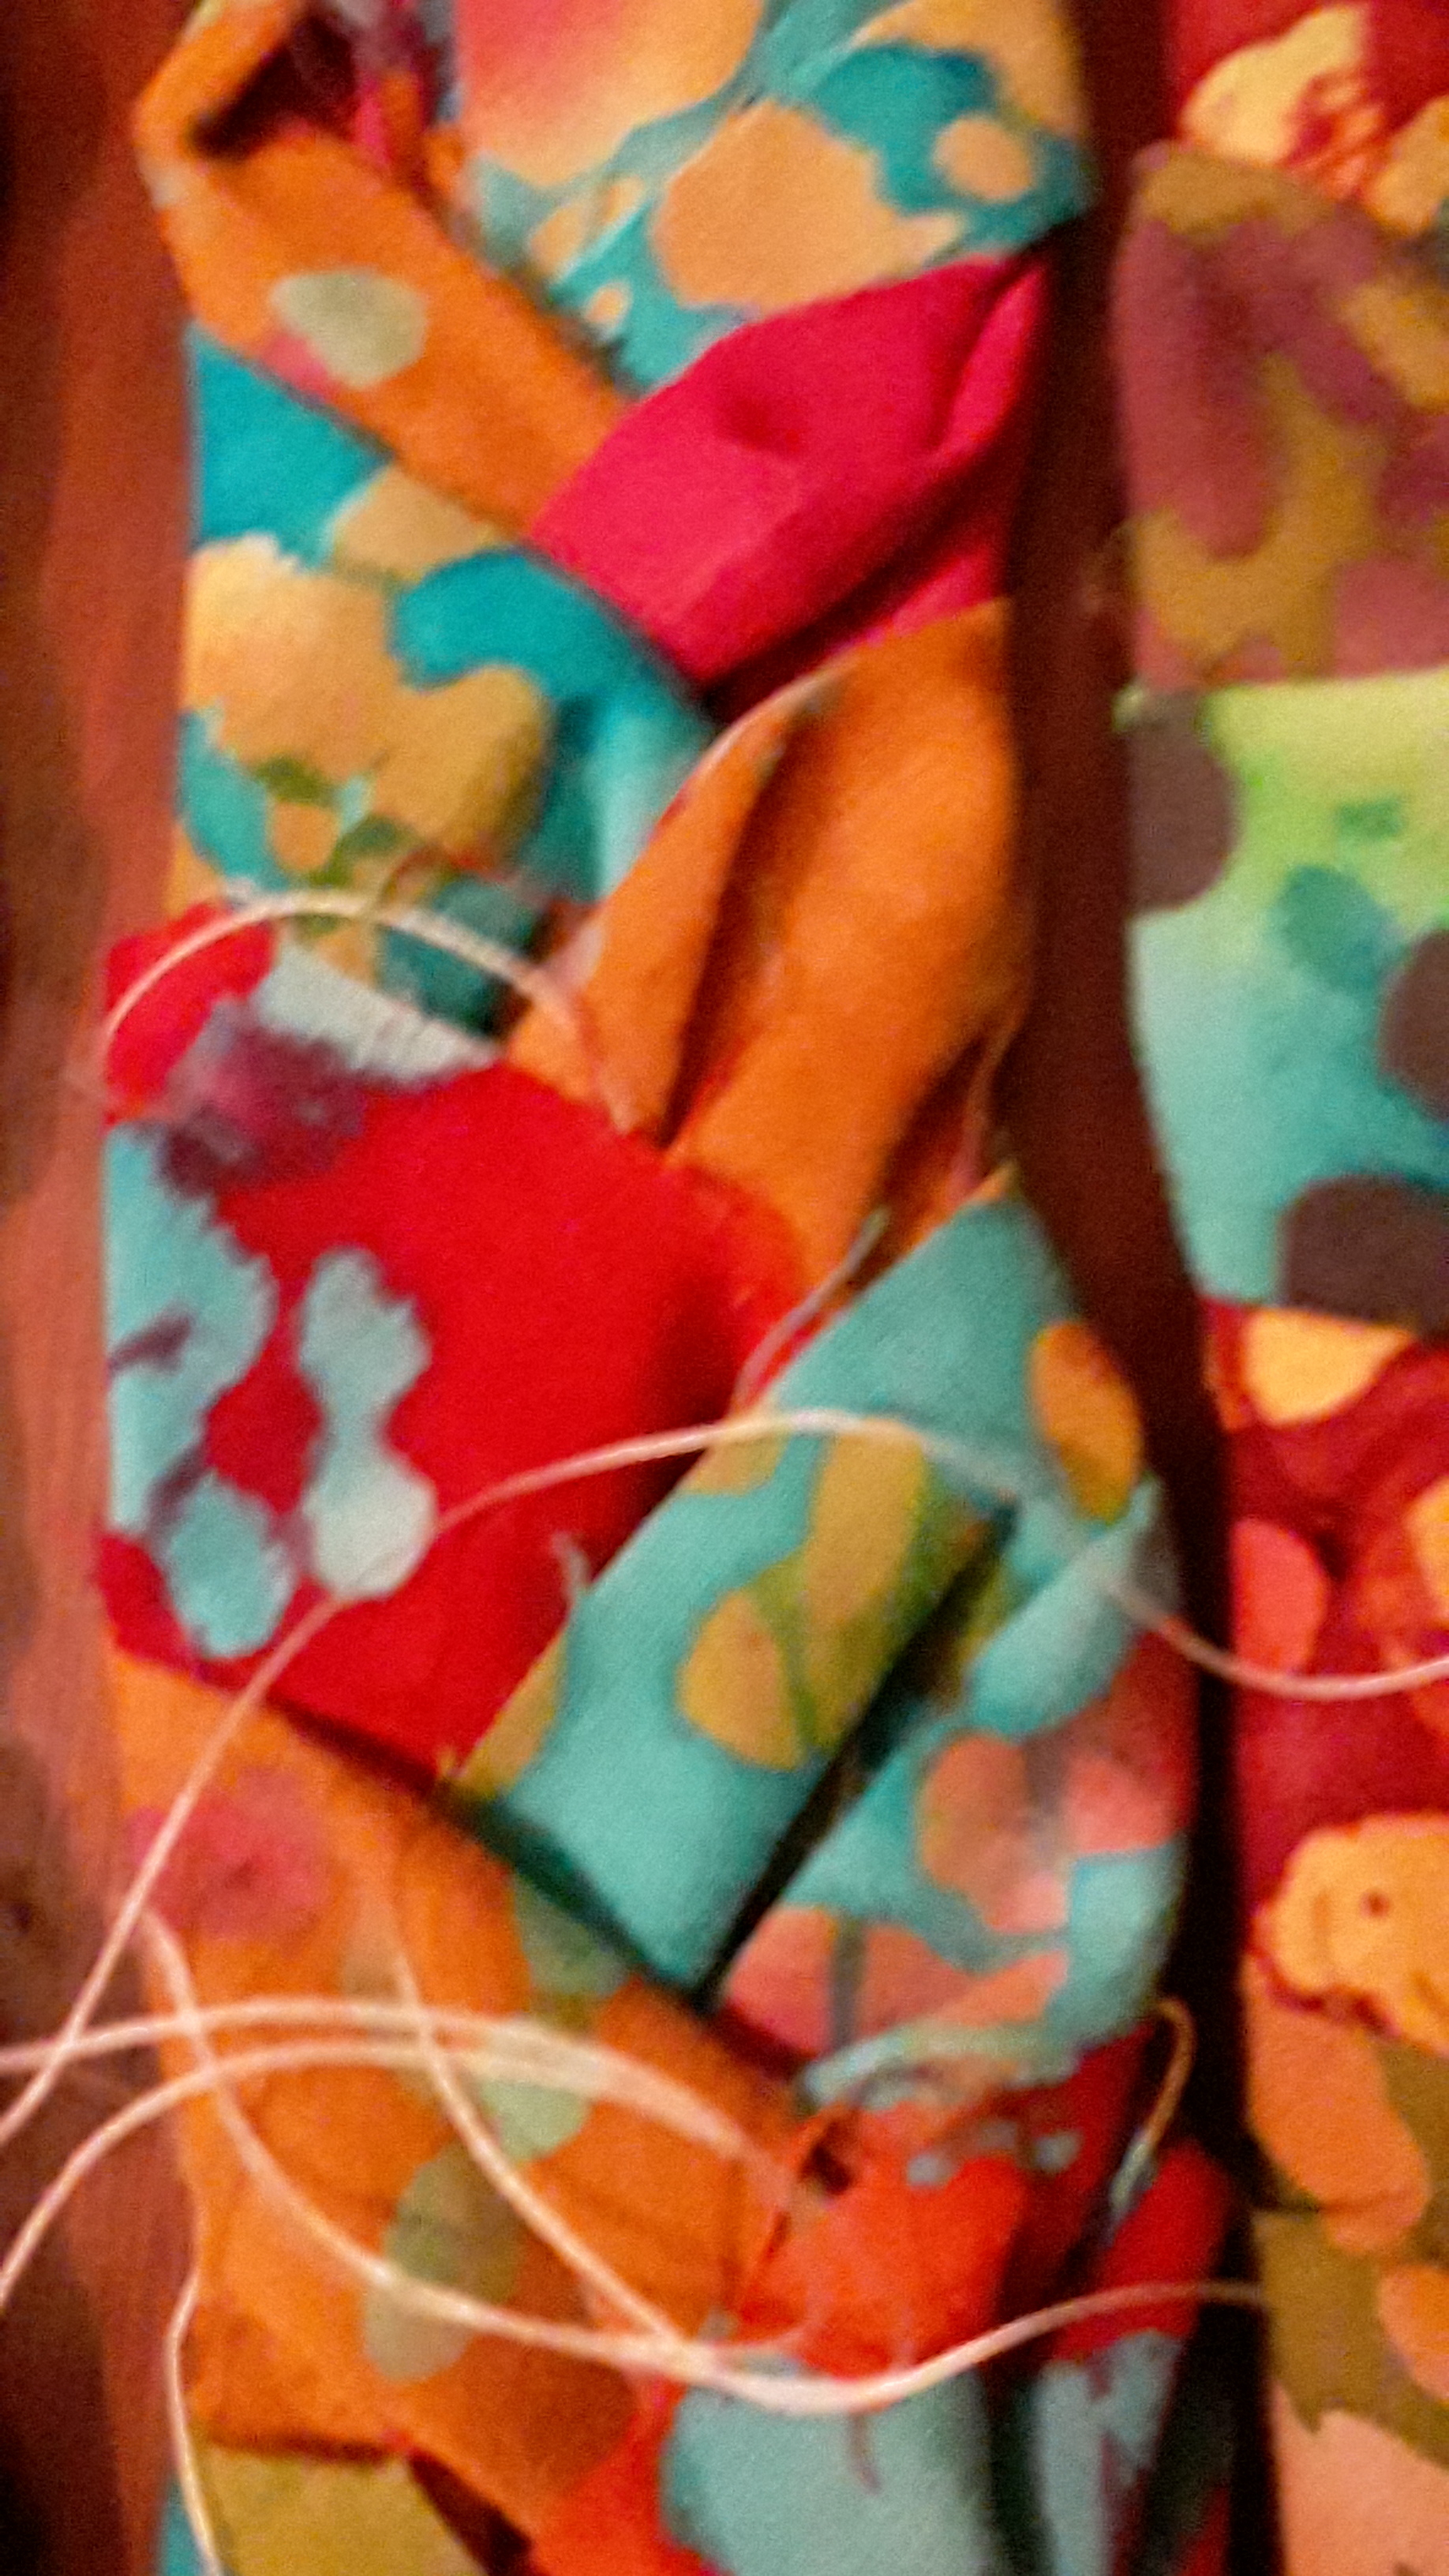
Begin with three strips. Connect the three strips. Some suggest sewing your three beginning strips together, one on top of the other, to begin. I just tied mine into a knot and it was perfectly fine, even great.
After having connected your first three strips, secure them to a surface (floor, table, back of a chair)—attach it however you want (tape, safety pin, paper weight) as long as the fabric is secure (you need the stable resistance to make good braids). Find a place that is physically comfortable for you, and let the braiding commence!


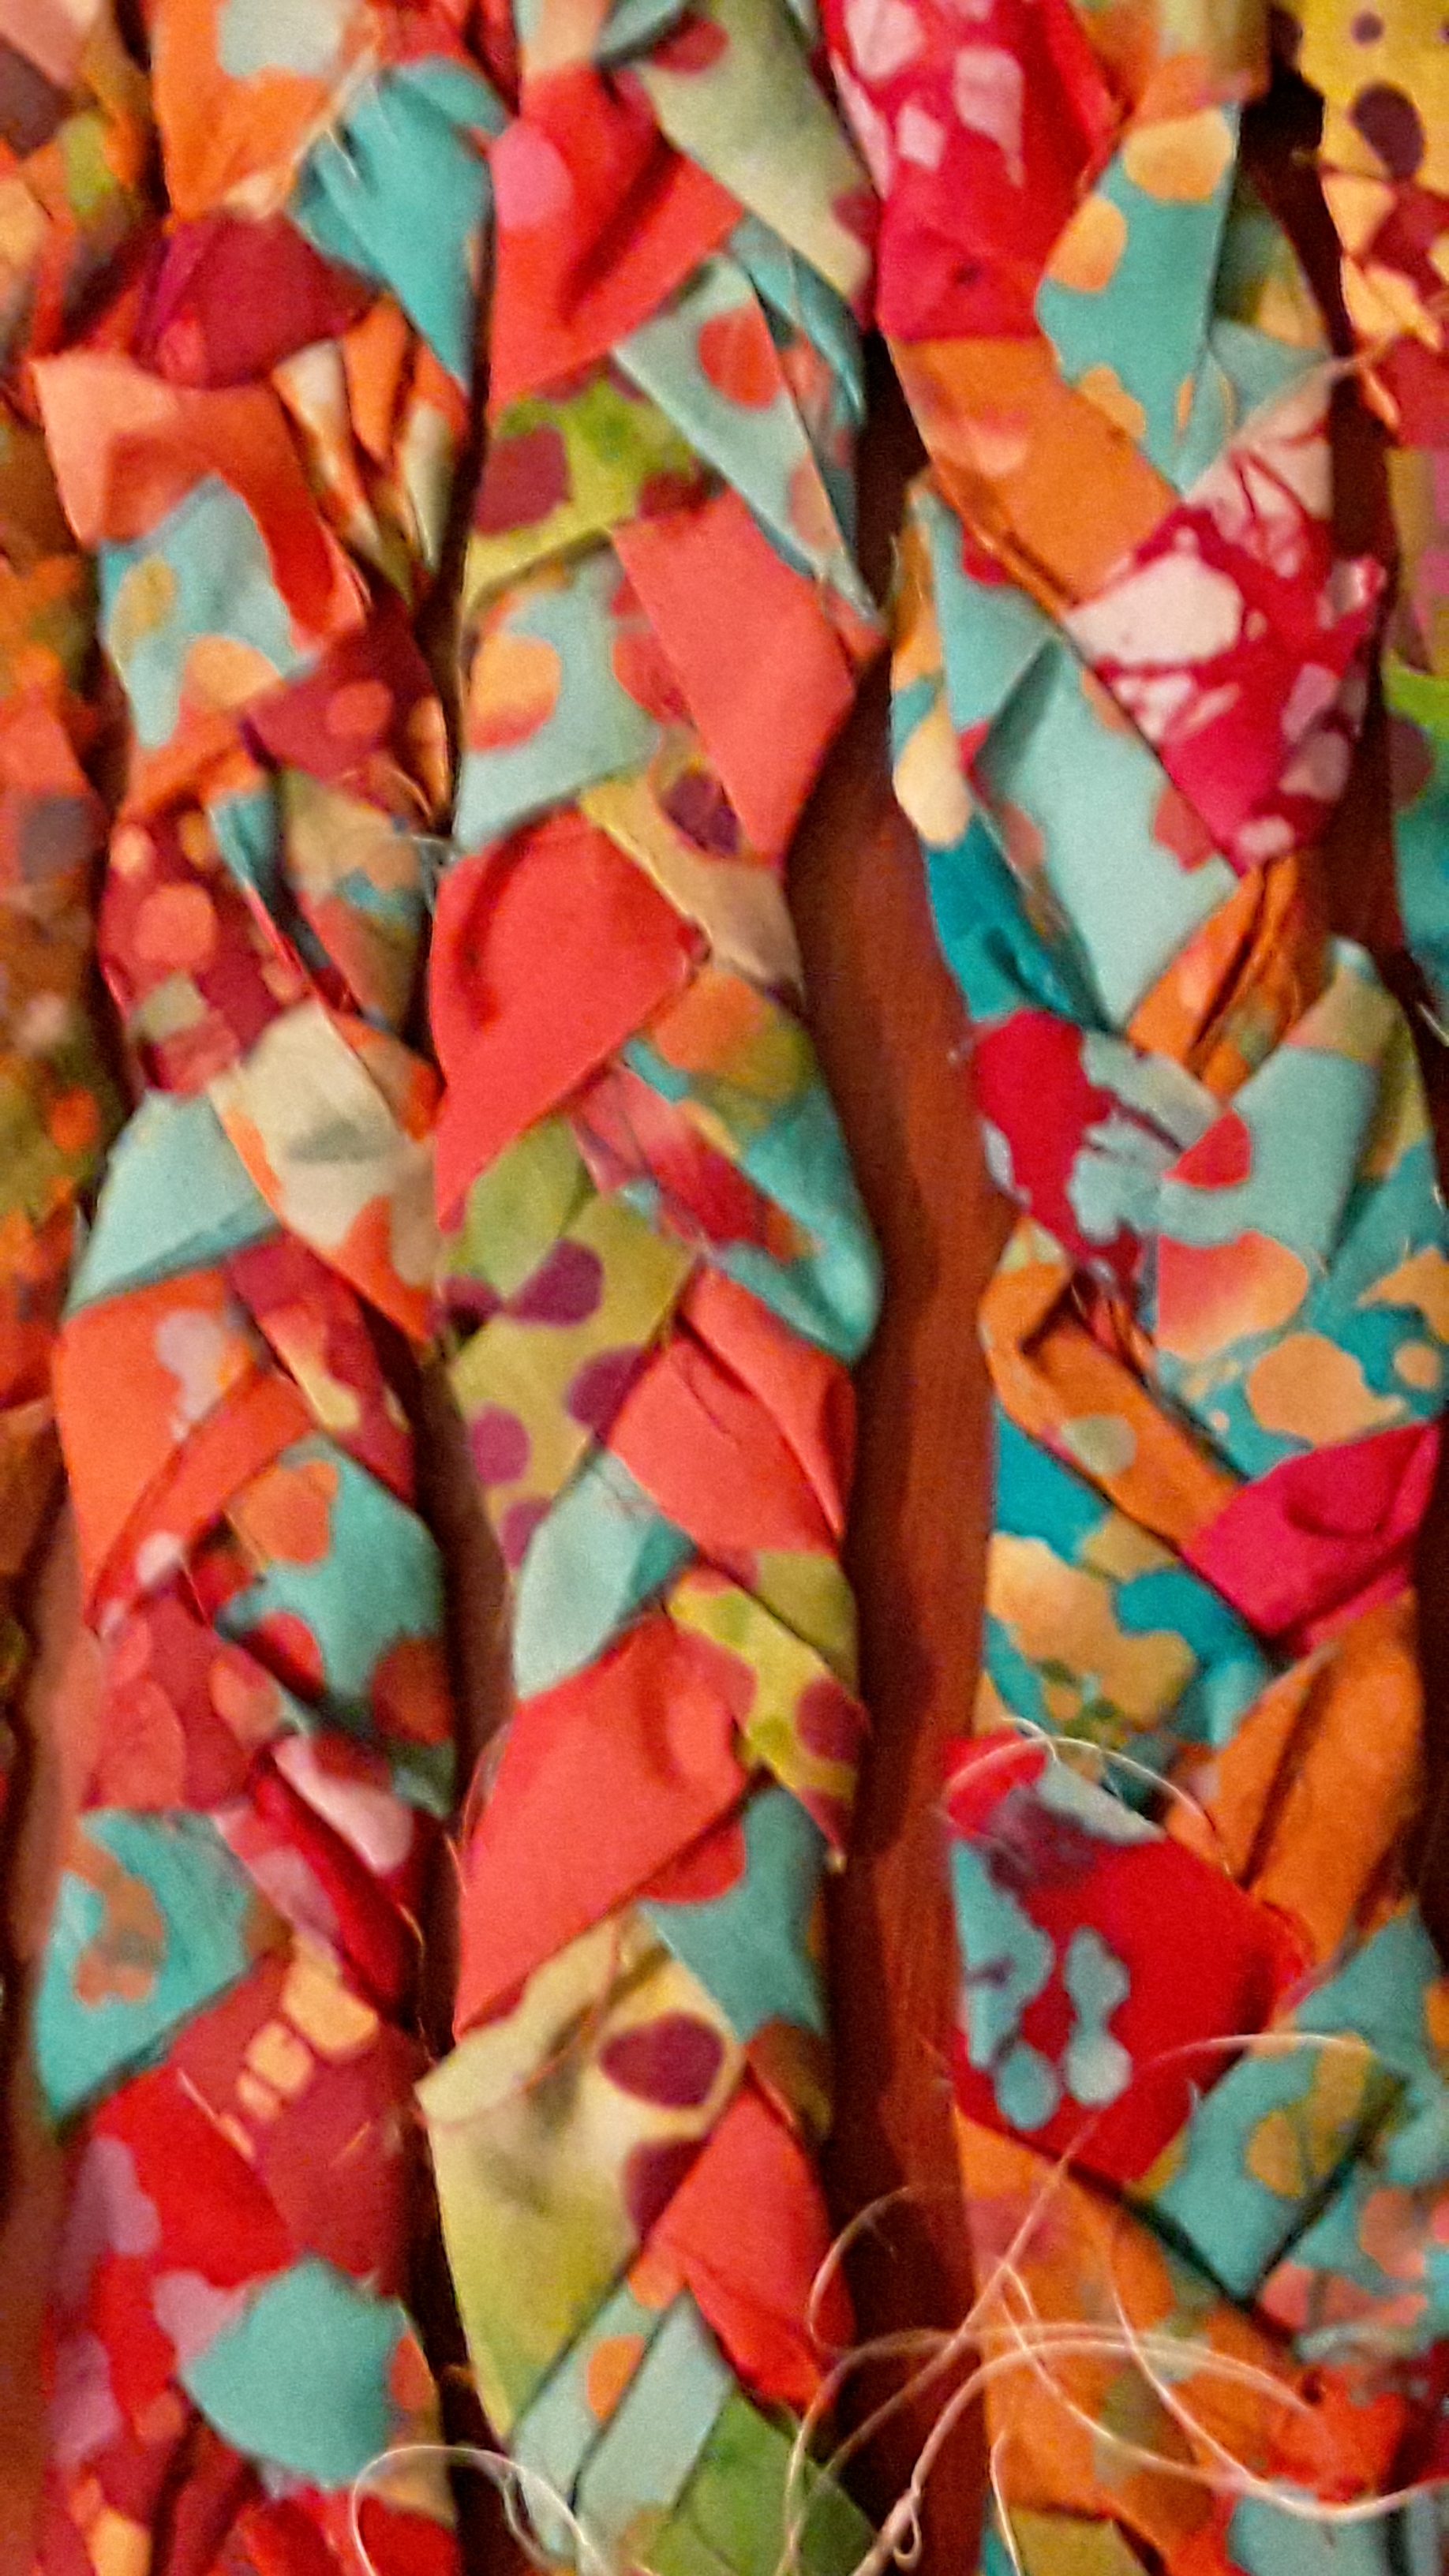
This being my very first time doing this project, i wasn’t super sure how to navigate it. The first braid i made was moderately tight; similar to a braided pigtail. The second braid, for whatever reason, i braided very tightly, tighter than any other braid of the rug, and you can tell (but you have to look for it) Don’t Braid Too Tightly
So—”second braid” just means, after attaching/adding more fabric strips to the three ends of the 1st Original Braid. Once you’ve almost reached the end of that first braid, the new pieces you just attached; I’m calling the Second Braid.
I ended up connecting the strips in several different ways, each one being just fine. Find whichever method you like best, and go with that one.
—That’s another reason this project is so great! It really gives you SO MUCH ROOM to explore and try things out WITHOUT compromising your rug! (All of your weird ideas? Keep ‘em in!)
Photo of the strip joining method from Natural Life Magazine
Eventually i settled with this method of connecting strips—it seemed to be the easiest and the best way to secure the fabric.
***It is important to stagger your strip lengths so that you don’t get bulges of knots from the strip connection points in your rug. Cut a strip shorter if you must; just make sure you’re adding strips at different lengths throughout.***
Keep braiding your fabric. Adding strips. And braiding your fabric.
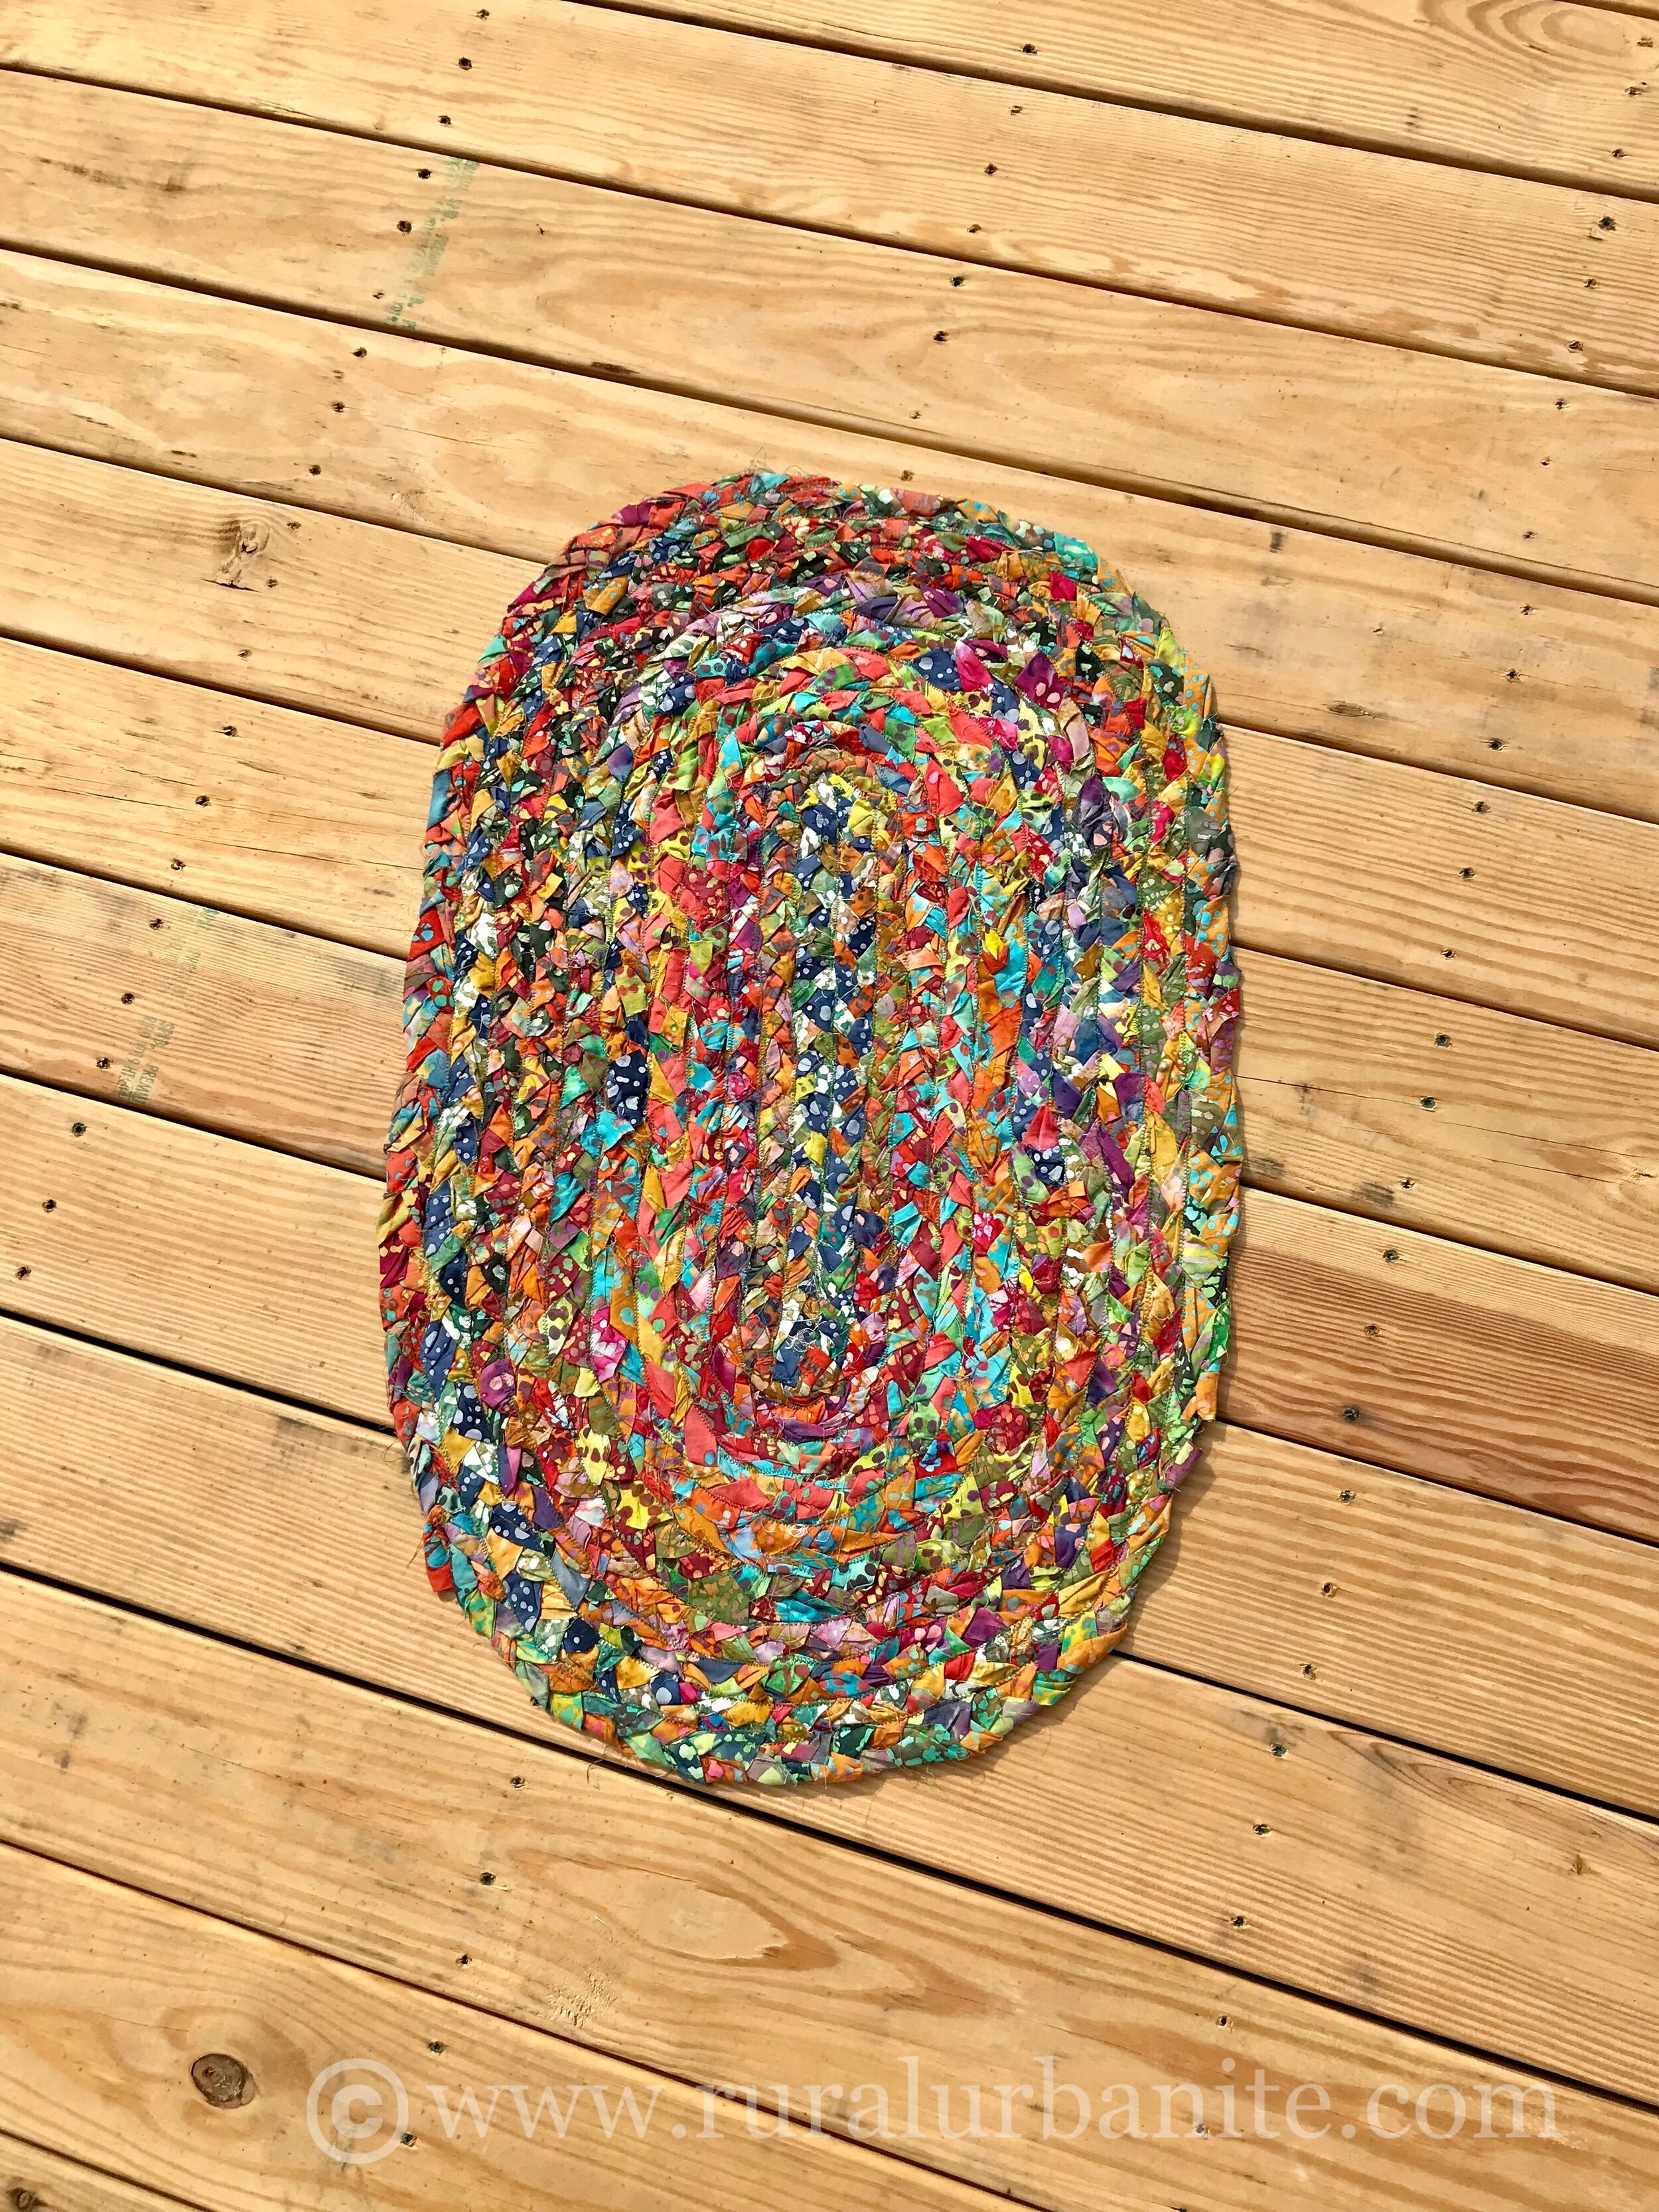
Its helpful to occasionally lay out your braids into an oval shape to make sure you are satisfied with the braids you have made. It would be horrible to discover a problem 90% down the way.

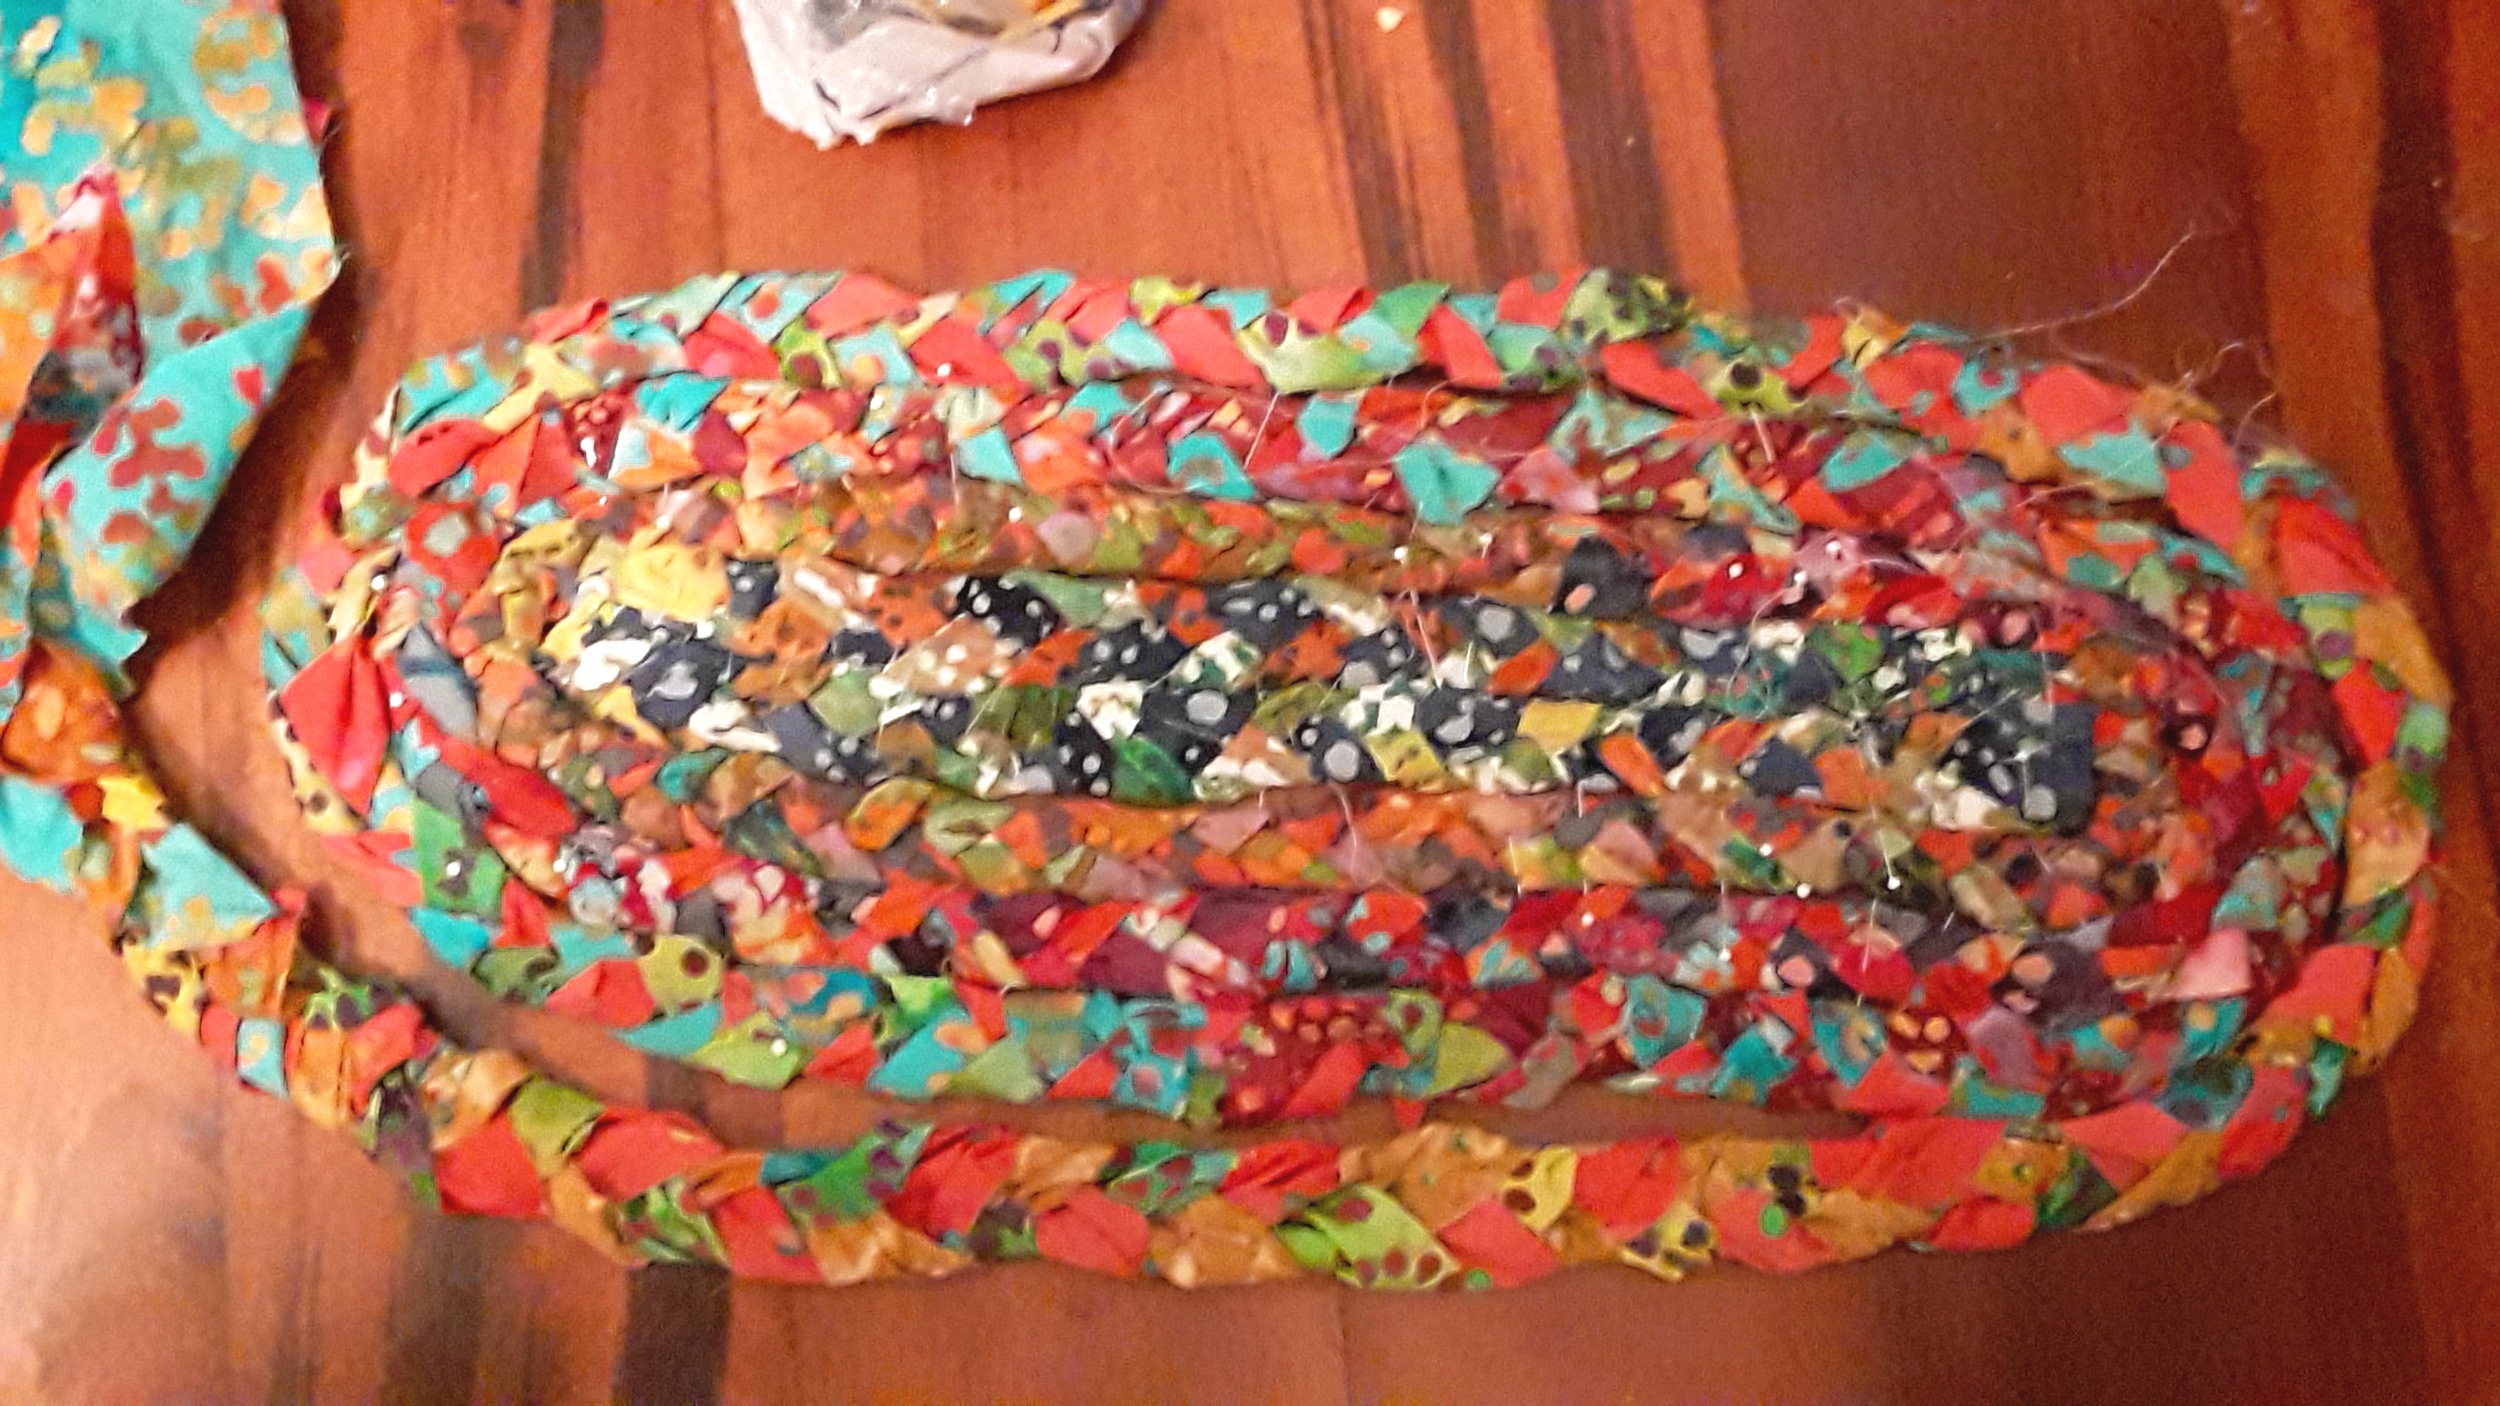
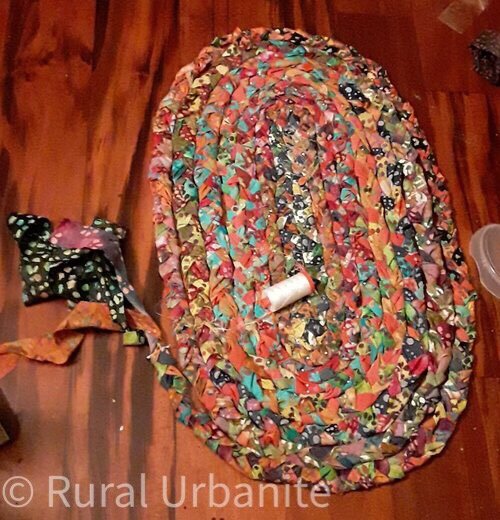


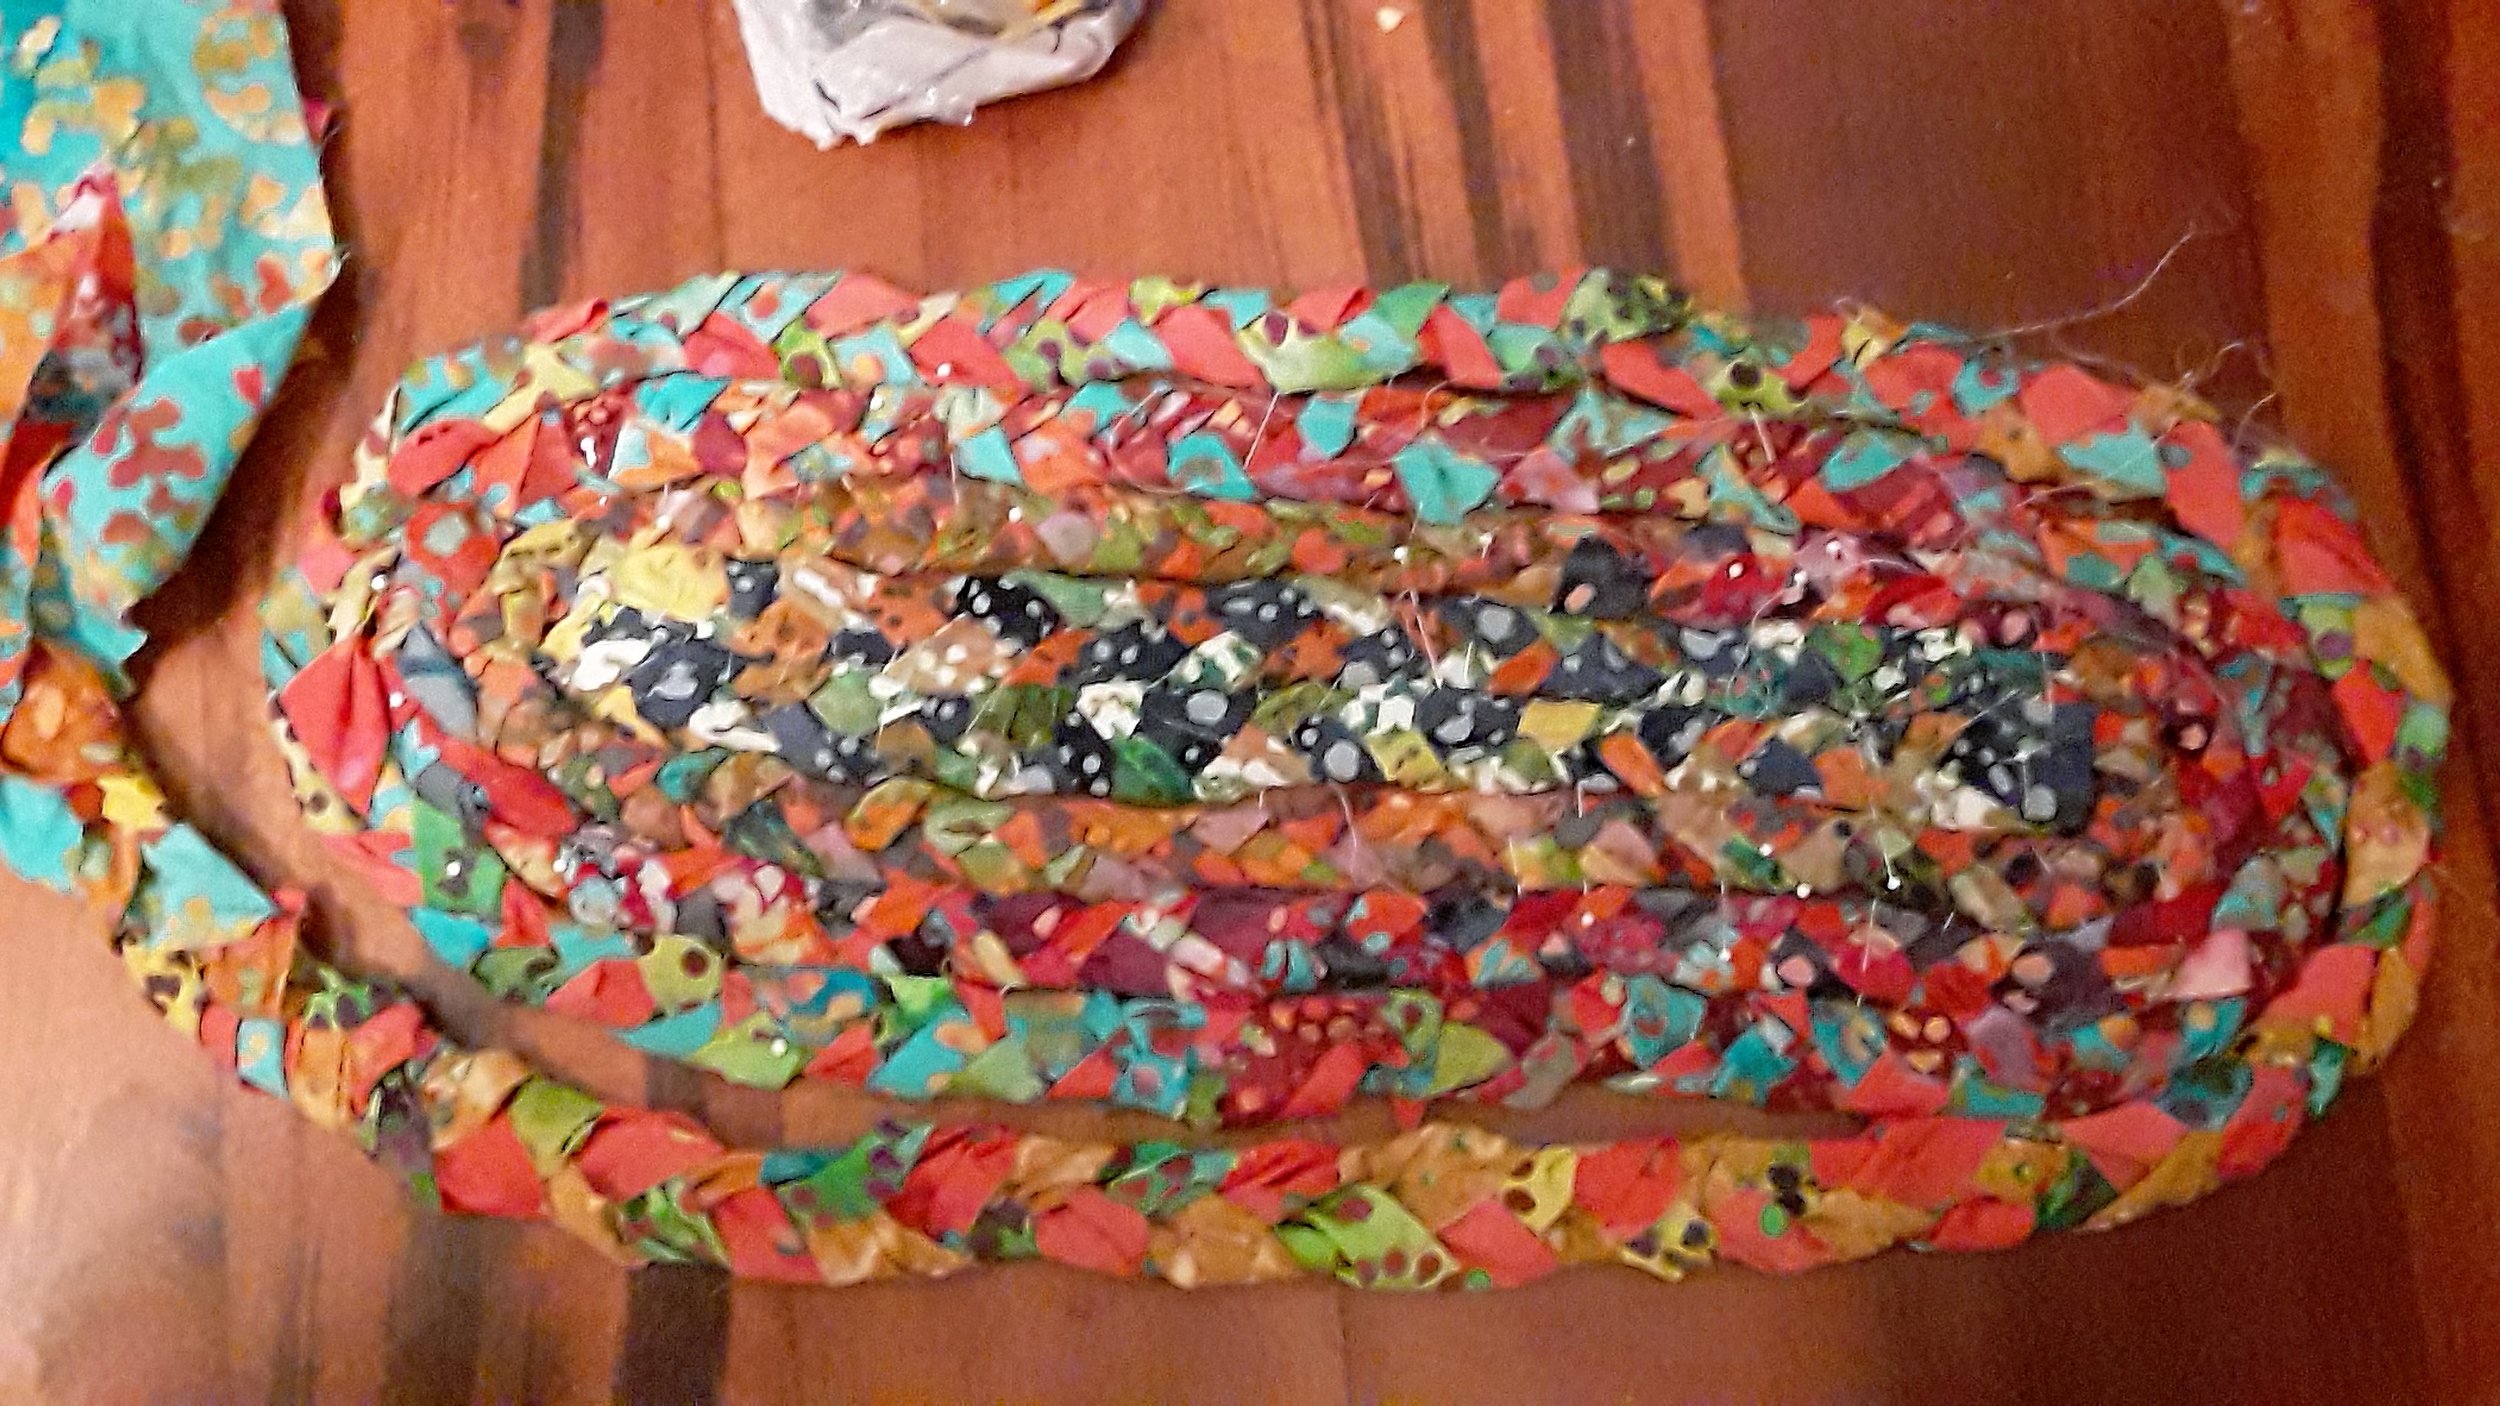
When you have completed all of your braids and you are pleased with the layout of your oval; its time to head to the sewing machine. Secure your final braid’s ends together with a paperclip, straight pen, or rubber band, until we get to the machine.
Illustration of the thread weaving technique I was hoping to do originally. Inspiration & Education by Colonial Sense — I Highly Recommend
I really wanted to weave a thick thread, lace, or yarn, back and forth, to connect my rows. I had hoped to arrange the finished long rope of braid into an oval, and connect each “circle” by weaving through the loops of the braids themselves, and not piercing the fabric with needle and thread. I couldn’t find the supplies i needed to do this properly, so i went ahead and machine stitched the rows together.
To Sew The Rug

“Clockwise Rotation” ONE OF THE MOST IMPORTANT PARTS OF MACHINE SEWING. Check out this Awesome Tutorial for more on this photo.
Like the picture, you start your rug by folding two braids the length you want, and begin sewing at the curve.
Use a Zig-Zag Stitch. Set Length and Width to their maximum.
choose the best length of stitching for you.
Sew your rug in a clockwise rotation so that the bulk of the rug stays on the outside side of your sewing machine
I used the sewing machine platform extender, and then set up some random boxes and binders around the sewing machine; trying to build the best level area i could to keep the rug flat
Always make sure the rug is flat and is not starting to bowl upward or downward
Sew slowly, especially around the curves
Keep an eye on your rug, and make any adjustments you need as you go
I discovered it was helpful to first close up my last braid. i held the three strips exactly where i wanted them to be, and ran stitches across the end of braid a couple of times. i did not cut off the little bit of excess fabric; this fabric is useful for finishing your rug.
When you are connecting your last braid/rope to the rug, as you reach the end, you can angle your braid-rope ever so slightly toward the rug, so that you have a smooth finish. Most often, people “tuck” the last bit of the braid-rope underneath the rug, and secure it with stitching. That is what i did with mine (see photo below).


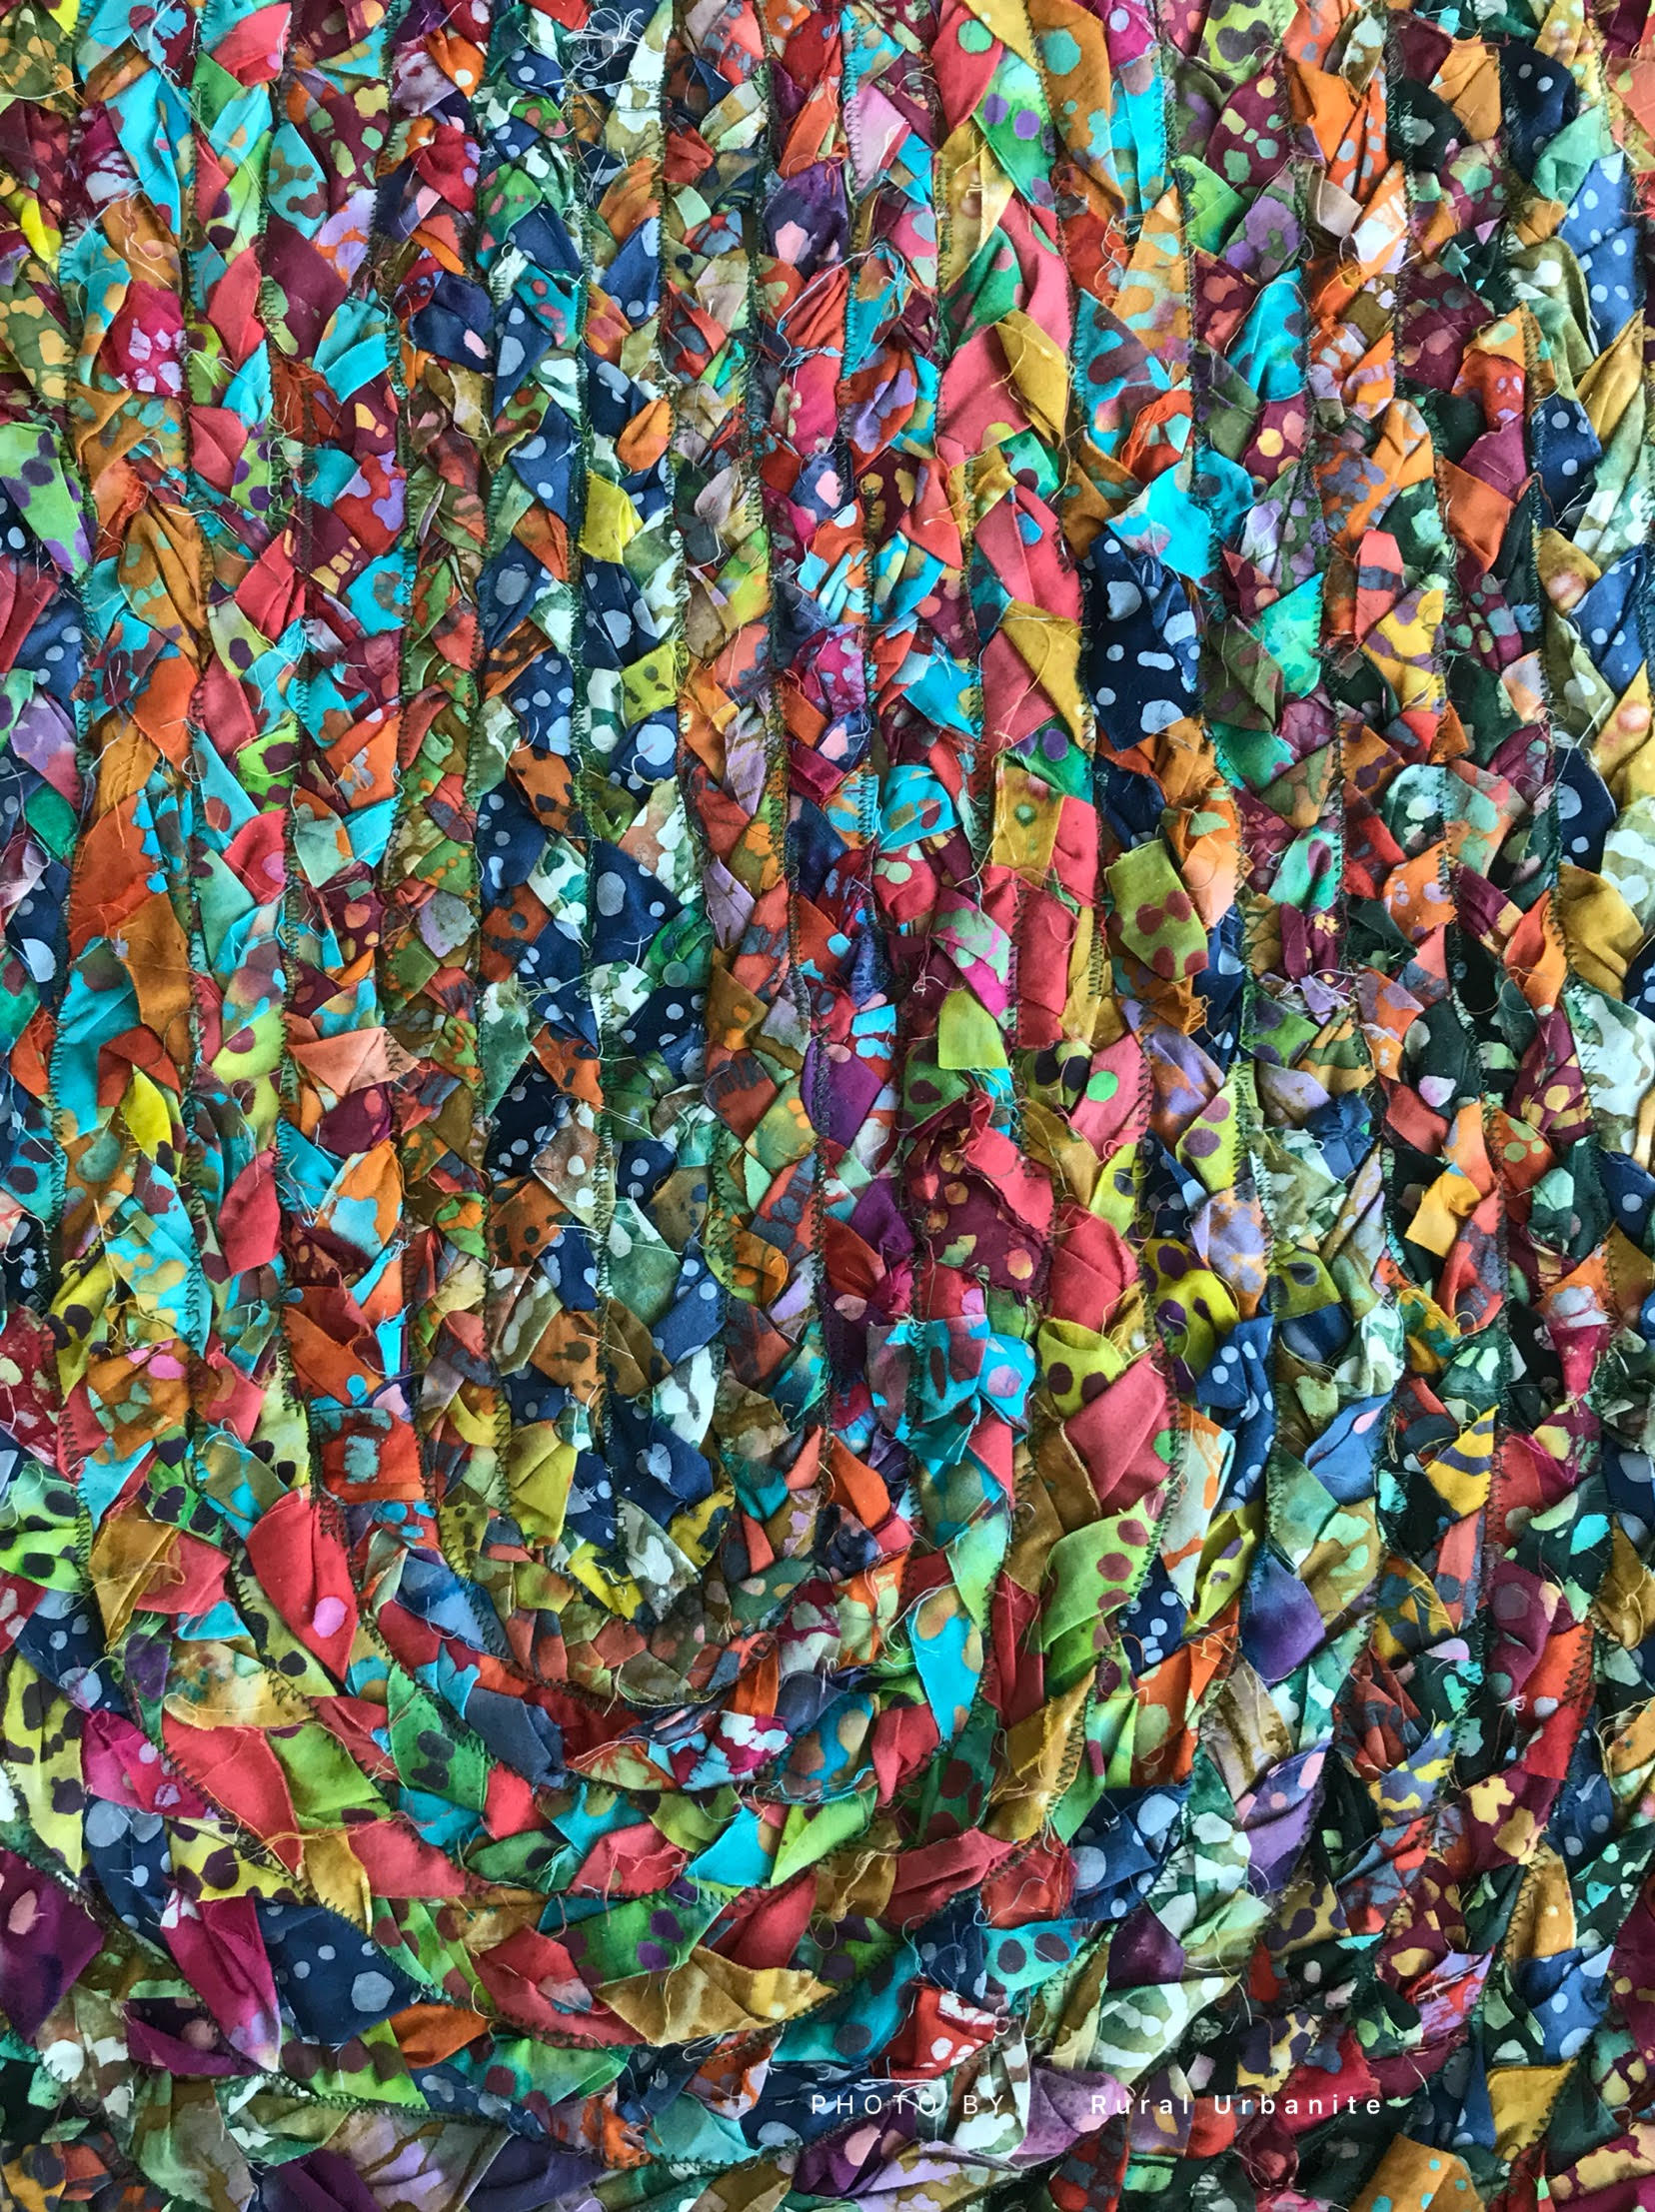
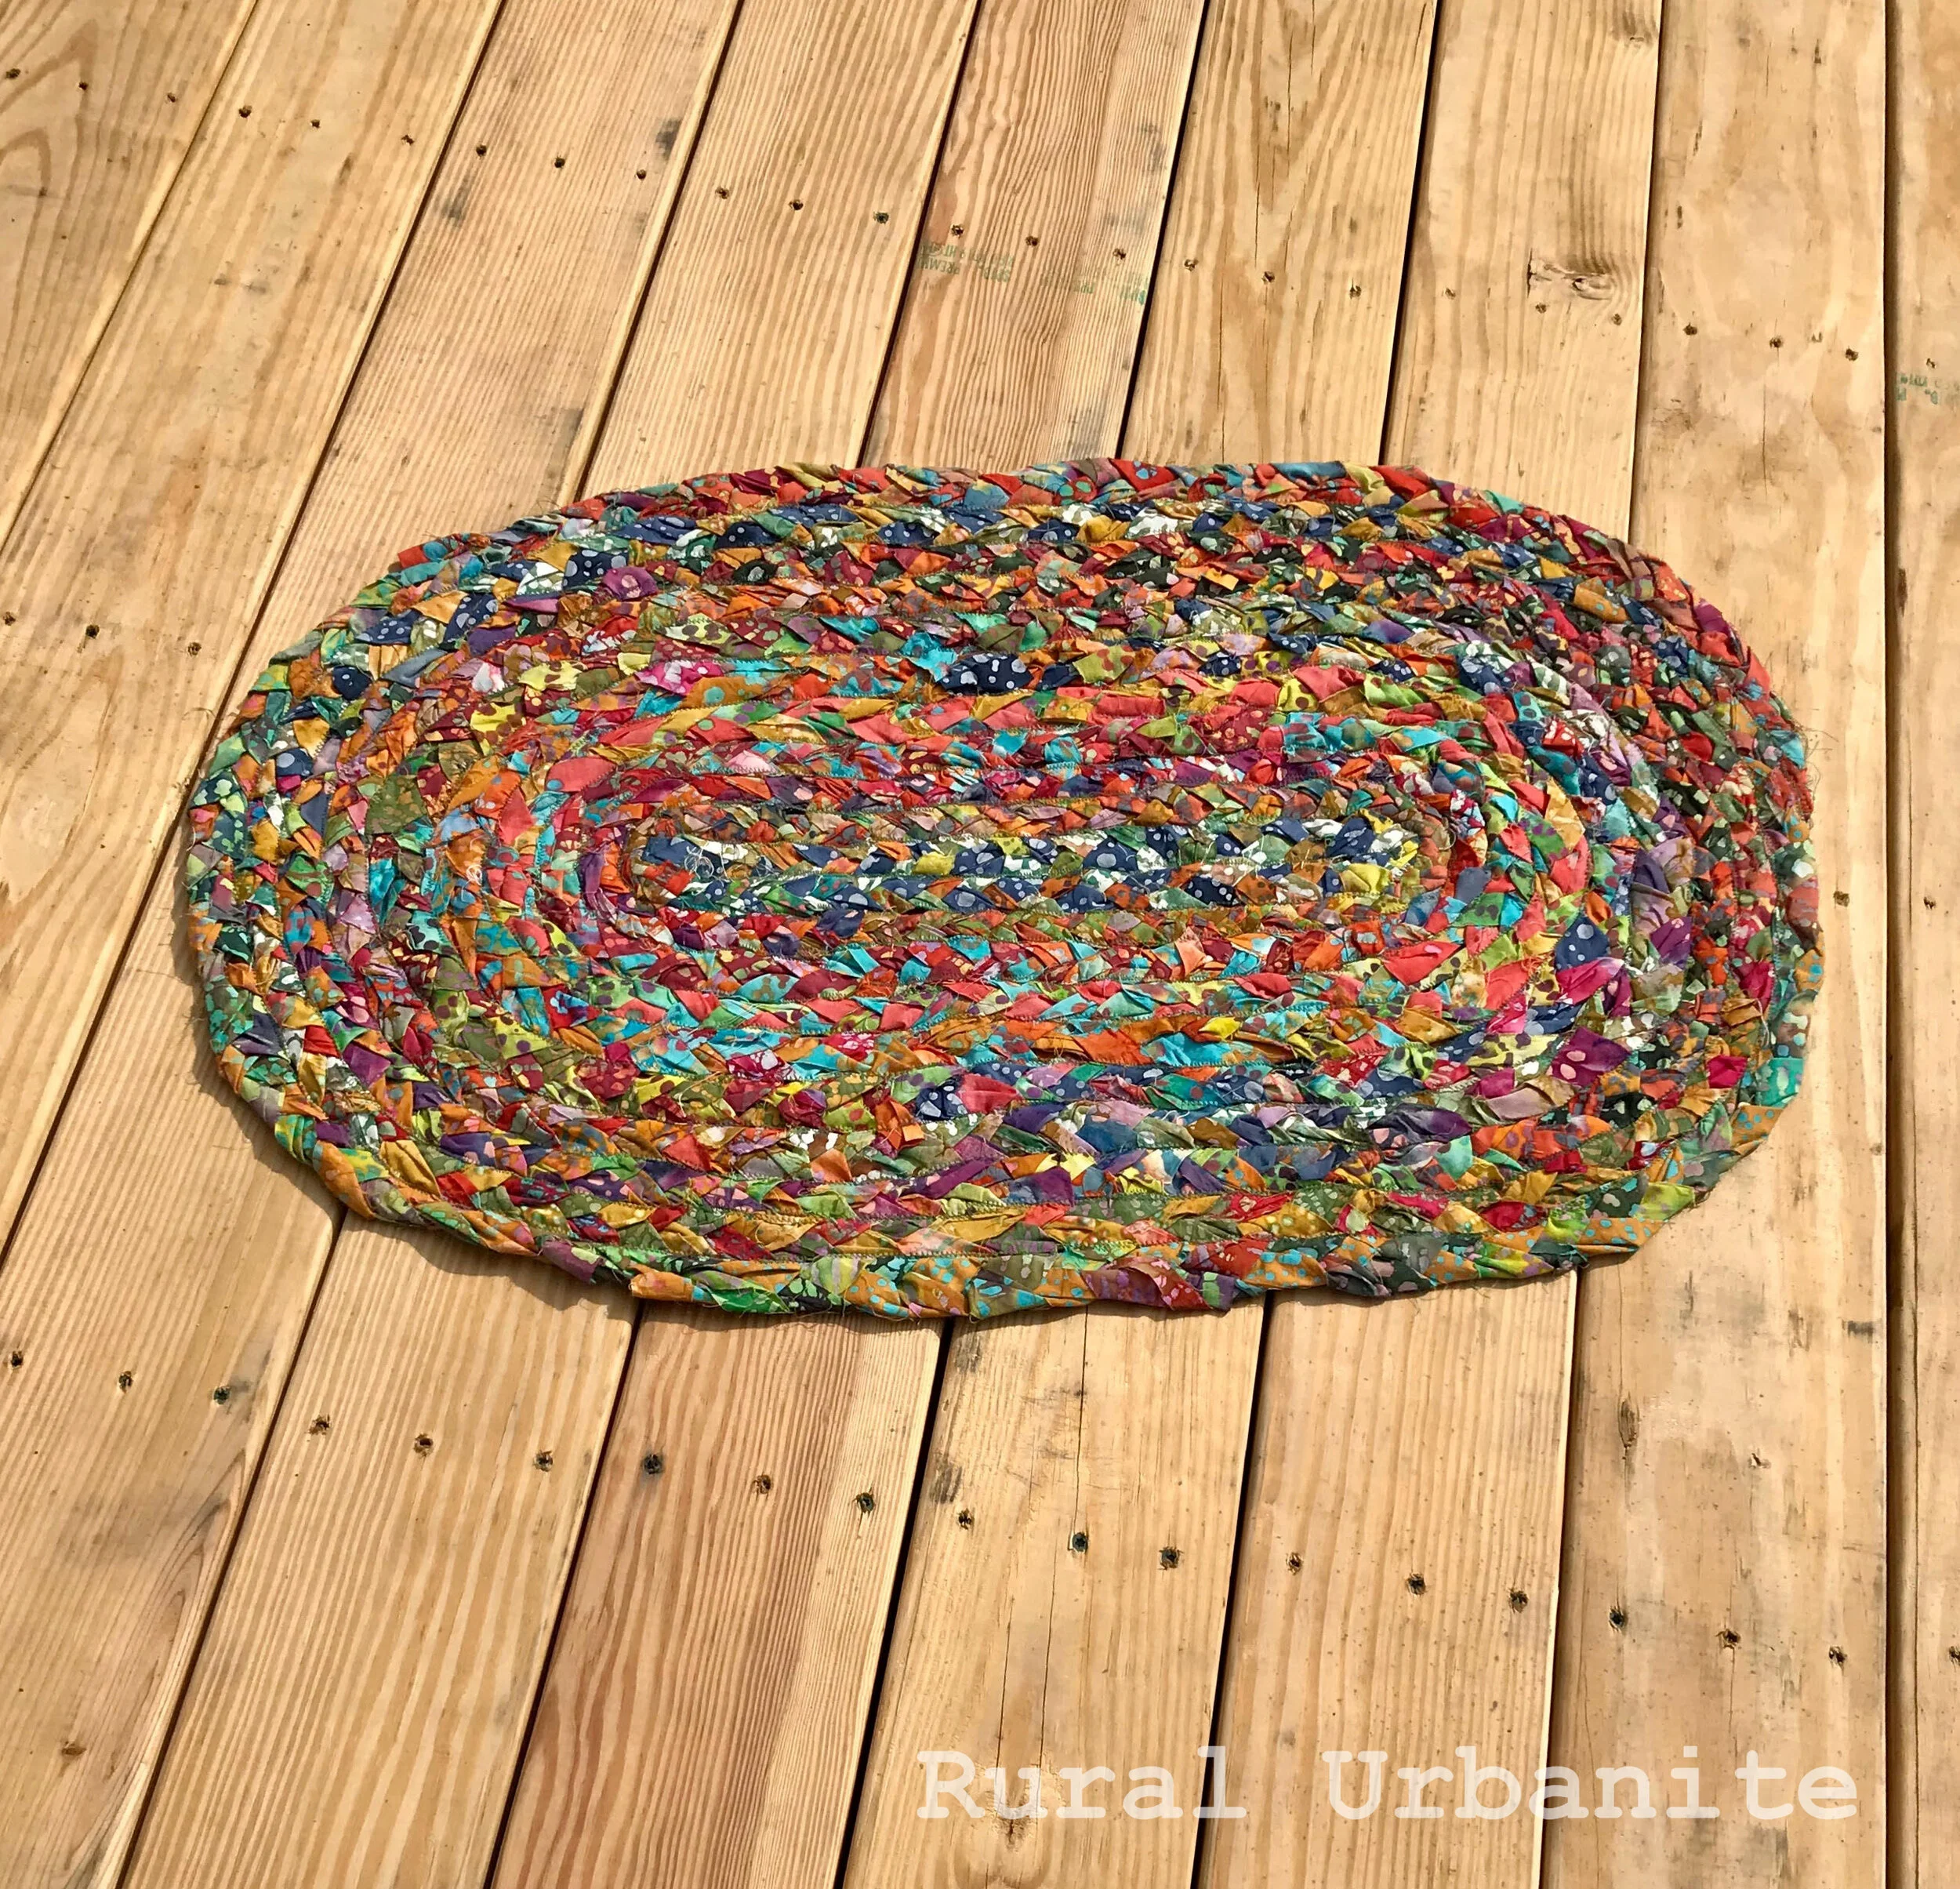
I had to bring my needle back up and re-situate the rug dozens of times! Many of those times, the needle went back to its preset position, and i forgot to change it back when i went back down to sew; and still, the rug came out perfectly! (you can see the different lengths and widths of the zig-zags in the photos above)
That is what makes this project SO GREAT AND AMAZING! Its a project where literally your PRACTICE RUN, your FIRST ATTEMPT, can and will end up being a finished product that you’ll be proud of and excited to use, share, show off, or give as a gift!
And after you complete your first rug, You’re Off To The Races!
The different ways to make a rag rug, or rug, are endless! I cant wait to experiment with t-shirt yarn next; an ace up the sleeve of a rag rug! 😃🤩


thanks to your submissions, a good question was brought up! 😃❤
Washing The Rug!
Hand Wash or “Hand Wash Cycle” in the Washing Machine:
—links to all supplies needed are at the bottom of the post—
FIRST OFF! A Secret Weapon for the DIYer. A Super Weapon for Laundry. Whether you are washing in the machine or by hand, it is a must. Something i cant recommend enough?!
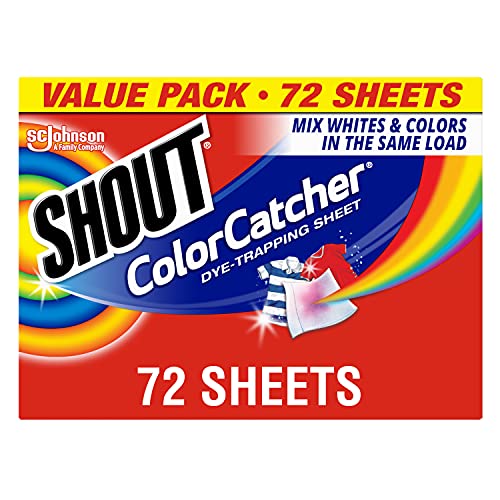
COLOR CATCHING SHEETS!! FOR FIRST-TIME WASHES, FEEL FREE TO USE A FEW SHEETS
the box will have directions and tips for best outcome
the 2 main brands, Shout & Carbona, are linked below. Carbona is my favorite one. i’ve used both and found it to out-perform Shout.
honestly, for the very first time, i would use just water (& probably color catching sheets) and no suds. whether by machine or by hand.
this is based on nothing other than my own personal fear of ruining the rug 😄 and the fact that my rug’s first wash was a total accident; it was left outside on the clean deck luckily, and a flash storm drenched it
HANDWASH
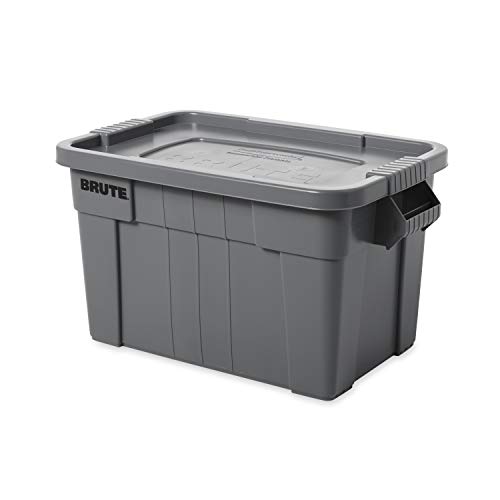
fill a tub or a large container (like a plastic storage box) with cold water
place color catching sheets in the wash tub (follow directions on box)
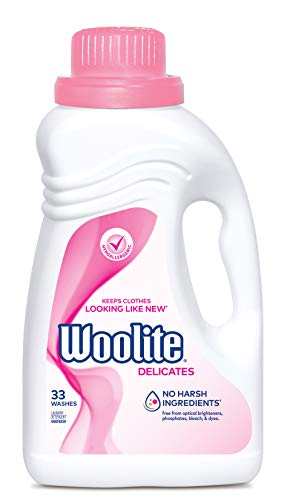
use delicate laundry soap (look for one that emphasizes color preservation)
gently agitate the rug in the soap & water. let it soak for as long as you need, or follow directions on detergent bottle. rinse thoroughly. soak again in just clean water. rinse again.
WASHING MACHINE
when in the washing machine, wash the rug by itself. cold water. run it on gentle, delicate, or hand wash cycle.
use delicate laundry detergent & color catching sheets.
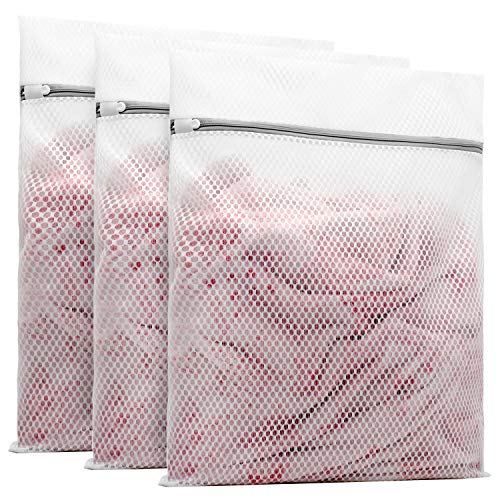
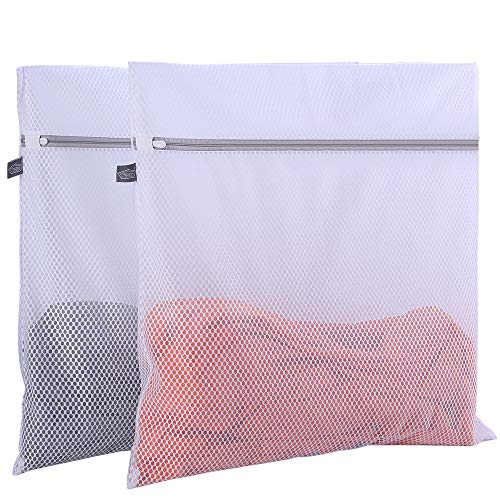
one safe idea would be to put the rug in a laundry mesh bag made for delicates.
DRYING
gently squeeze much of the water out without warping the rug
after hand-squeezing it, one nice trick is to lay the rug on a towel, and roll the towel & rug into a “burrito.” the towel soaks up the water & squeezes the rug without warping it!
you can do this multiple times with a new dry towel to speed up the process
you can press on the rolled towel to get more water out
reshape & lay flat to dry inside or outside, OUT OF DIRECT SUNLIGHT.
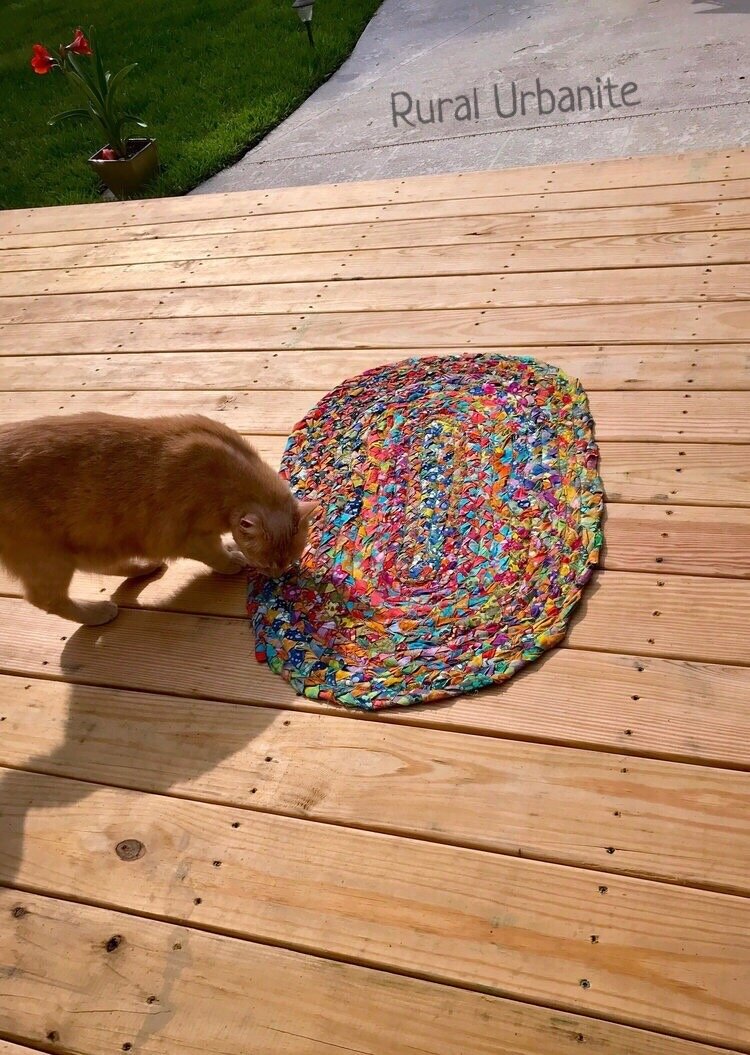
i dried one outside, on our deck in the midst of the hot summer sun, and yes the sun majorly faded the rug—but the rug still looks great so 🤷♀️👍 (lol is this a truly indestructible project?!)
DRY CLEANING
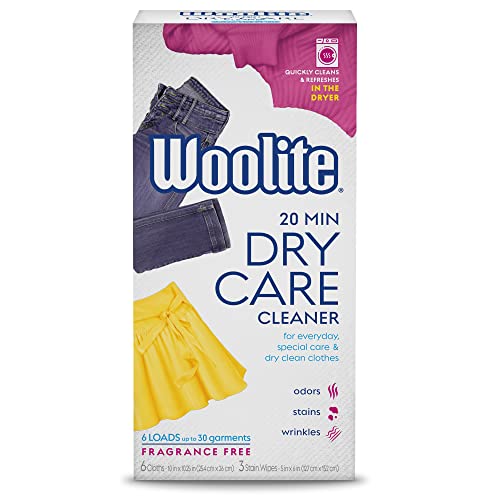
If you want to try out at home dry cleaning! I am a laundry freak. Ever since this product came out, i have been obsessed & always have it on deck. I cant say enough about it, so before i go on forever; Woolite’s Dry Cleaning Dryer Sheets can take care of so much!
It is a great product for almost any DIY project, quilts, any variety of knits & crochets, clothing, and items around the house like throw pillows & stuffed animals! Its one of those “must-haves.”
A high trafficked, extra dirty rug might be too much for this product. But a rug that has mild to moderate dirt? A good shake of the rug before-hand should be just fine. If your rag rug isn’t too dirty, the dry clean sheets will work great.
One Site, a huge site, that frankly, captured my cautious approach to washing a rug better than i did: to see the full version: SF GATE
Shake the dirt out of the rag rug.
Vacuum a large rag rug.
Spot Clean.
Wash small rag rugs in the washing machine on the gentle cycle. Hang to dry.
Clean the rug with dry-cleaning solution if you prefer not to machine-wash it.
Do you have any tips to add? Do you have any pics? I’d Love To See Your Magnificent Creations!!
Thank You As Always
LOVE ASH